Exocubic Studio
Sculpture by Mark Leichliter
Projects
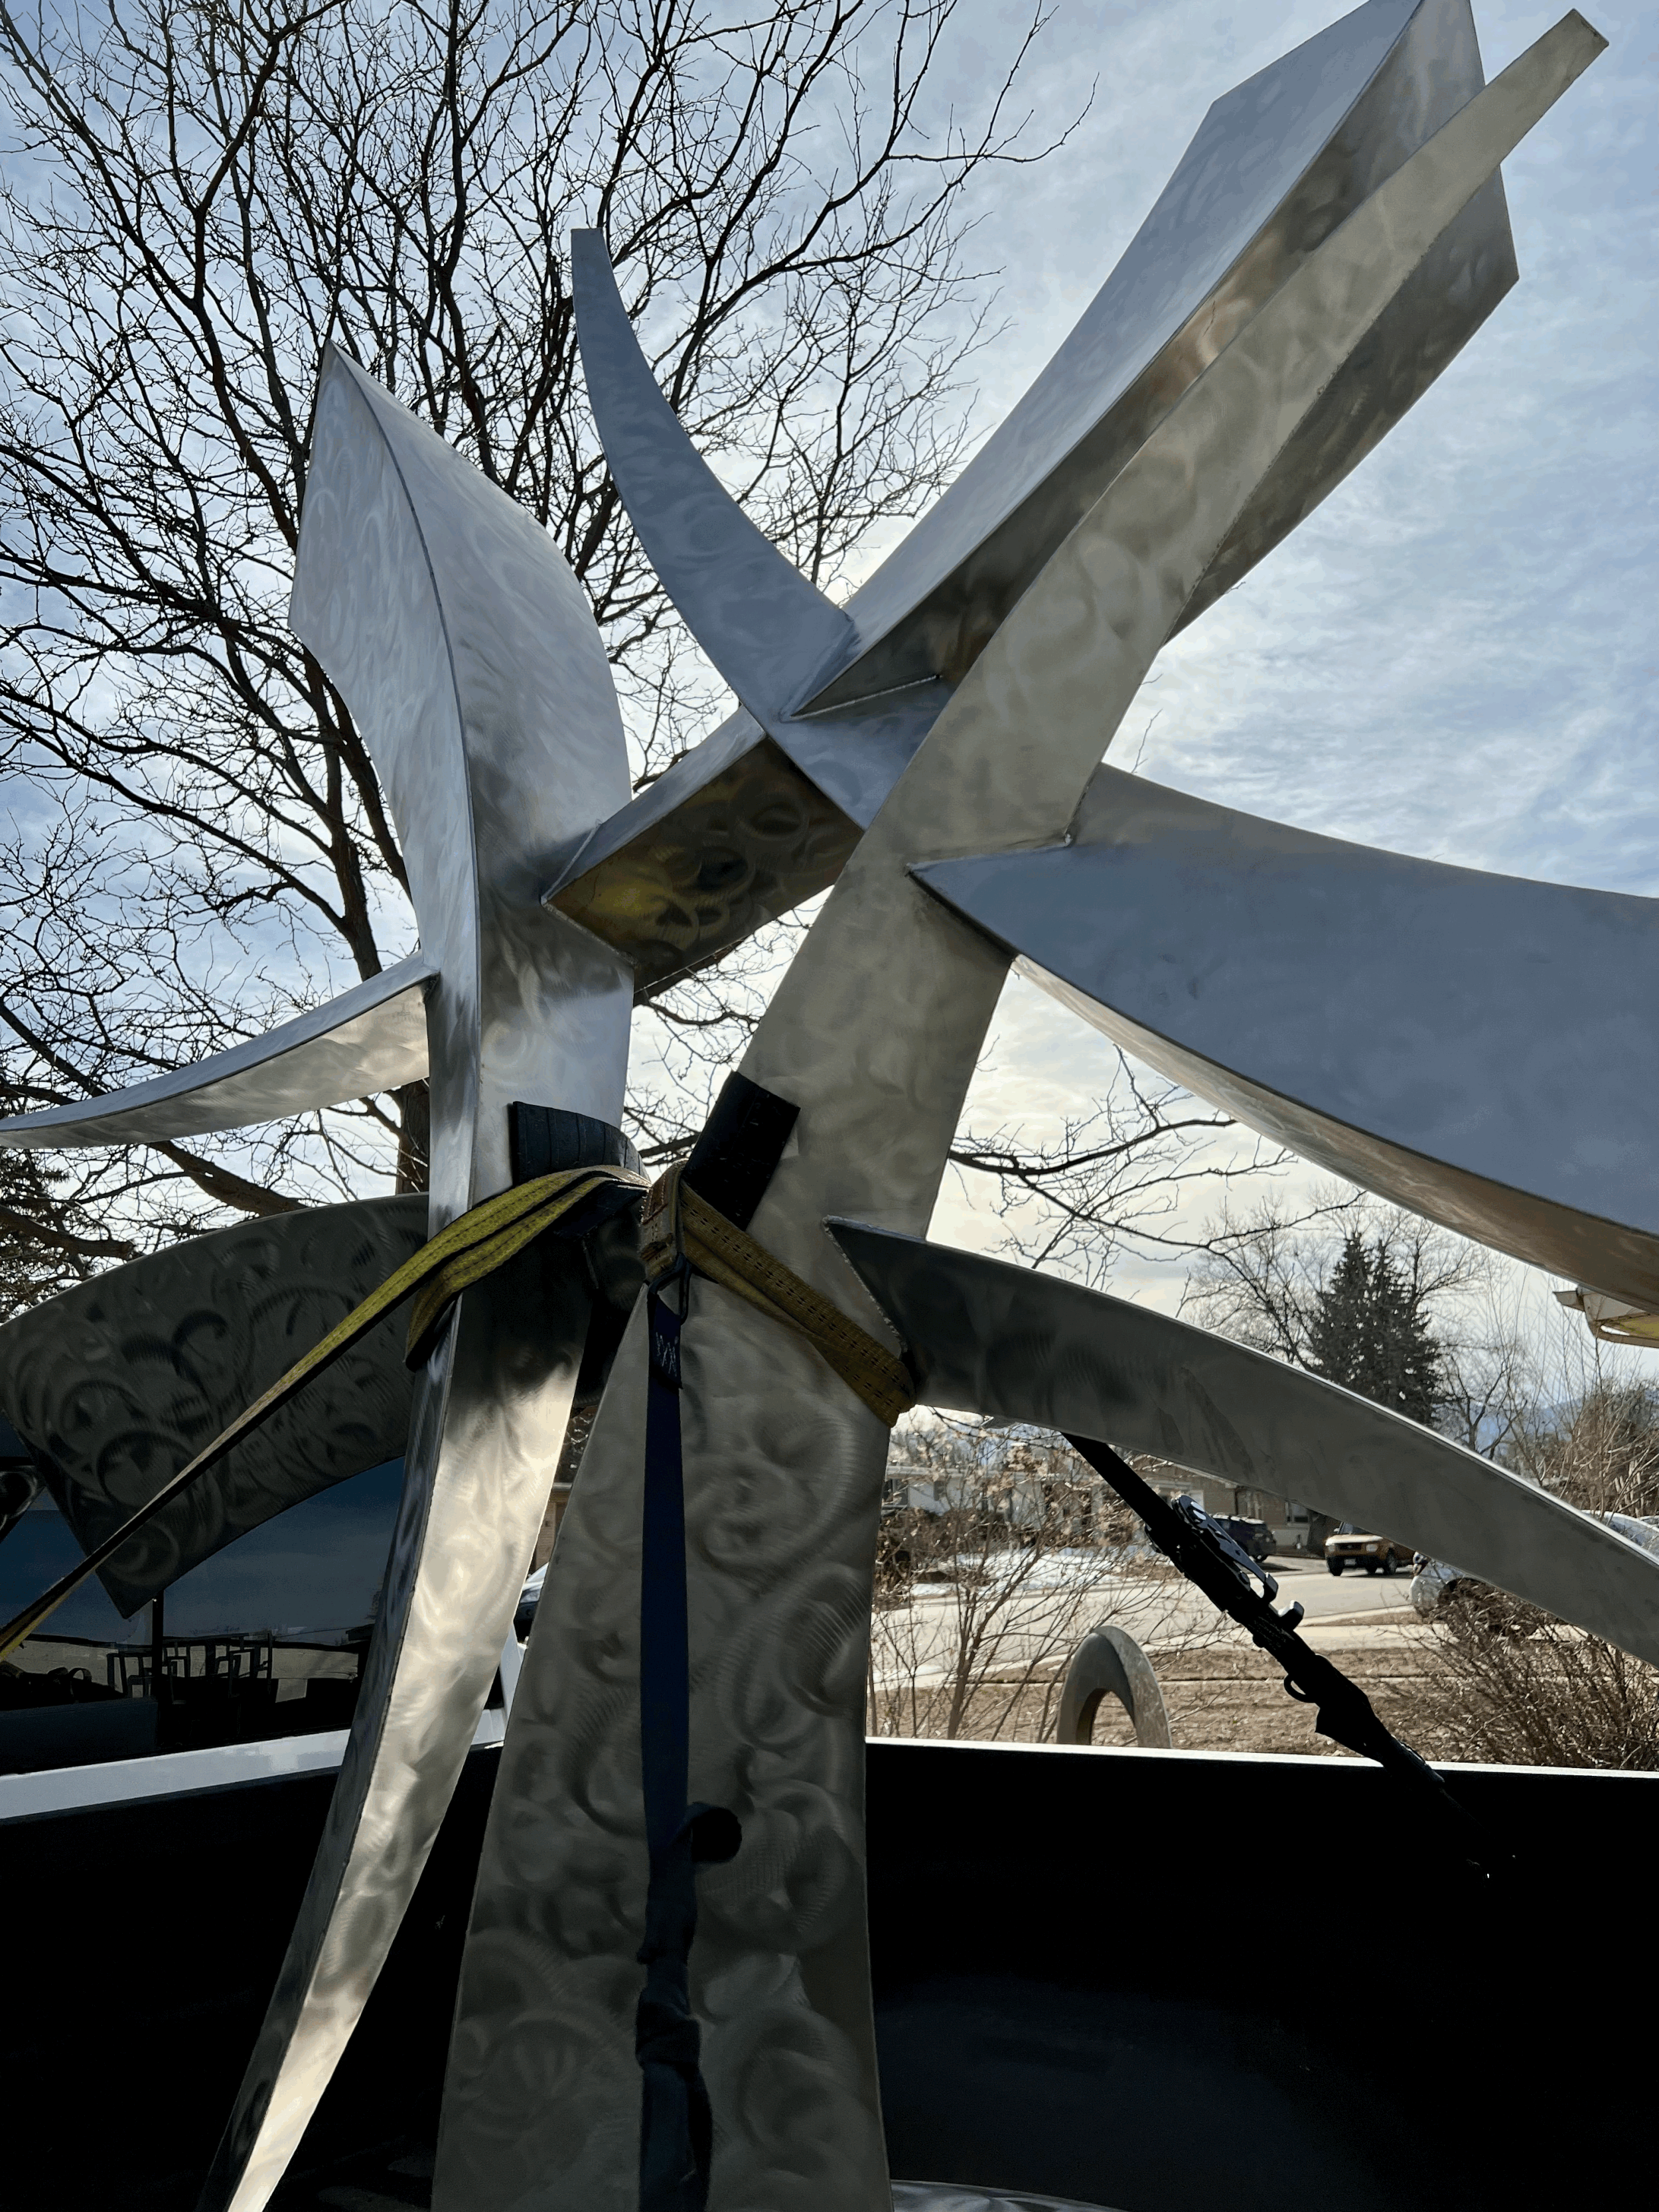
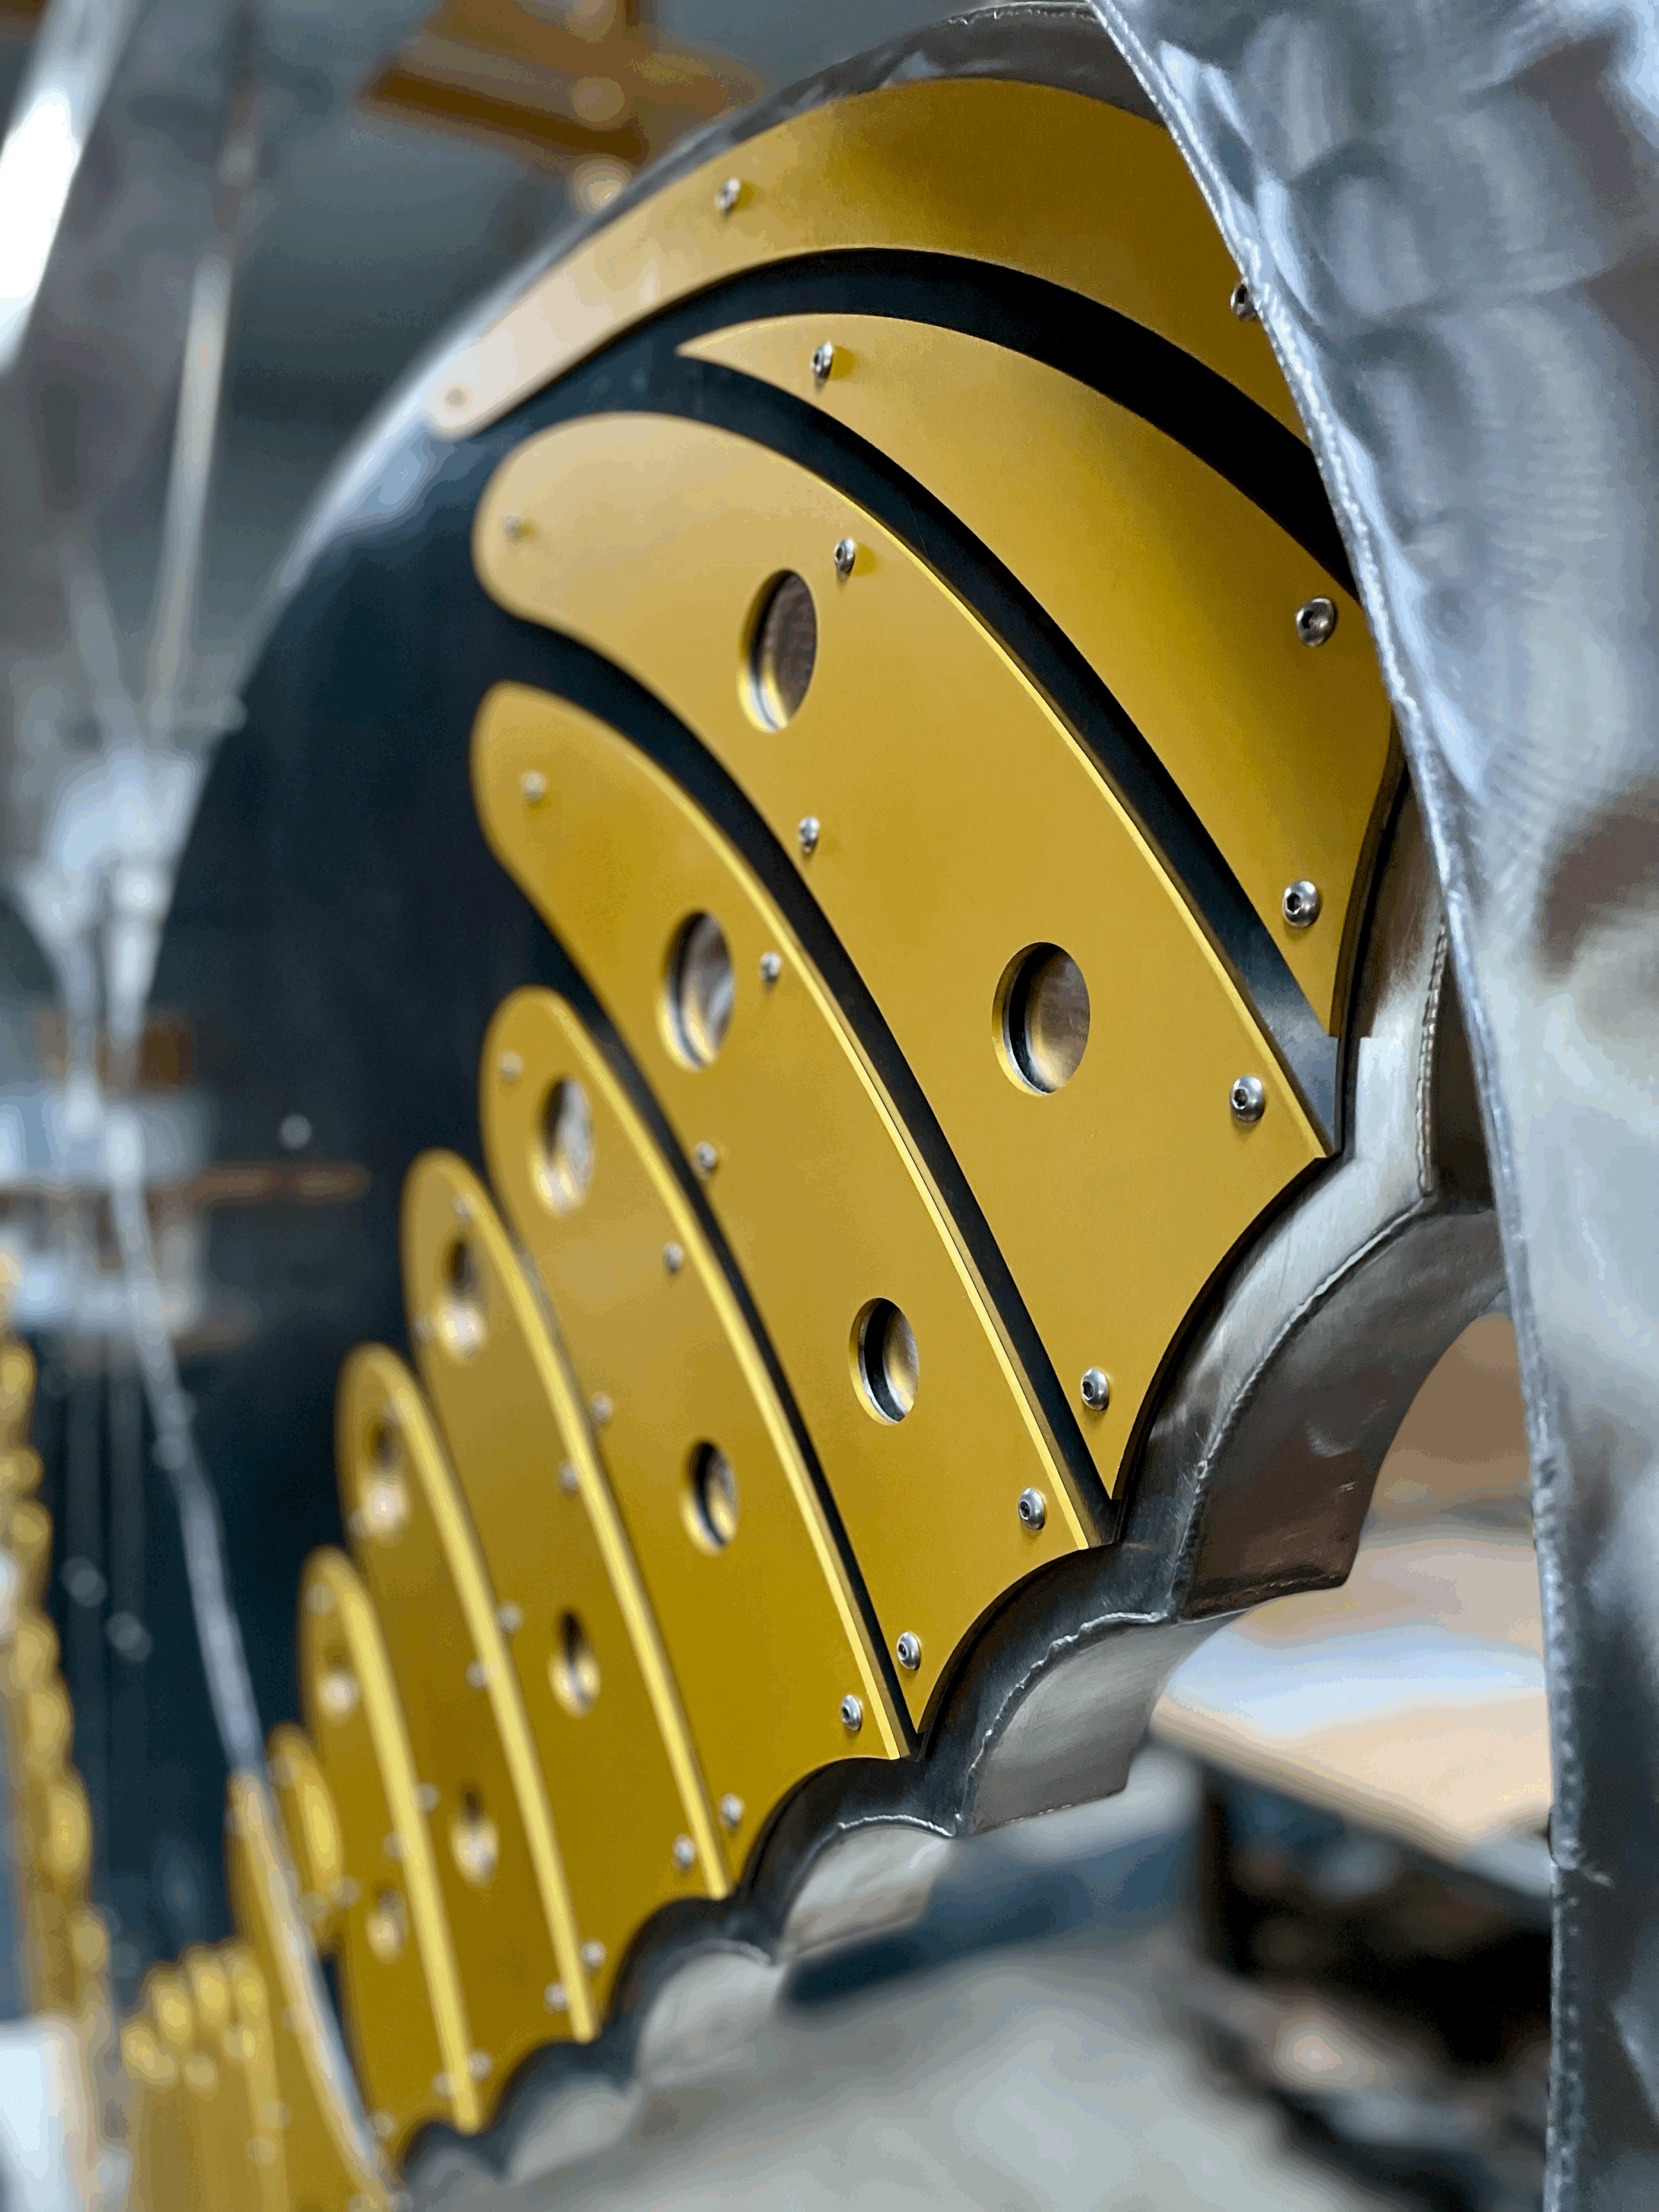
Event Horizon
Local Color
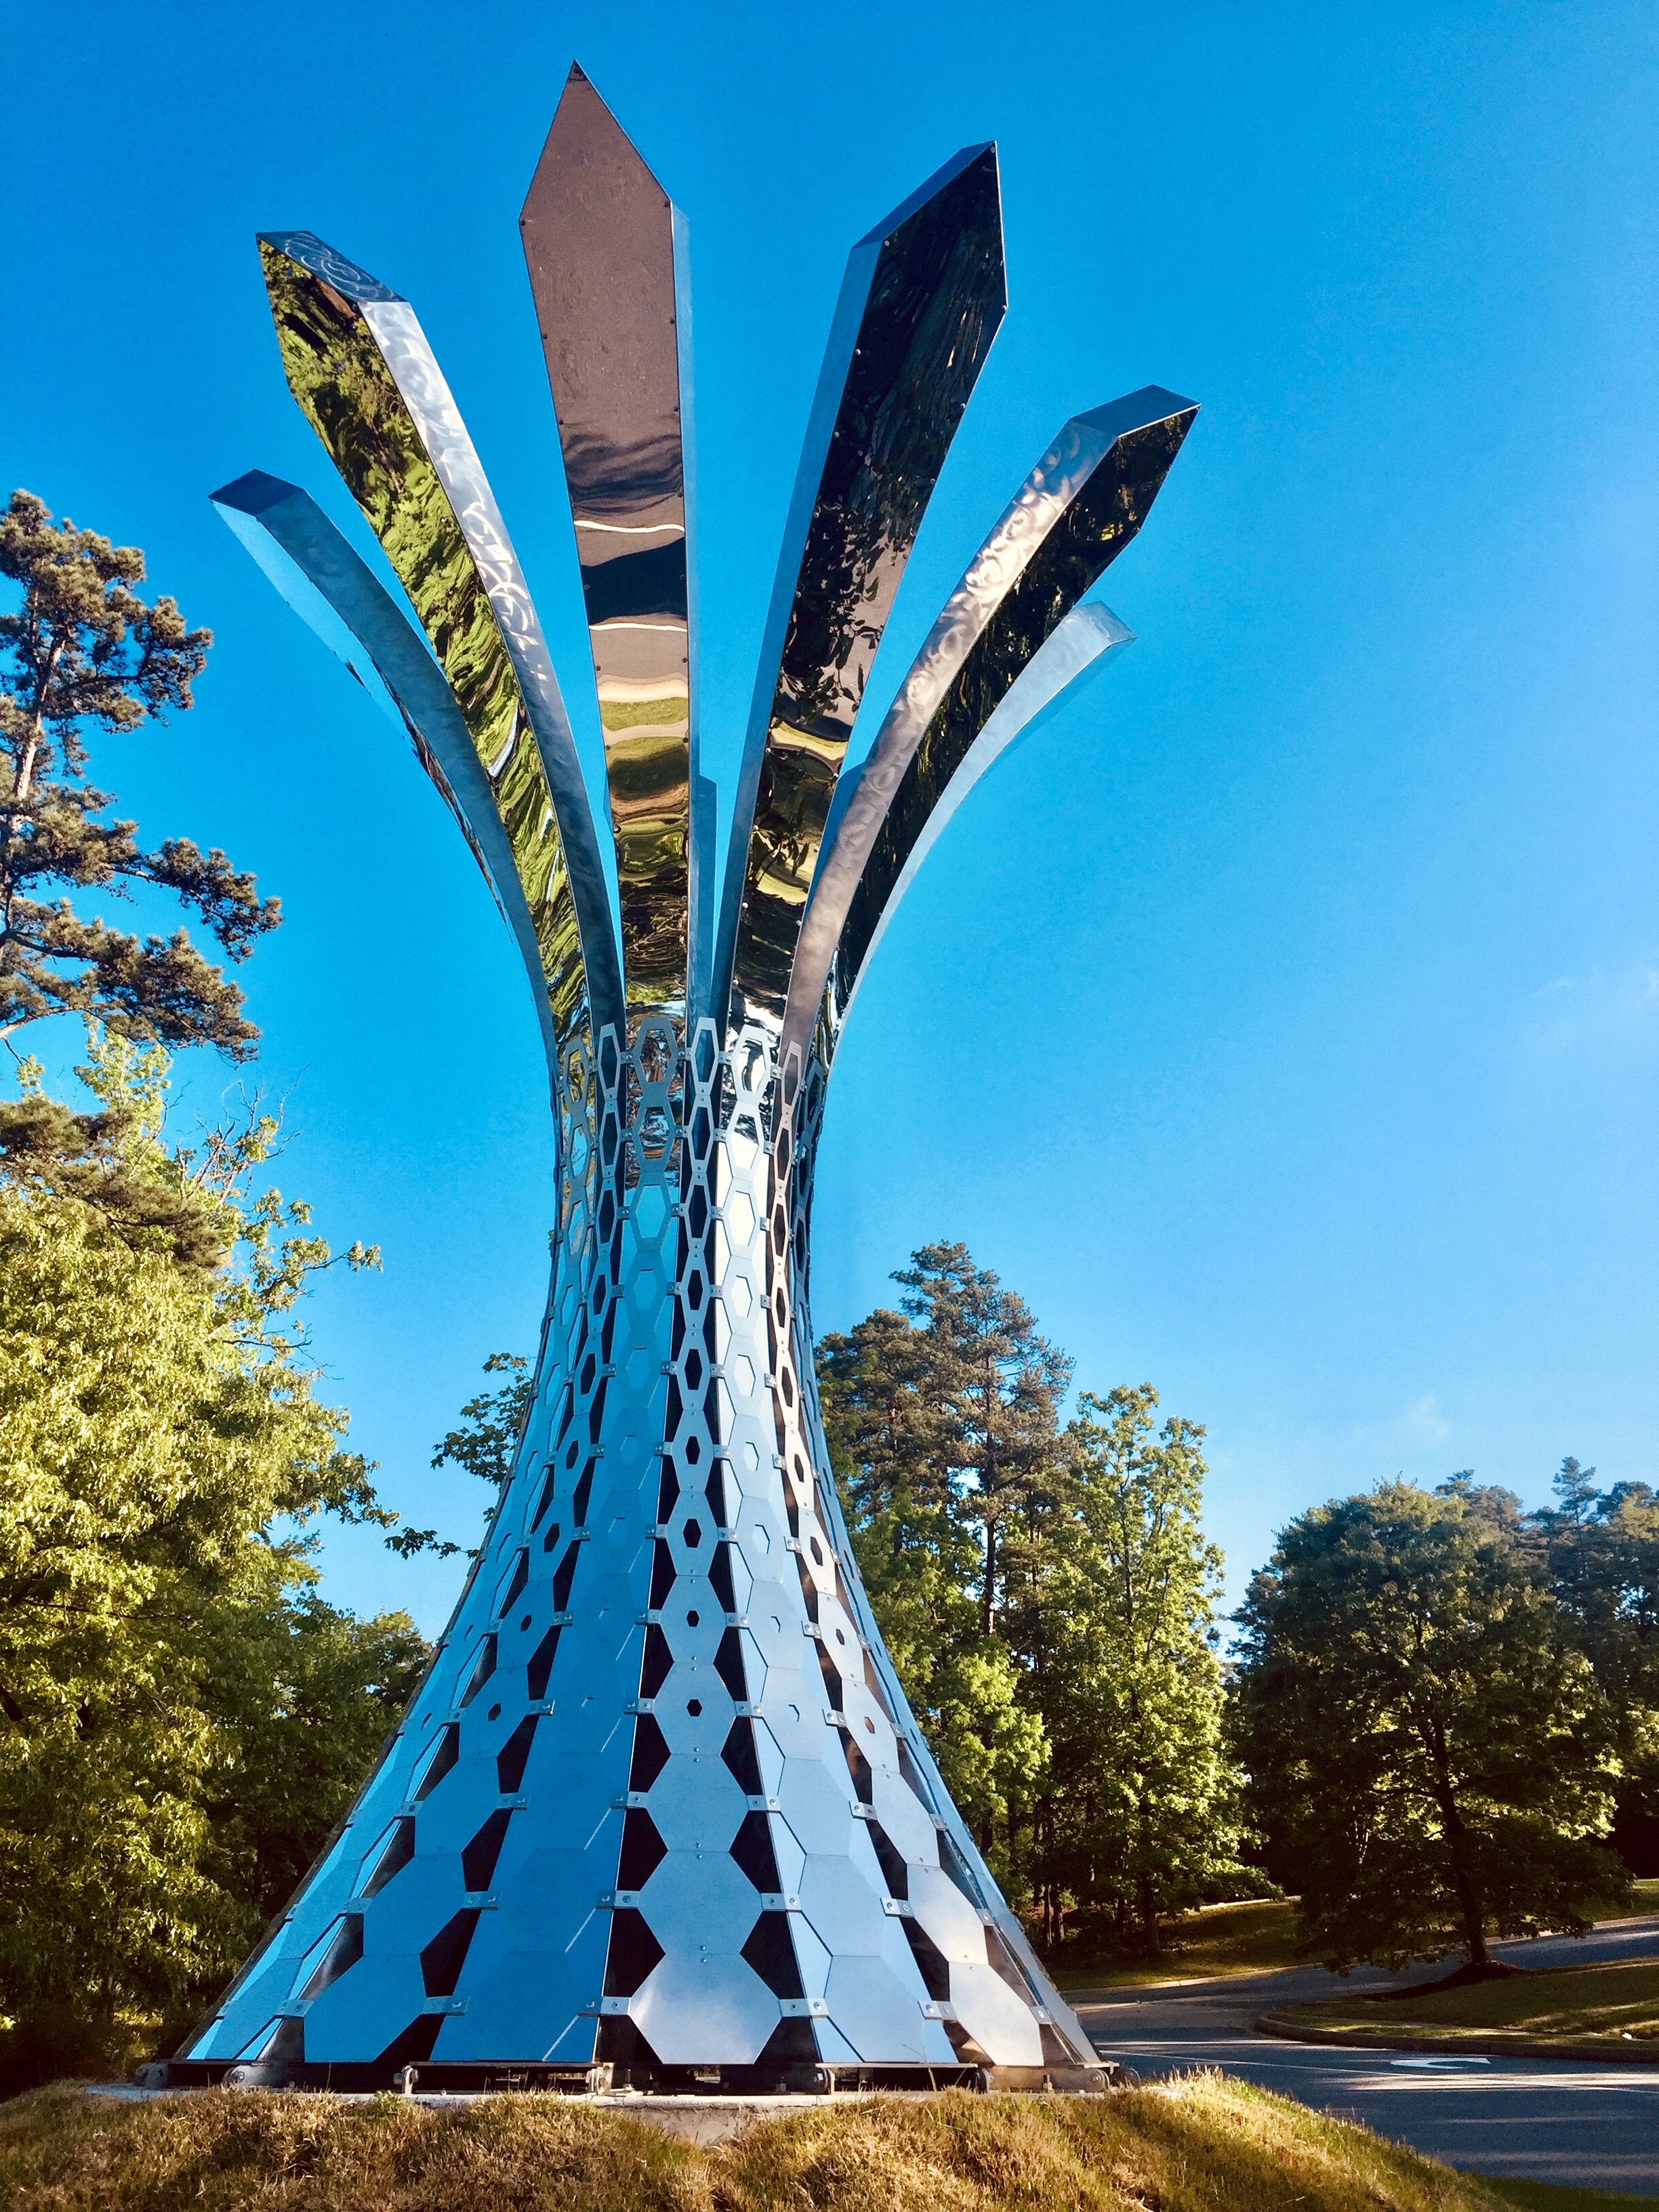
Interwoven
Terralogue Totems
Overcome
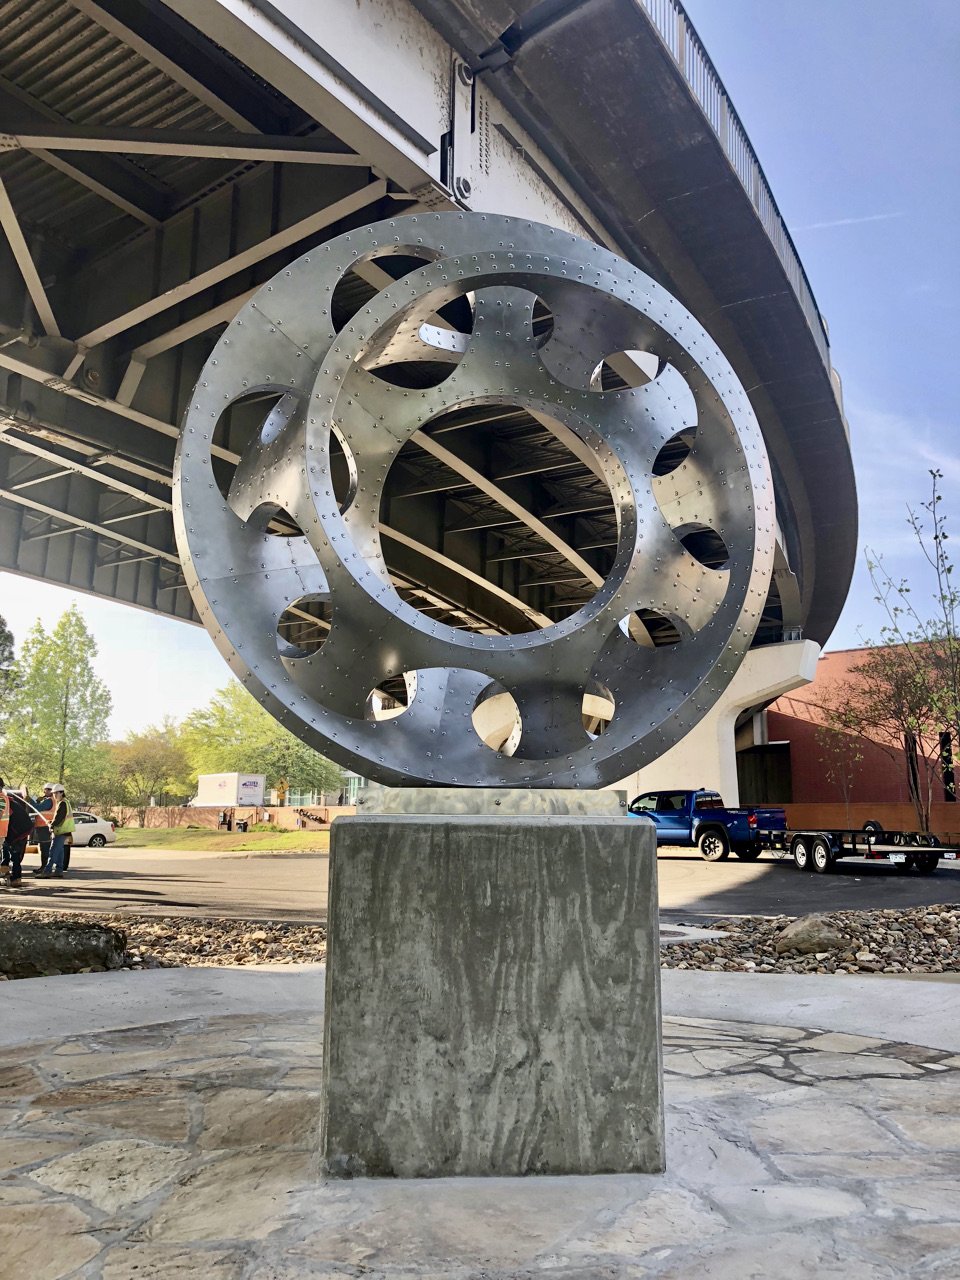
Conveyor
Smaller Works
About
ExoBlog
Projects
Event Horizon
Local Color
Interwoven
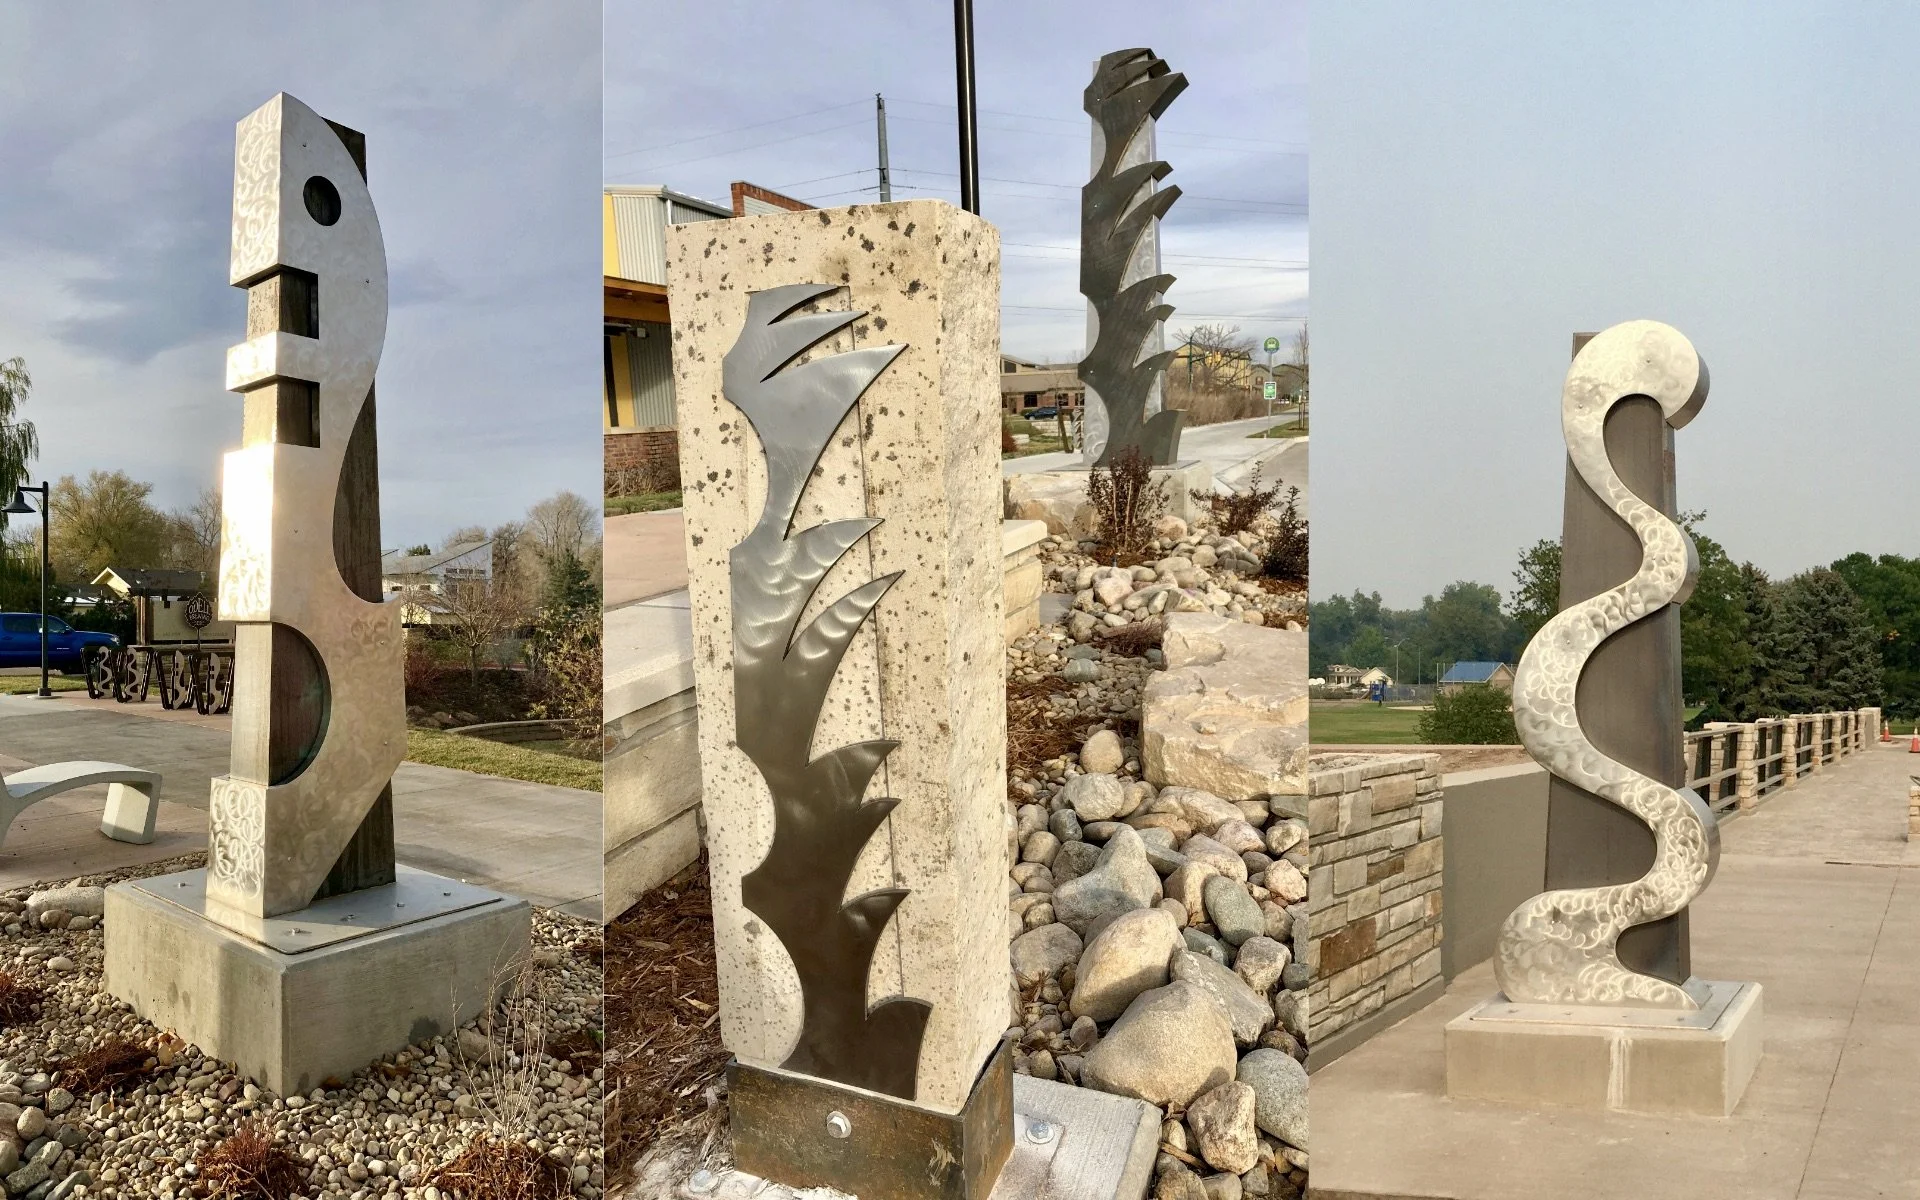
Terralogue Totems
Overcome
Conveyor
Smaller Works
About
ExoBlog
Exocubic Studio
1808 Orchard Place
Fort Collins, CO
USA
(970) 980-6475
Projects
/
Event Horizon
Projects
/
Local Color
Projects
/
Interwoven
Projects
/
Terralogue Totems
Projects
/
Overcome
Projects
/
Conveyor
Projects
/
Smaller Works