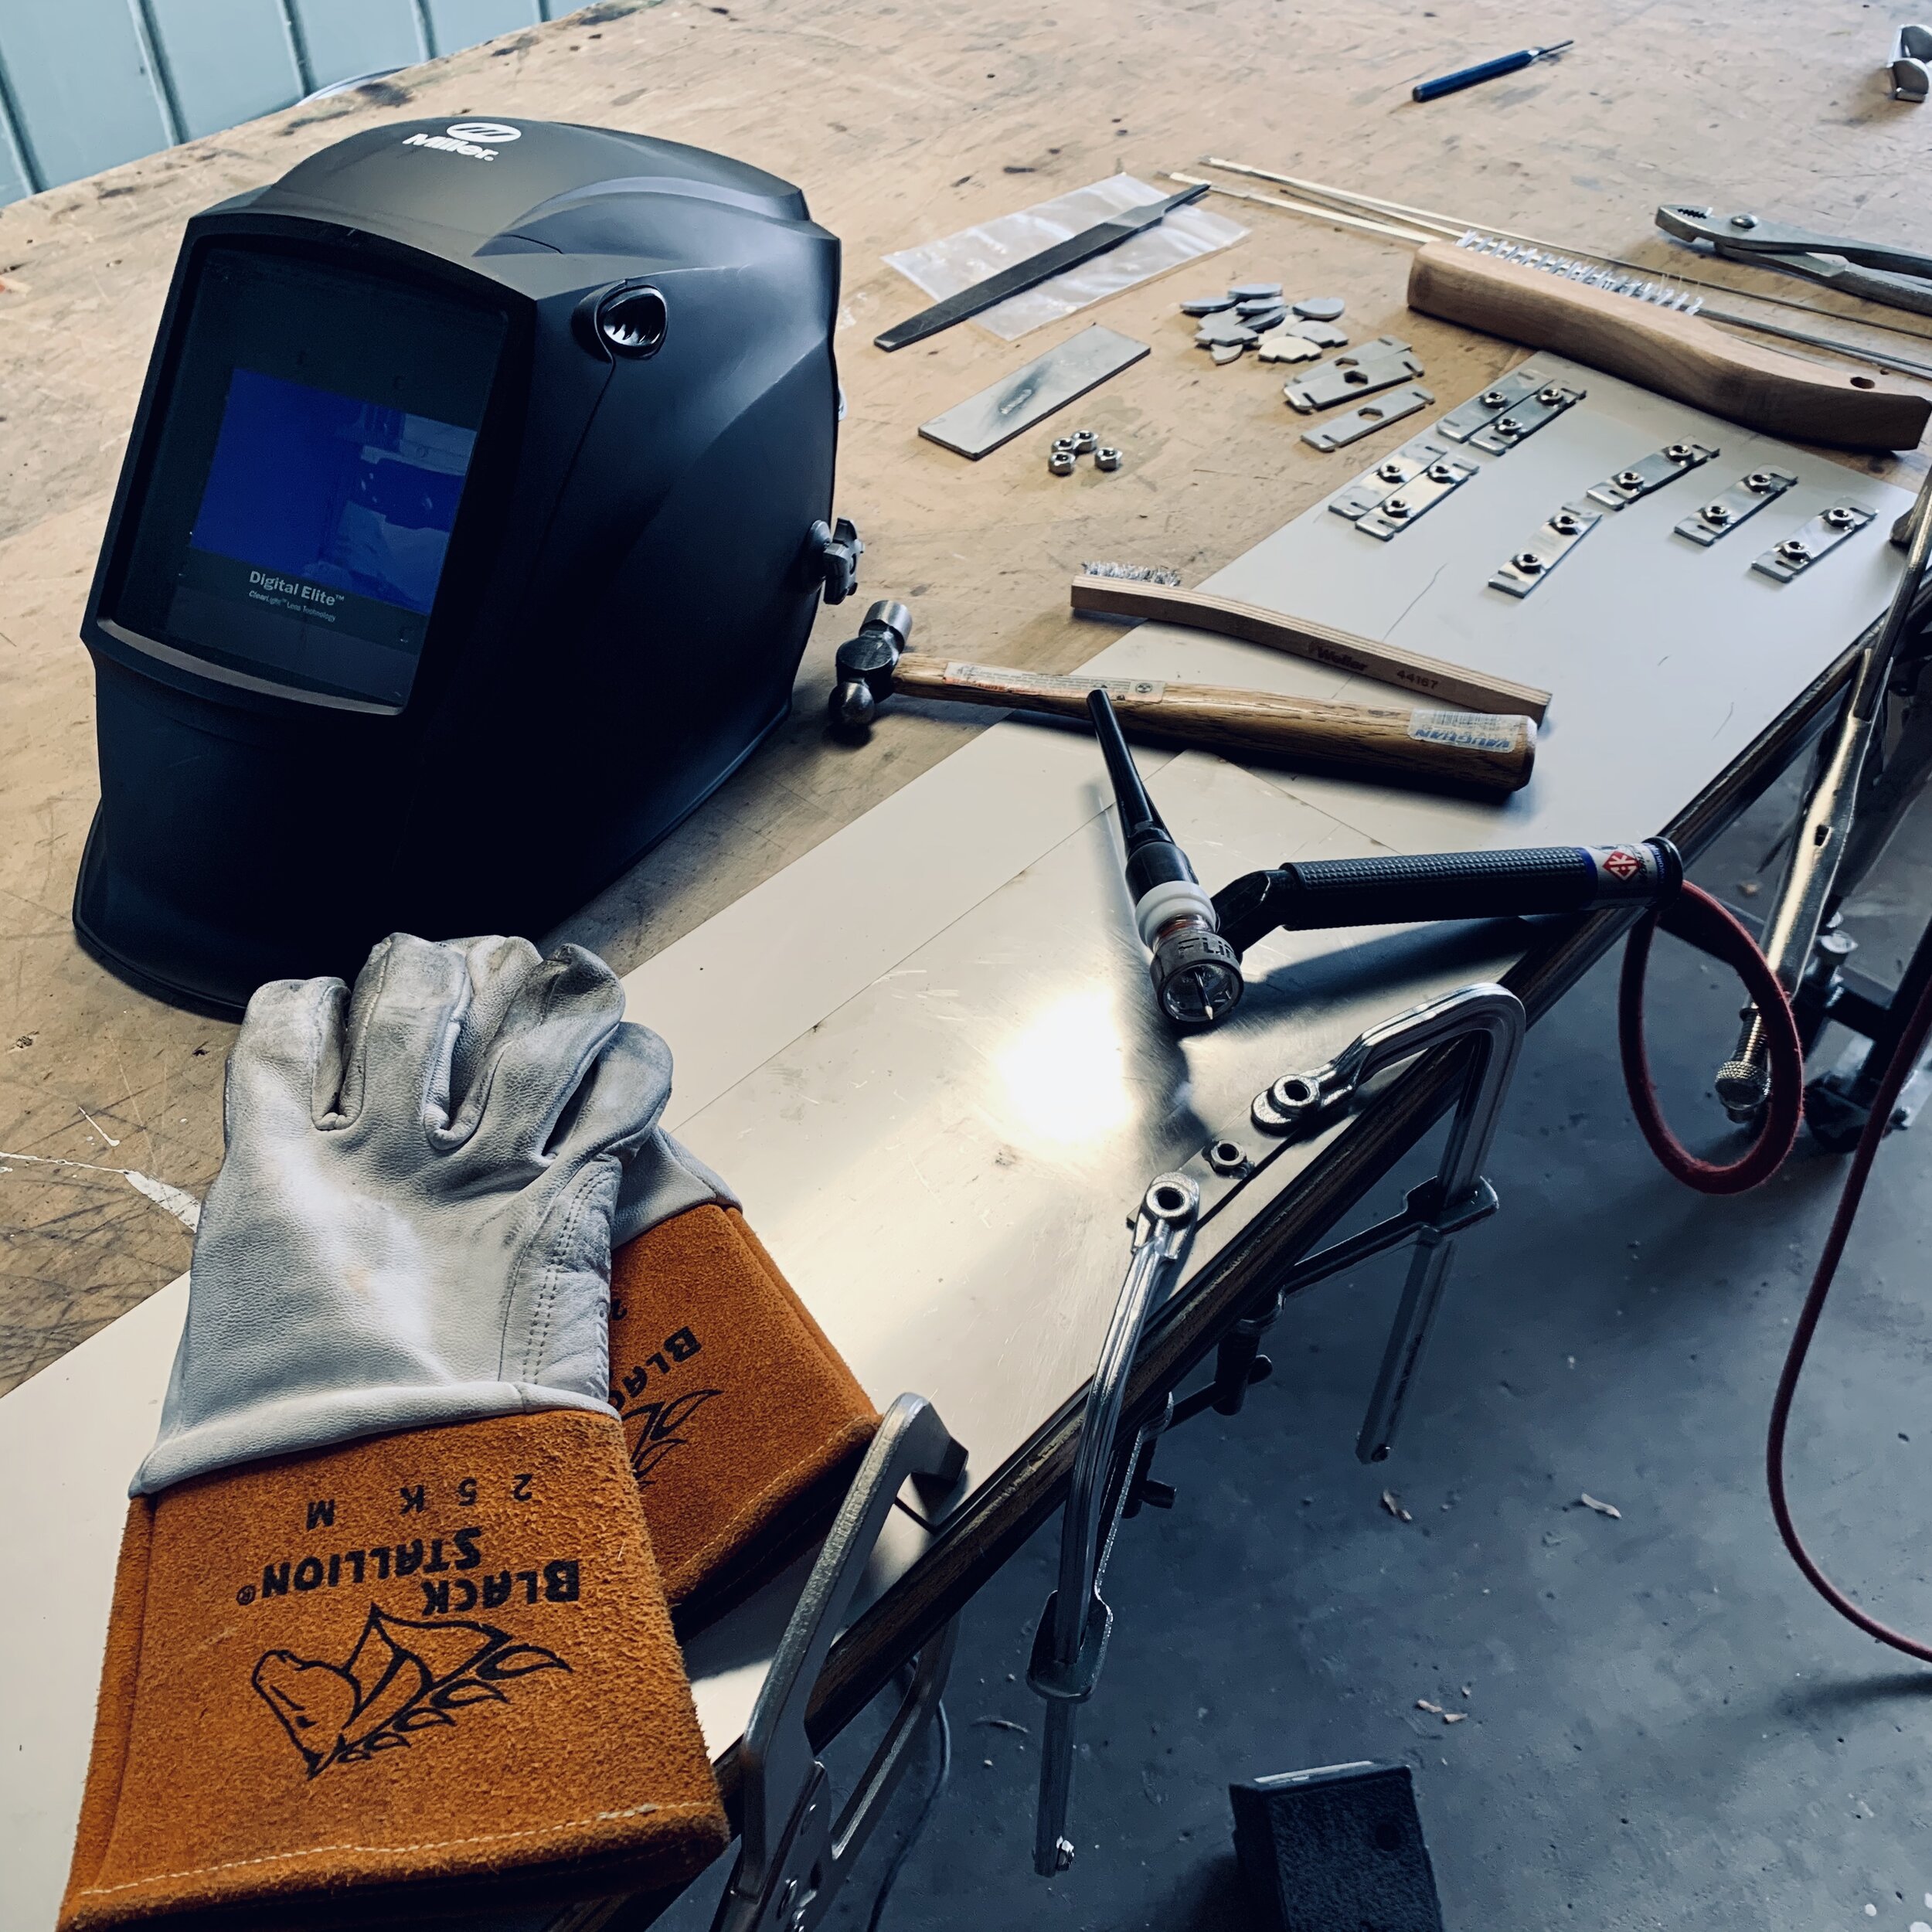
Some process shots of building the tools.
fabrication


Fire Tools. /
Once I decided the CinderCone required an ash door to clean out the fire basin, it was pretty self-evident that some tools to facilitate the process were in order. That, and my own set of tools was pretty homely and long in the tooth. I elected to run with the hexagon motif and stick with solid stainless for the material.

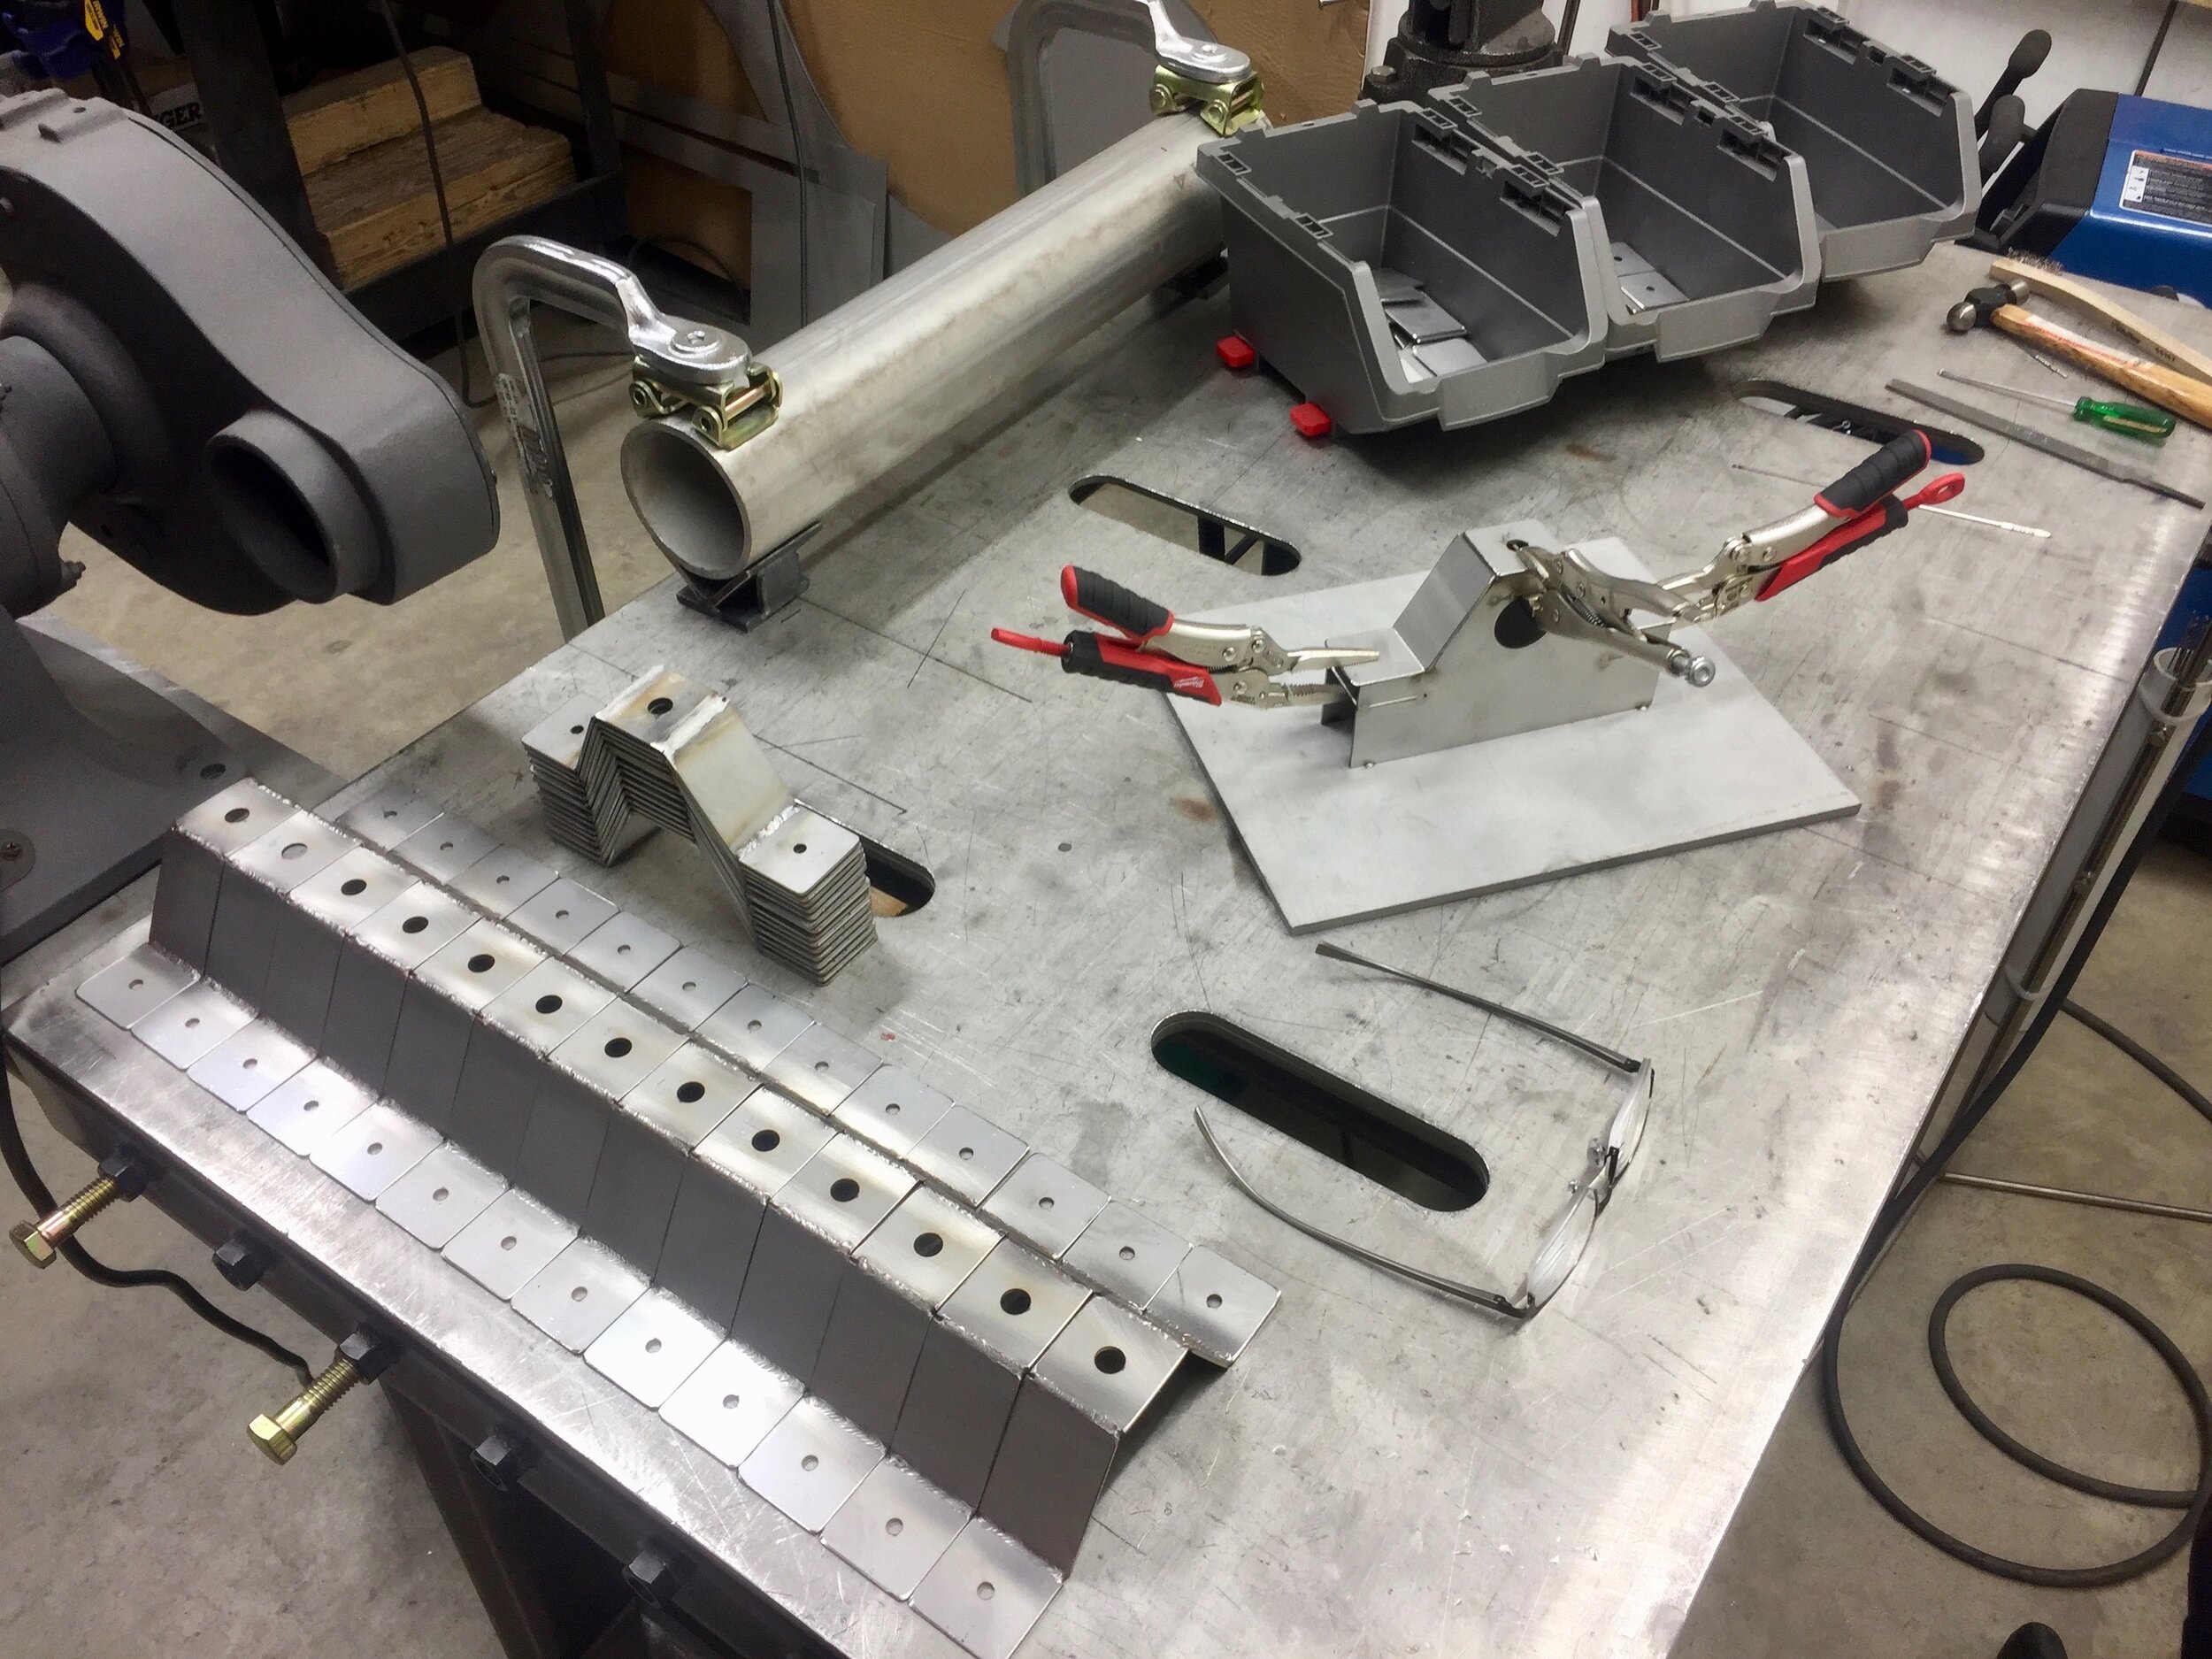
The Poker/Hook. Went with hexagonal rod for the shaft to really drive home the idea that Hexes Are Awesome.

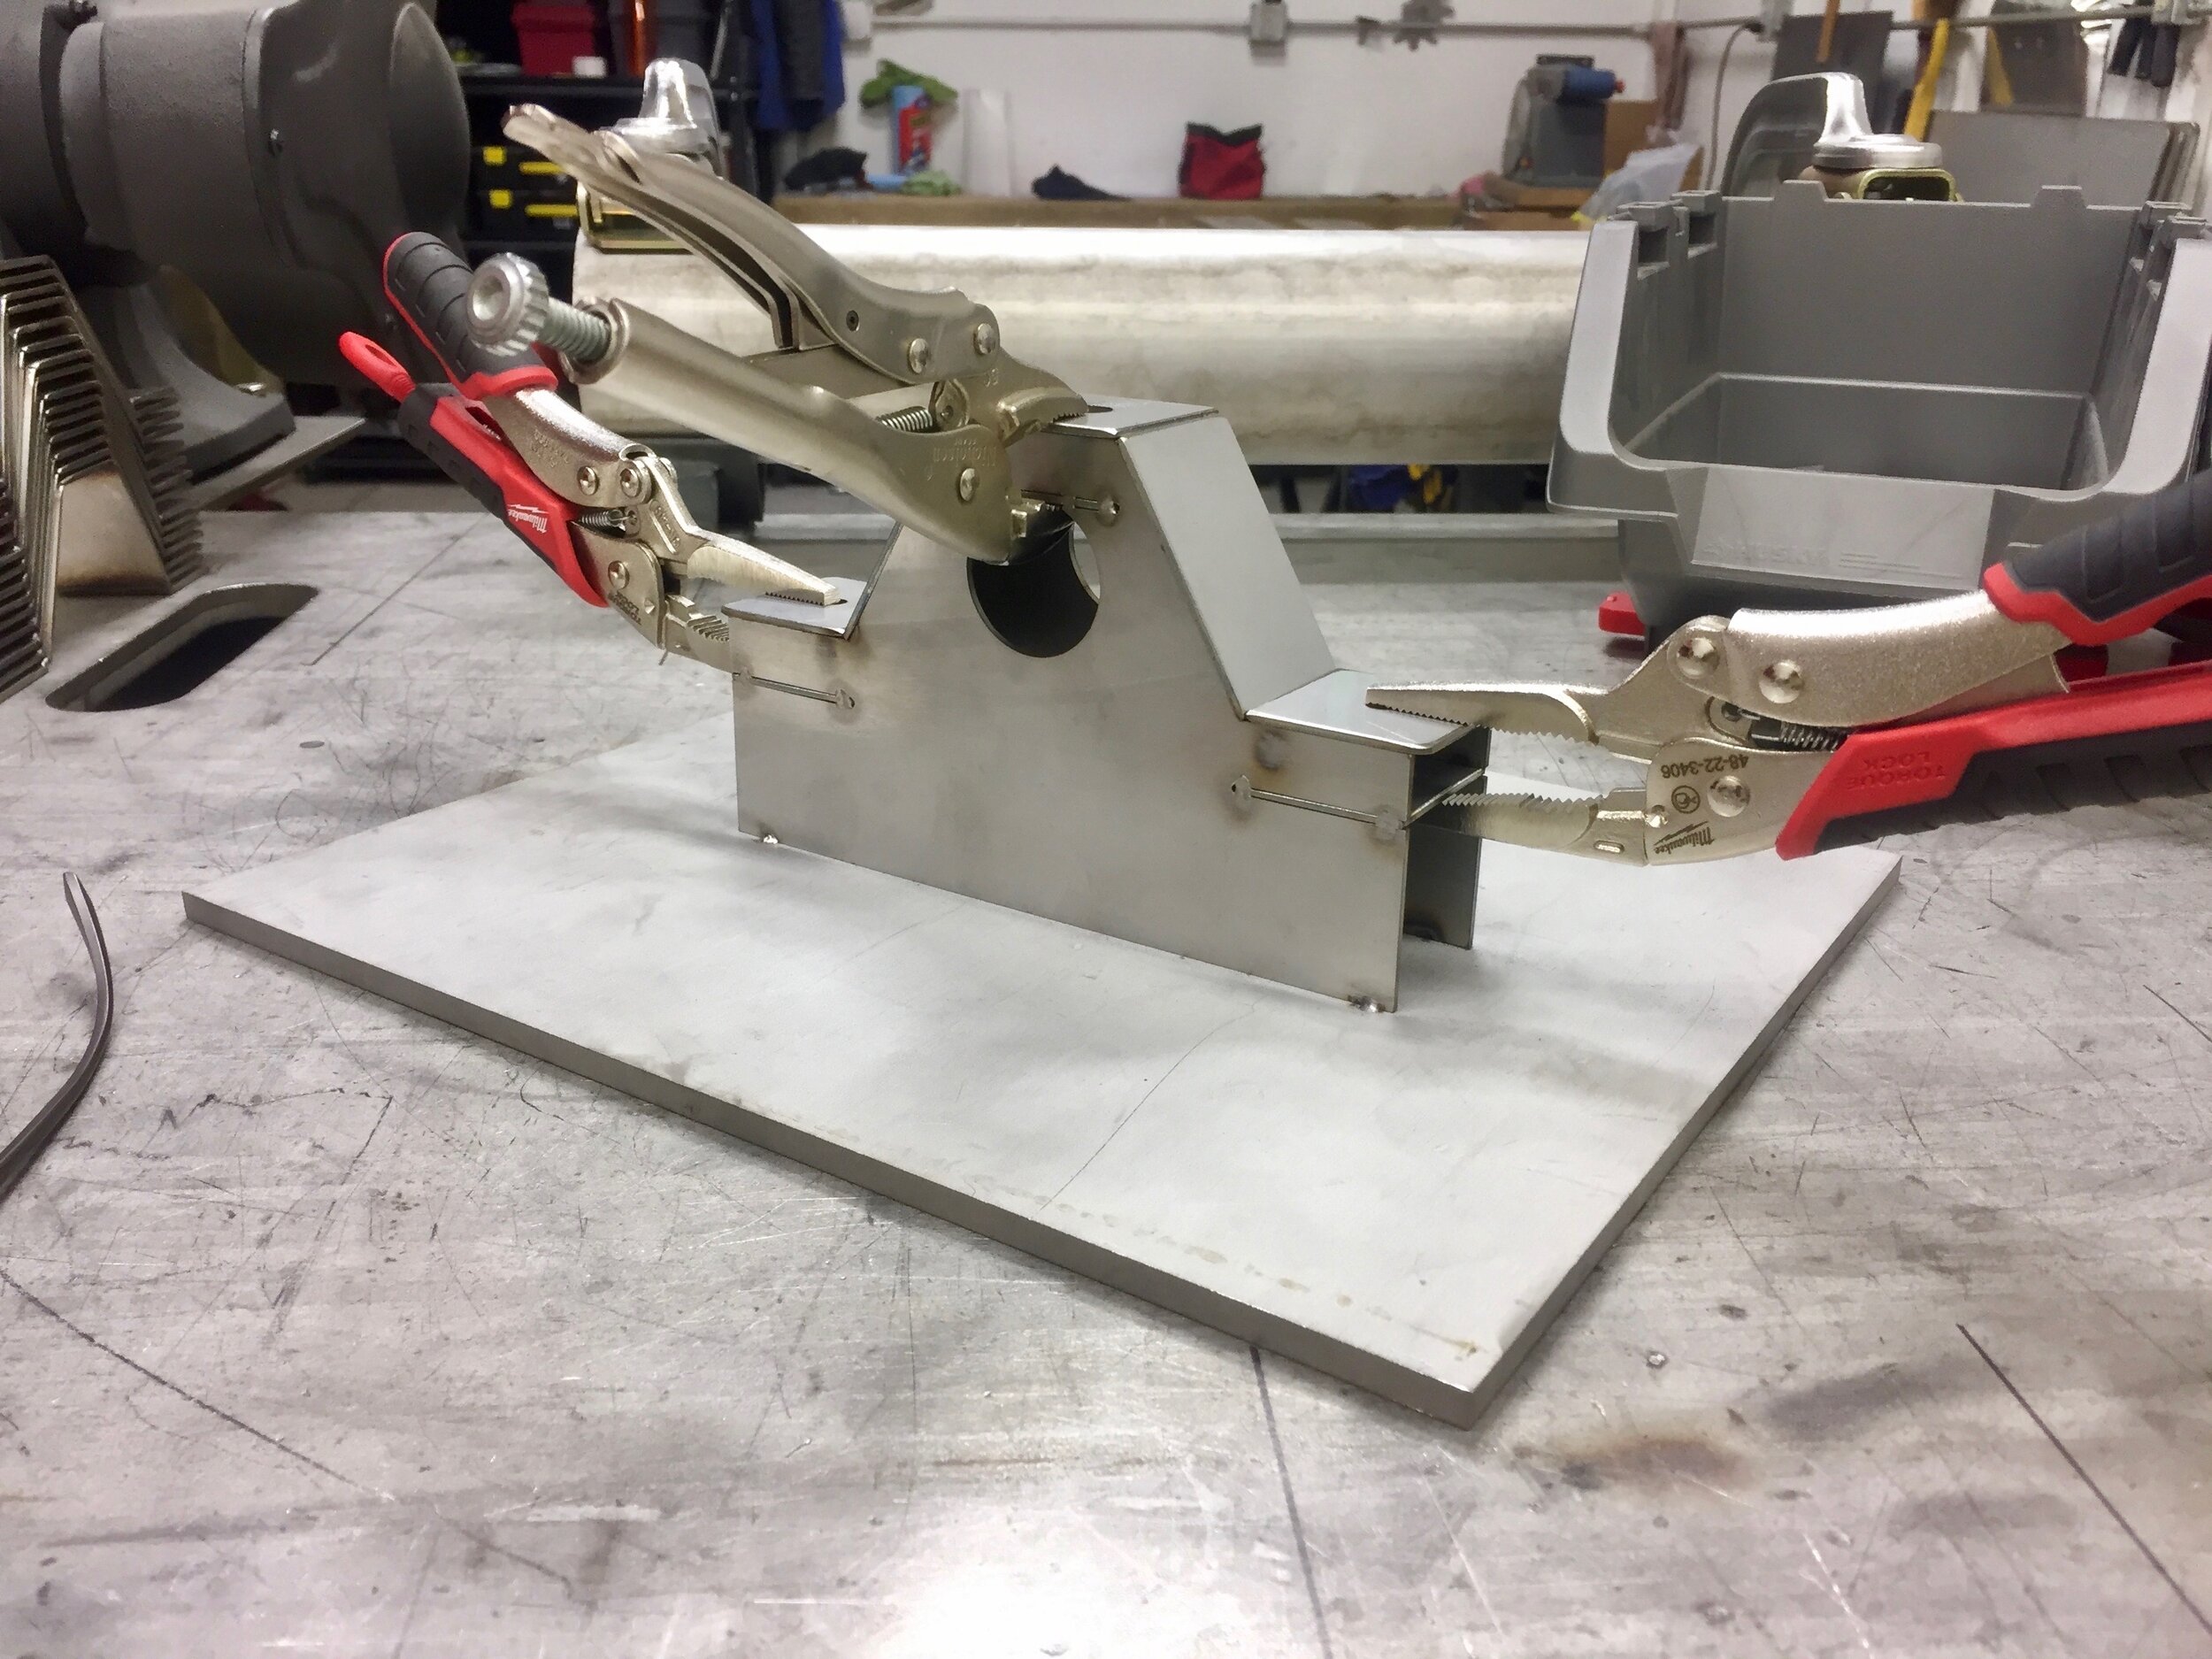
Shovel. 11 gauge stainless steel scoop with tab and slot construction.

And… the tongs. Challenging design, but worth it.
With the tools designed, I realized they needed a place to live — one that complimented the CinderCone but was capable of standing on its own, too.

A “garage” to store the tools. The Hive!
CinderCone: Making V2, Part 2. /
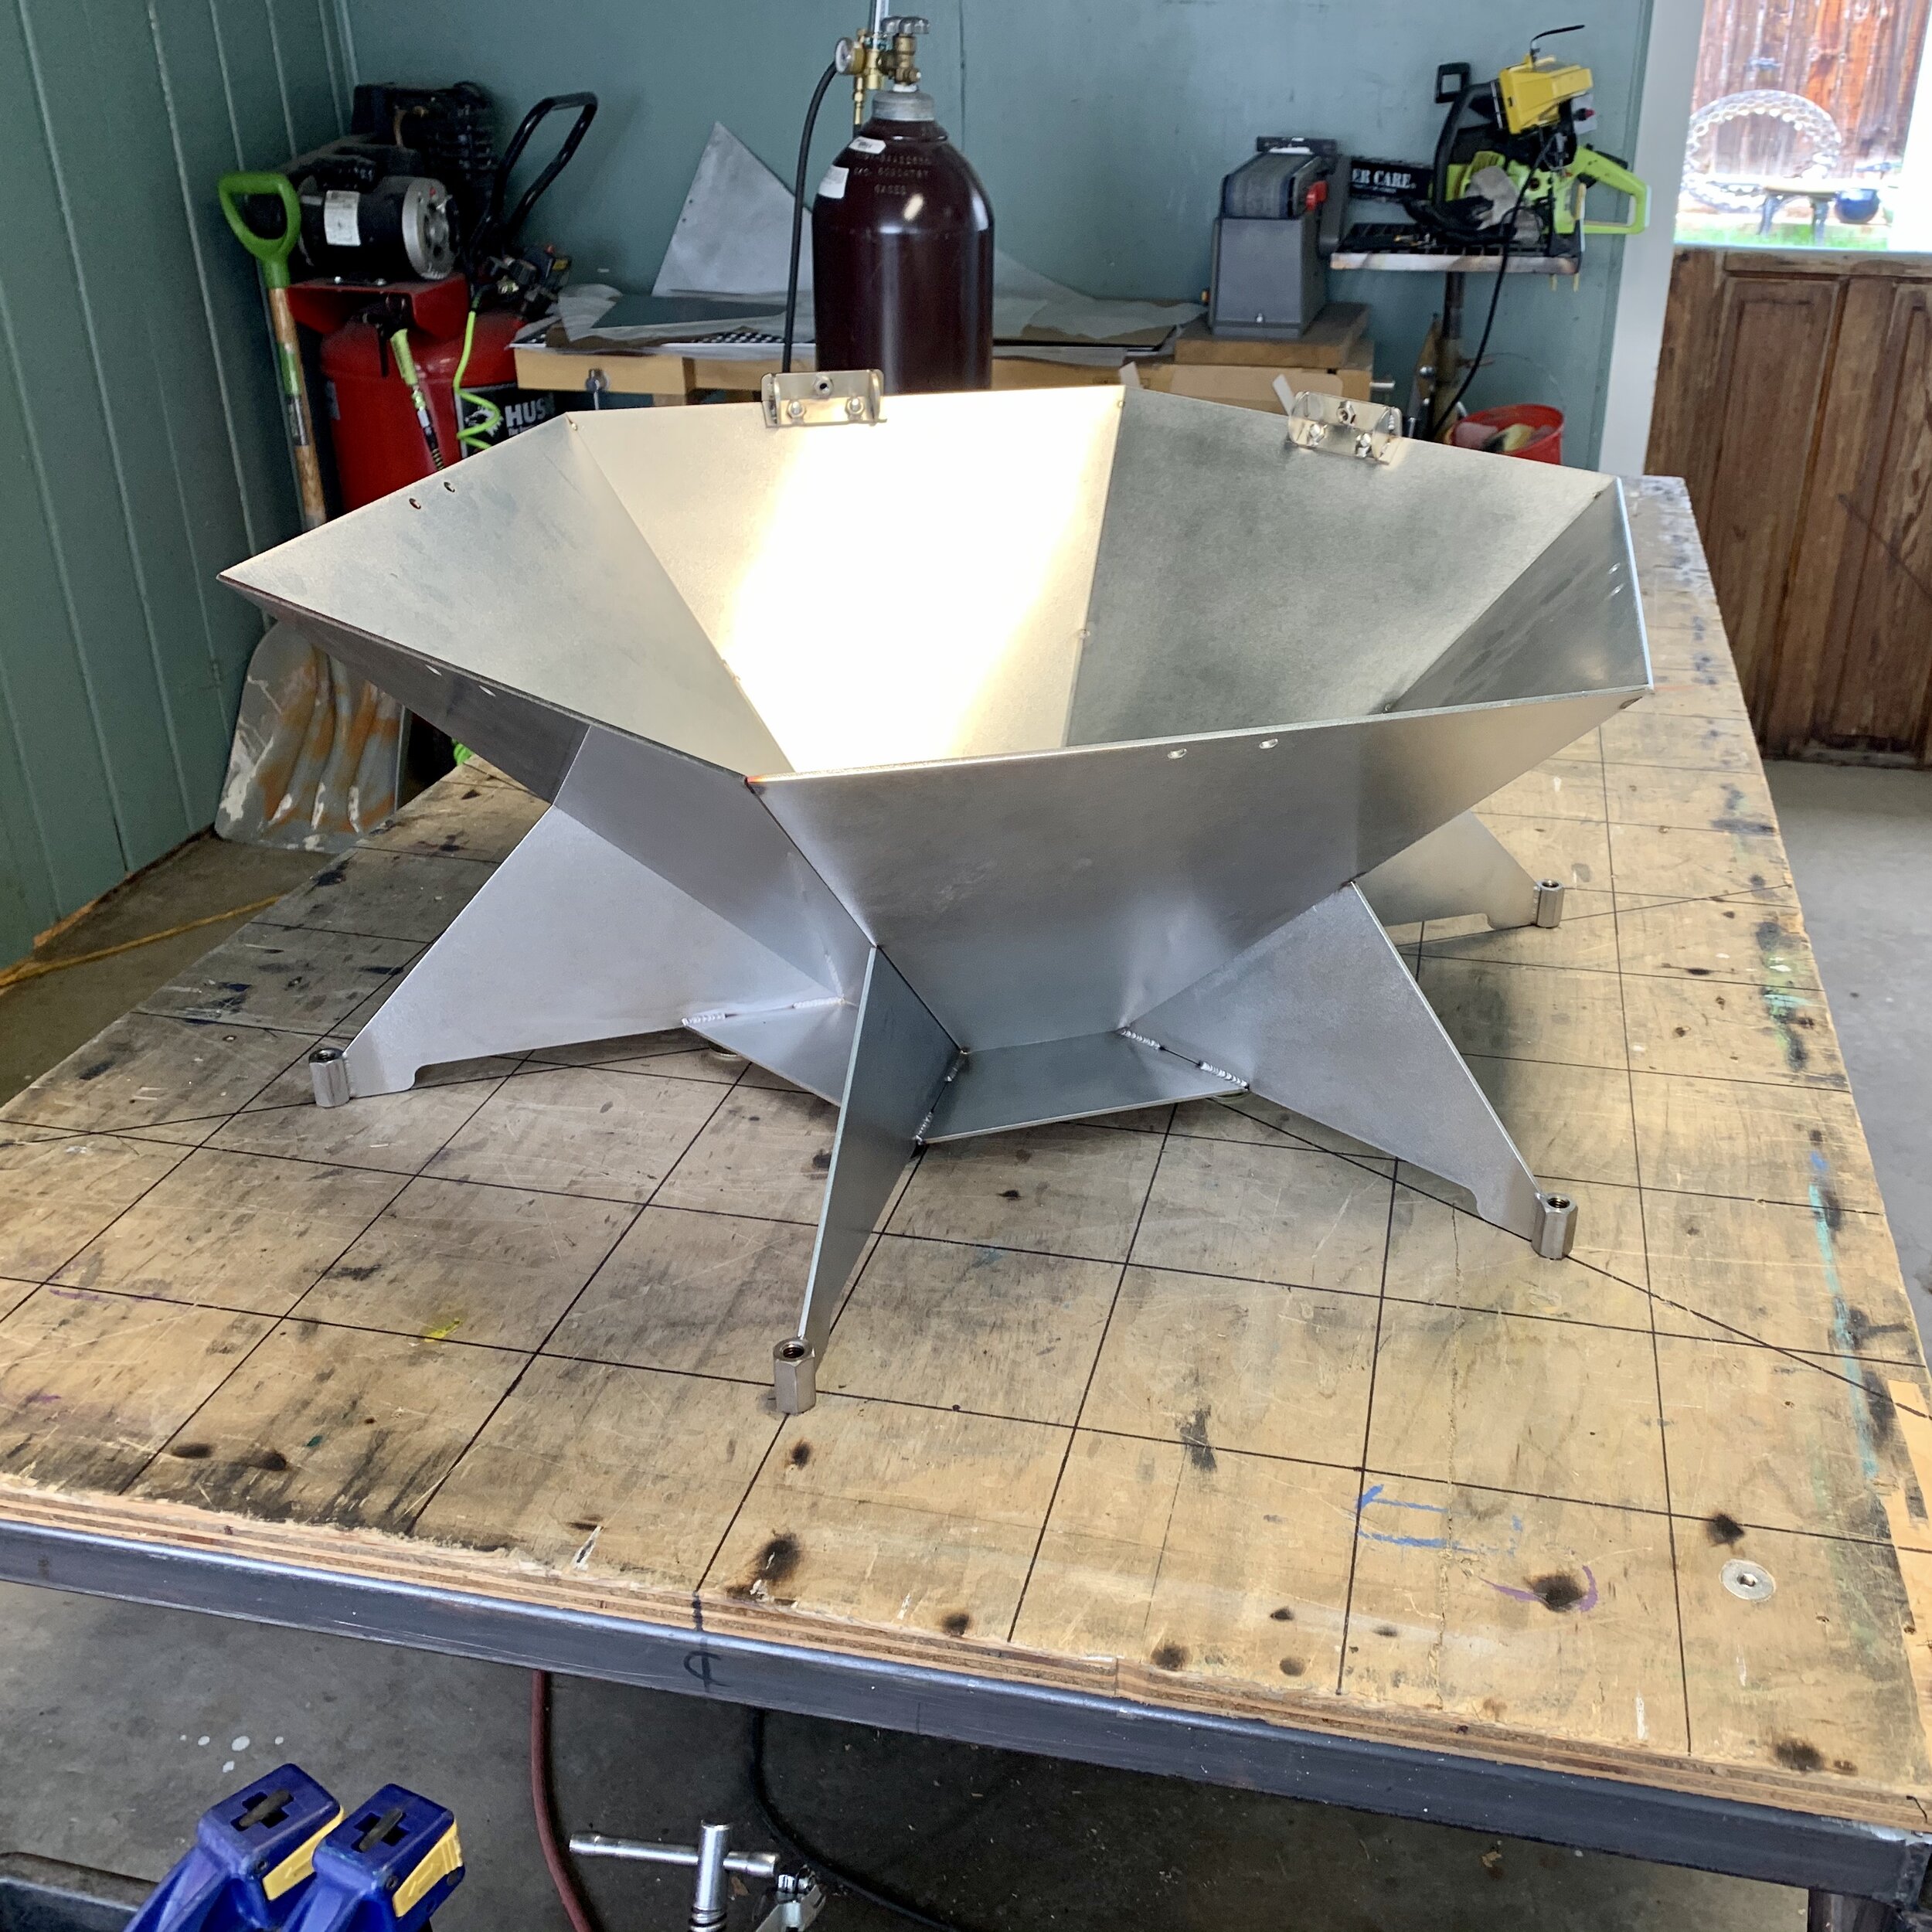
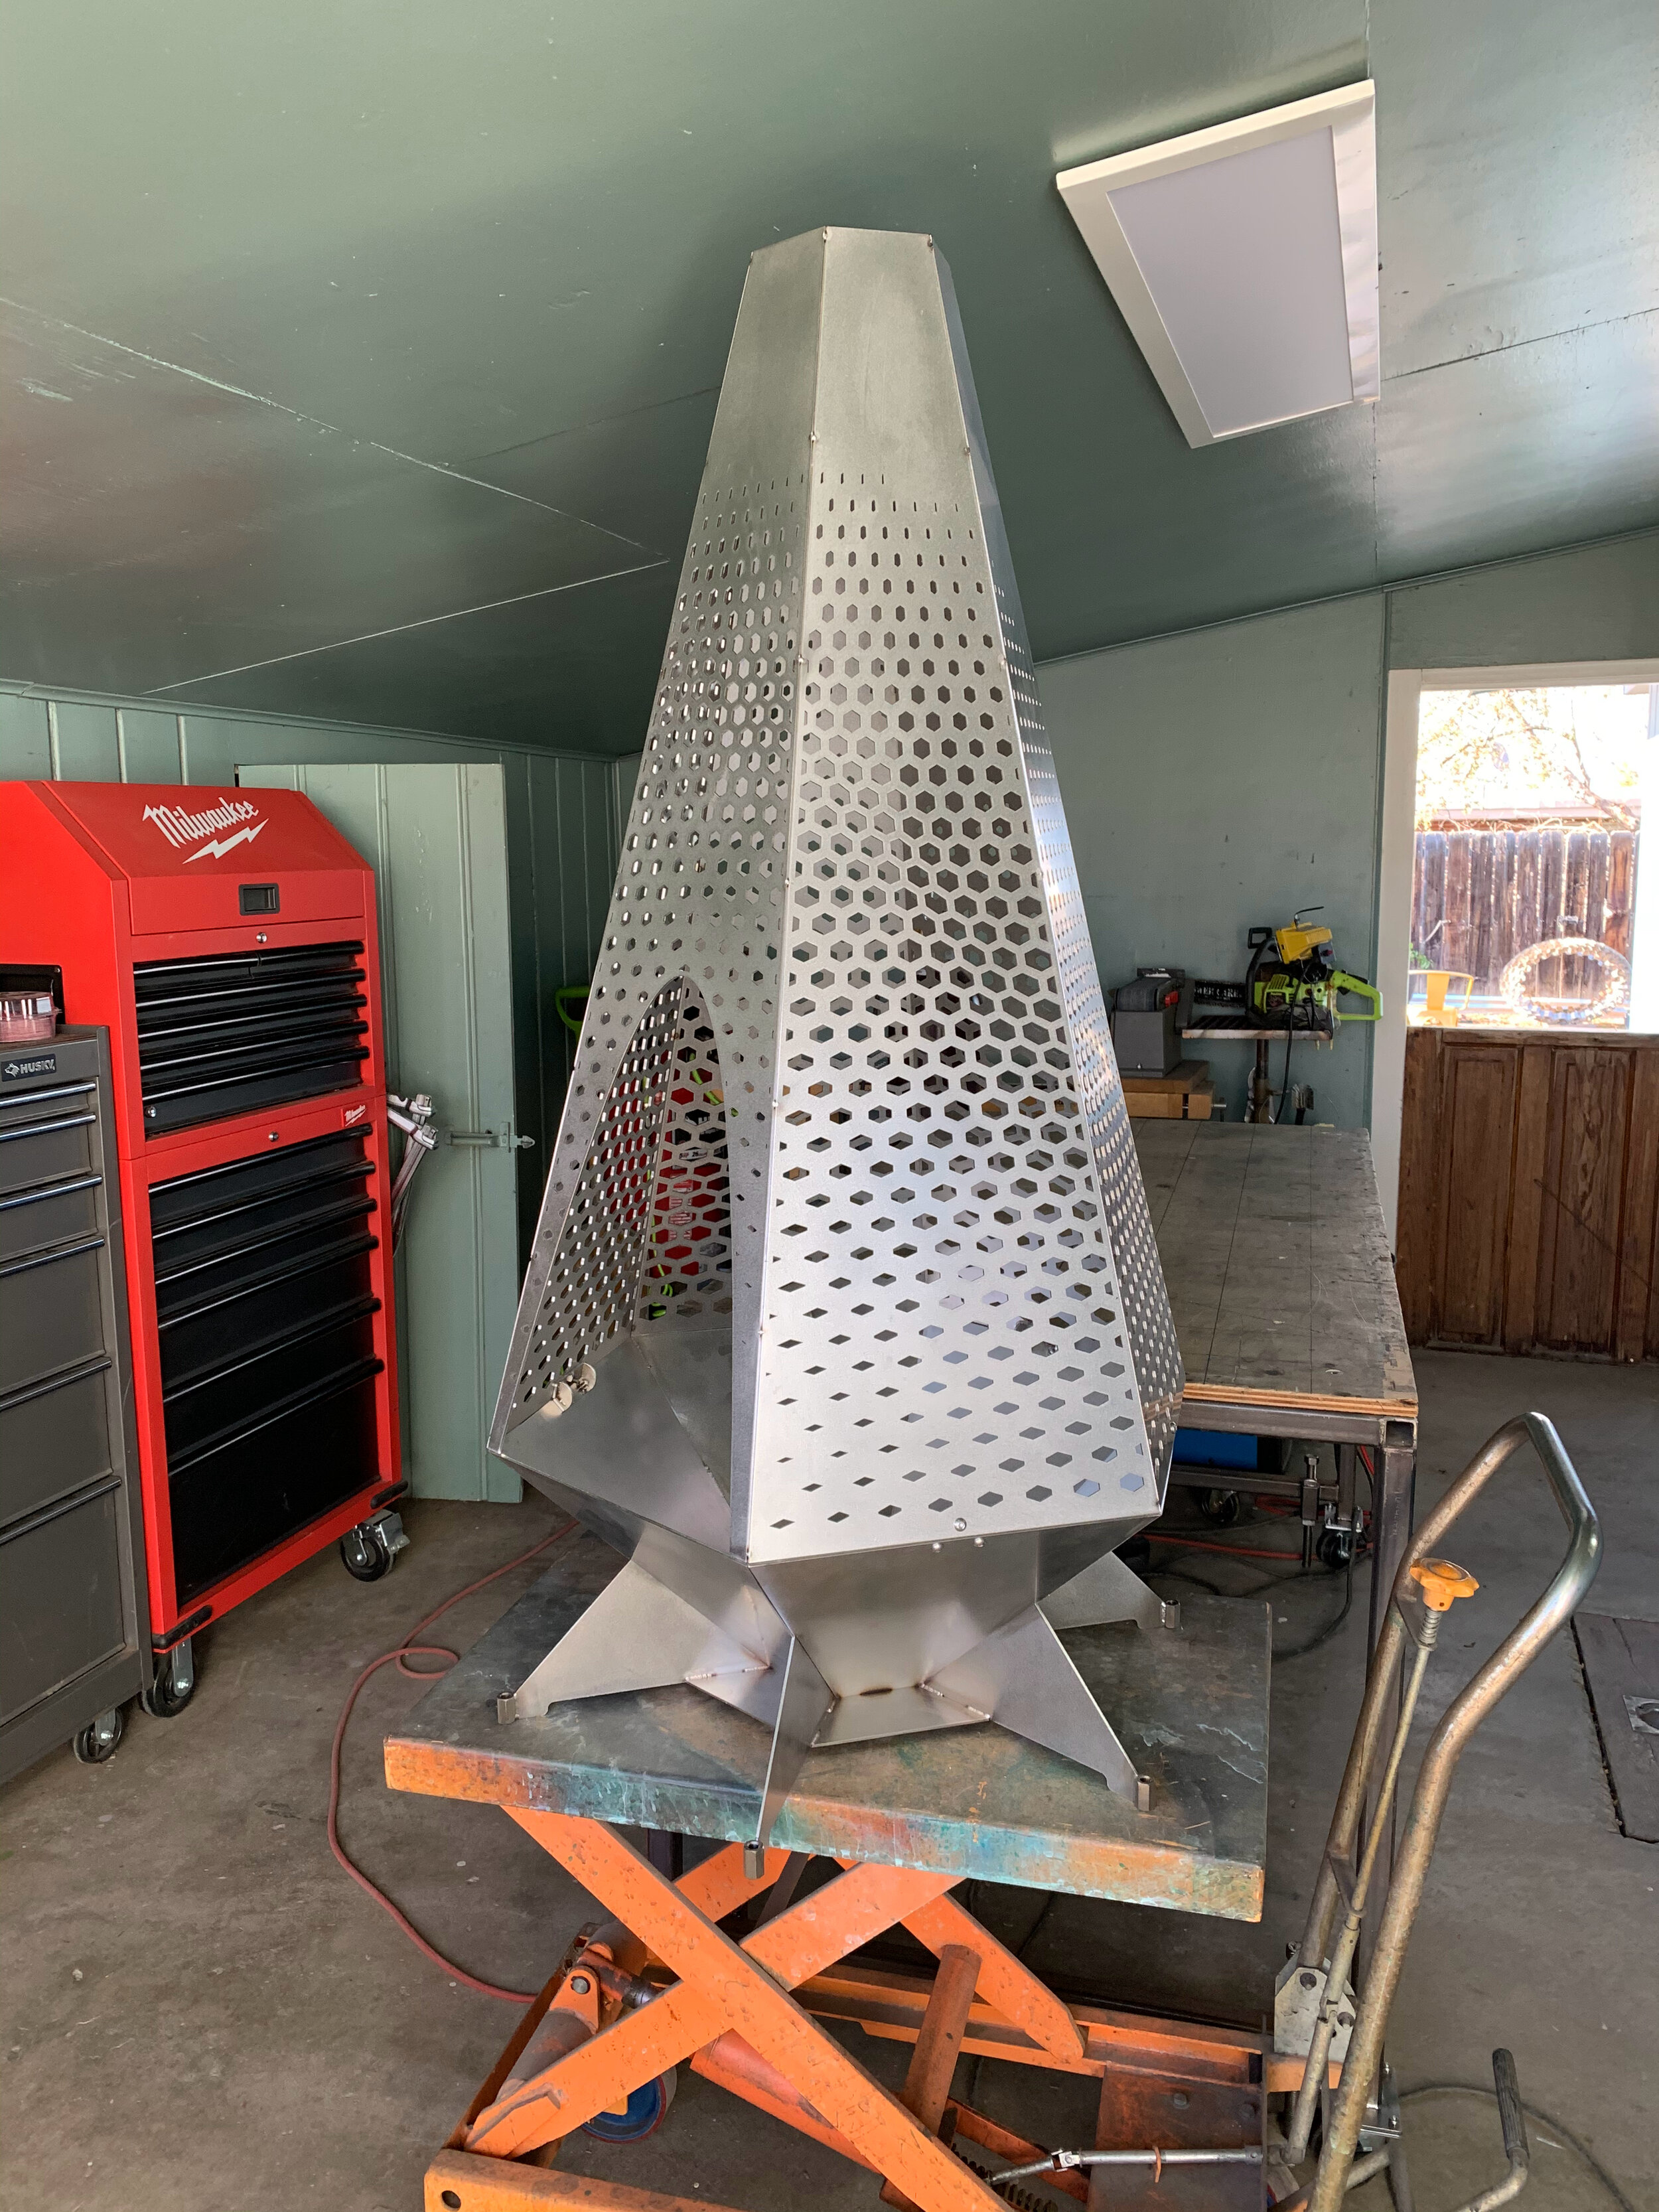
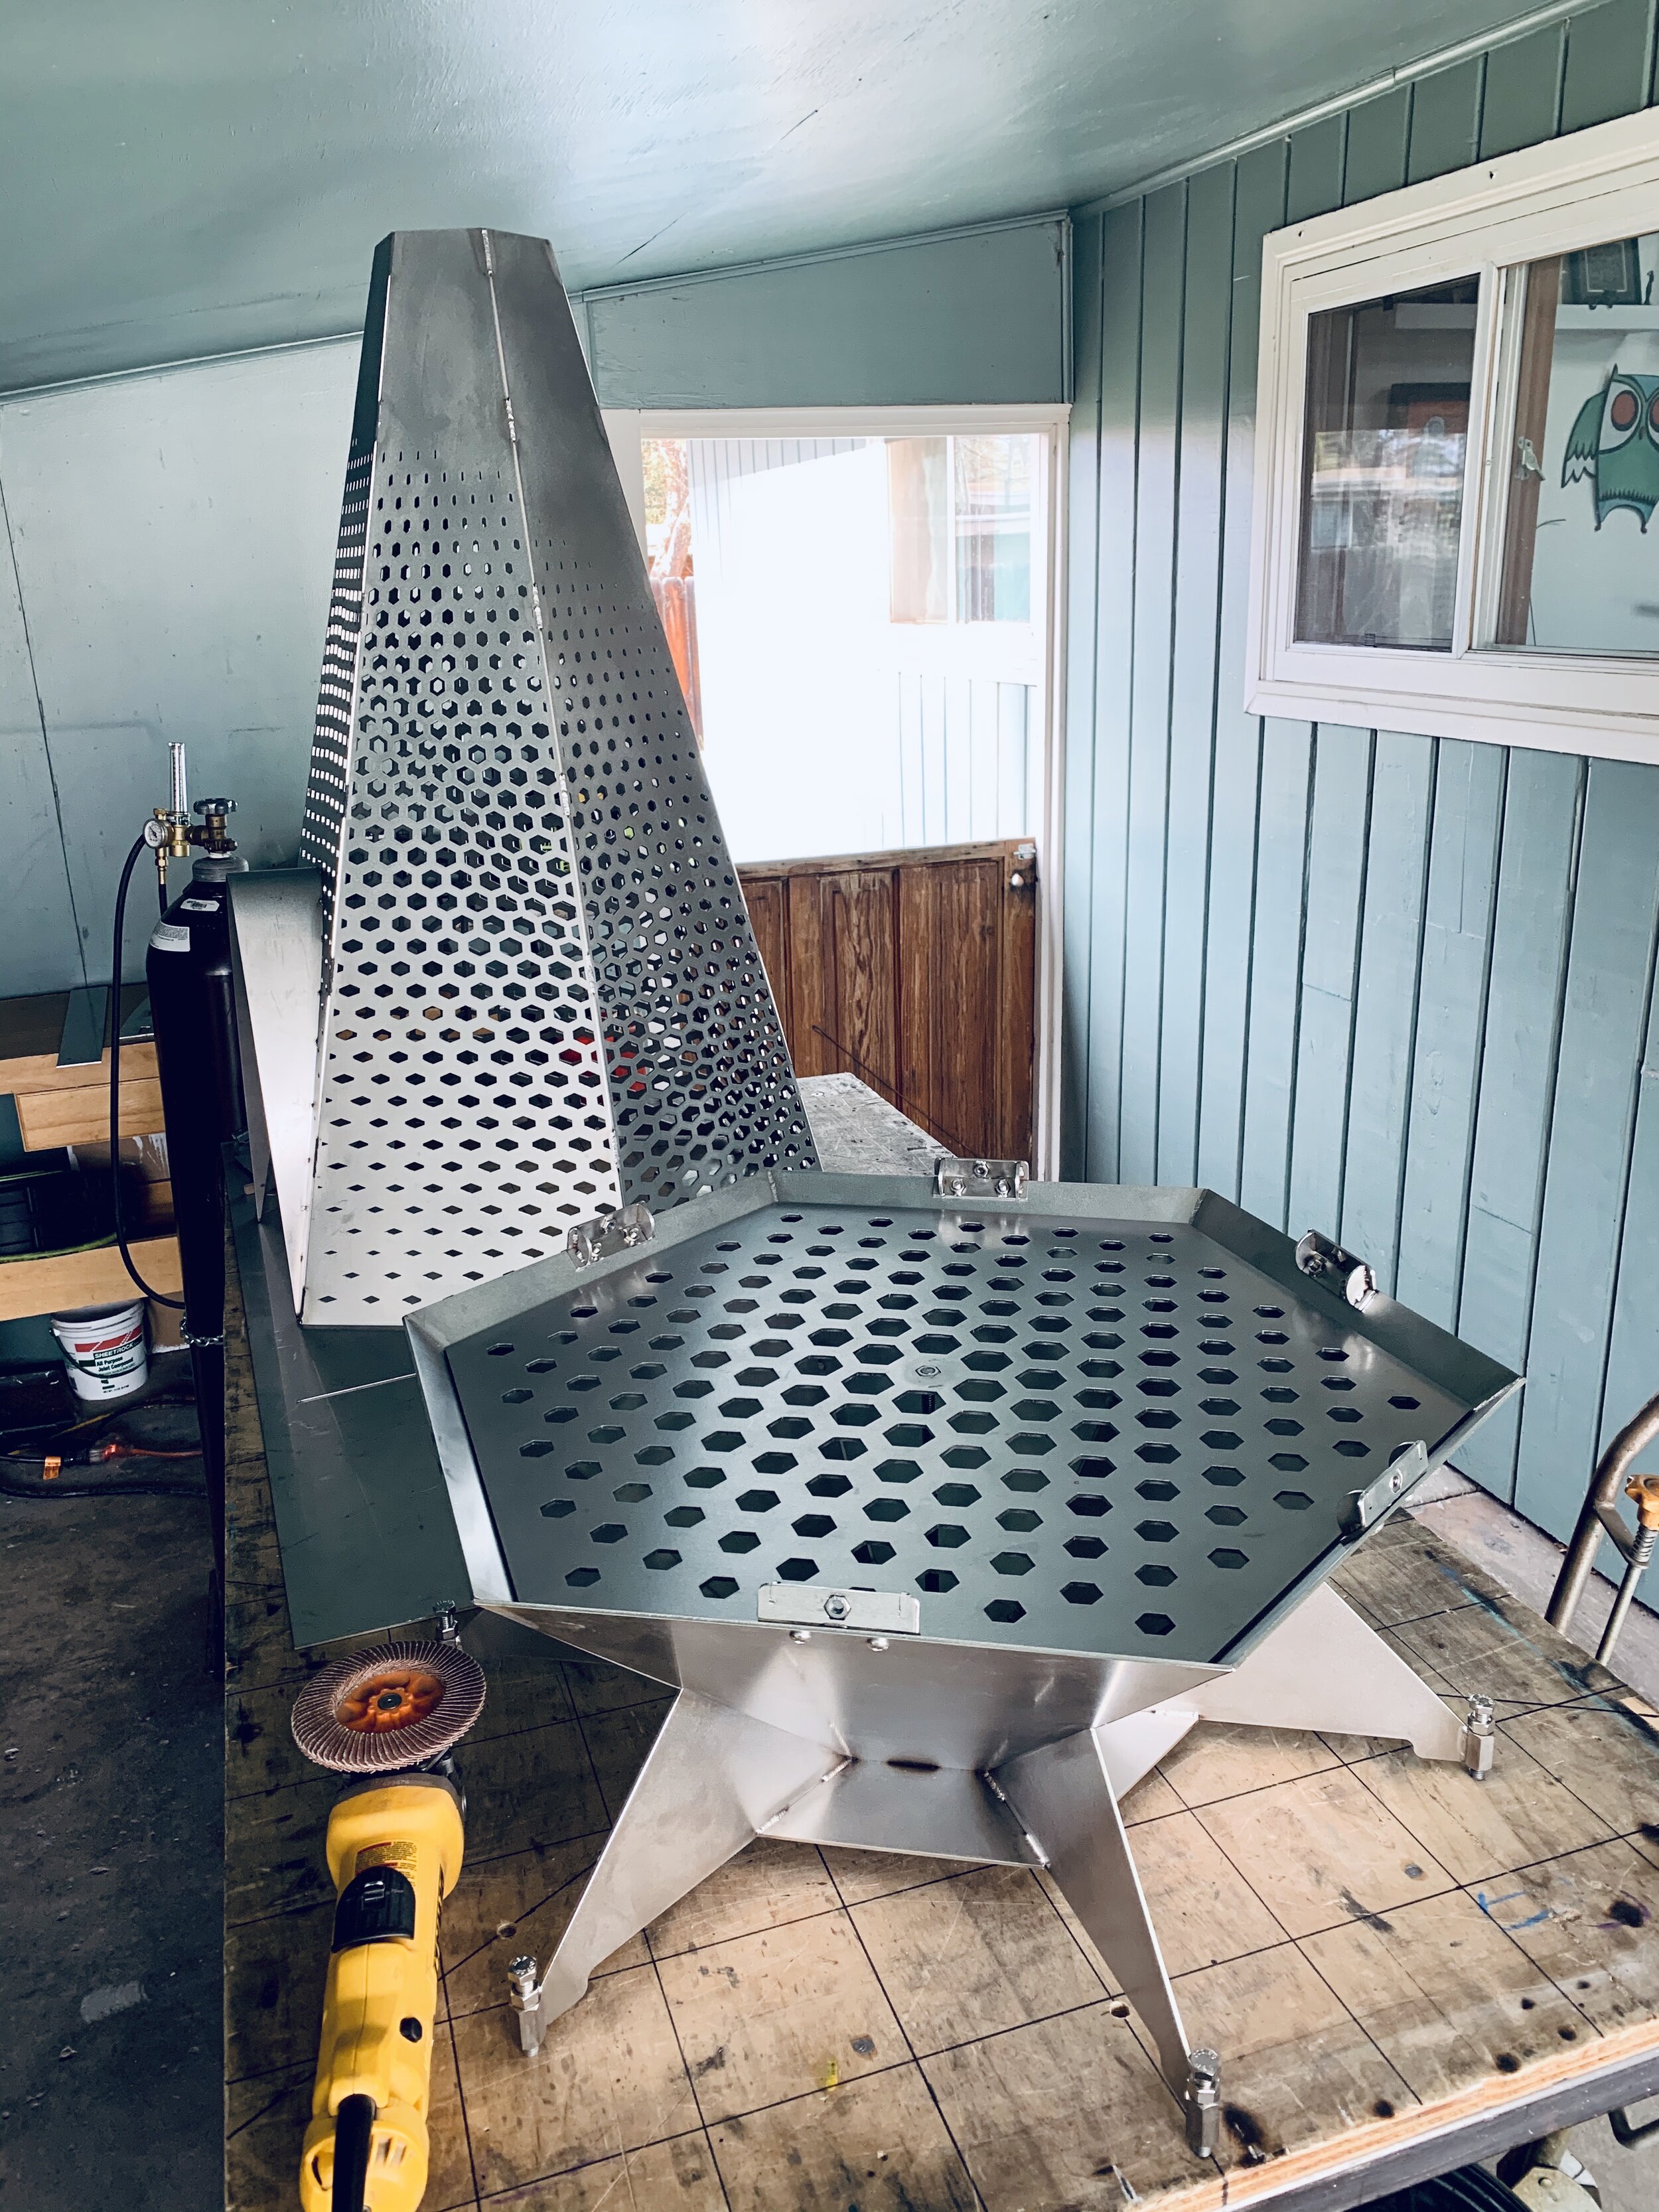
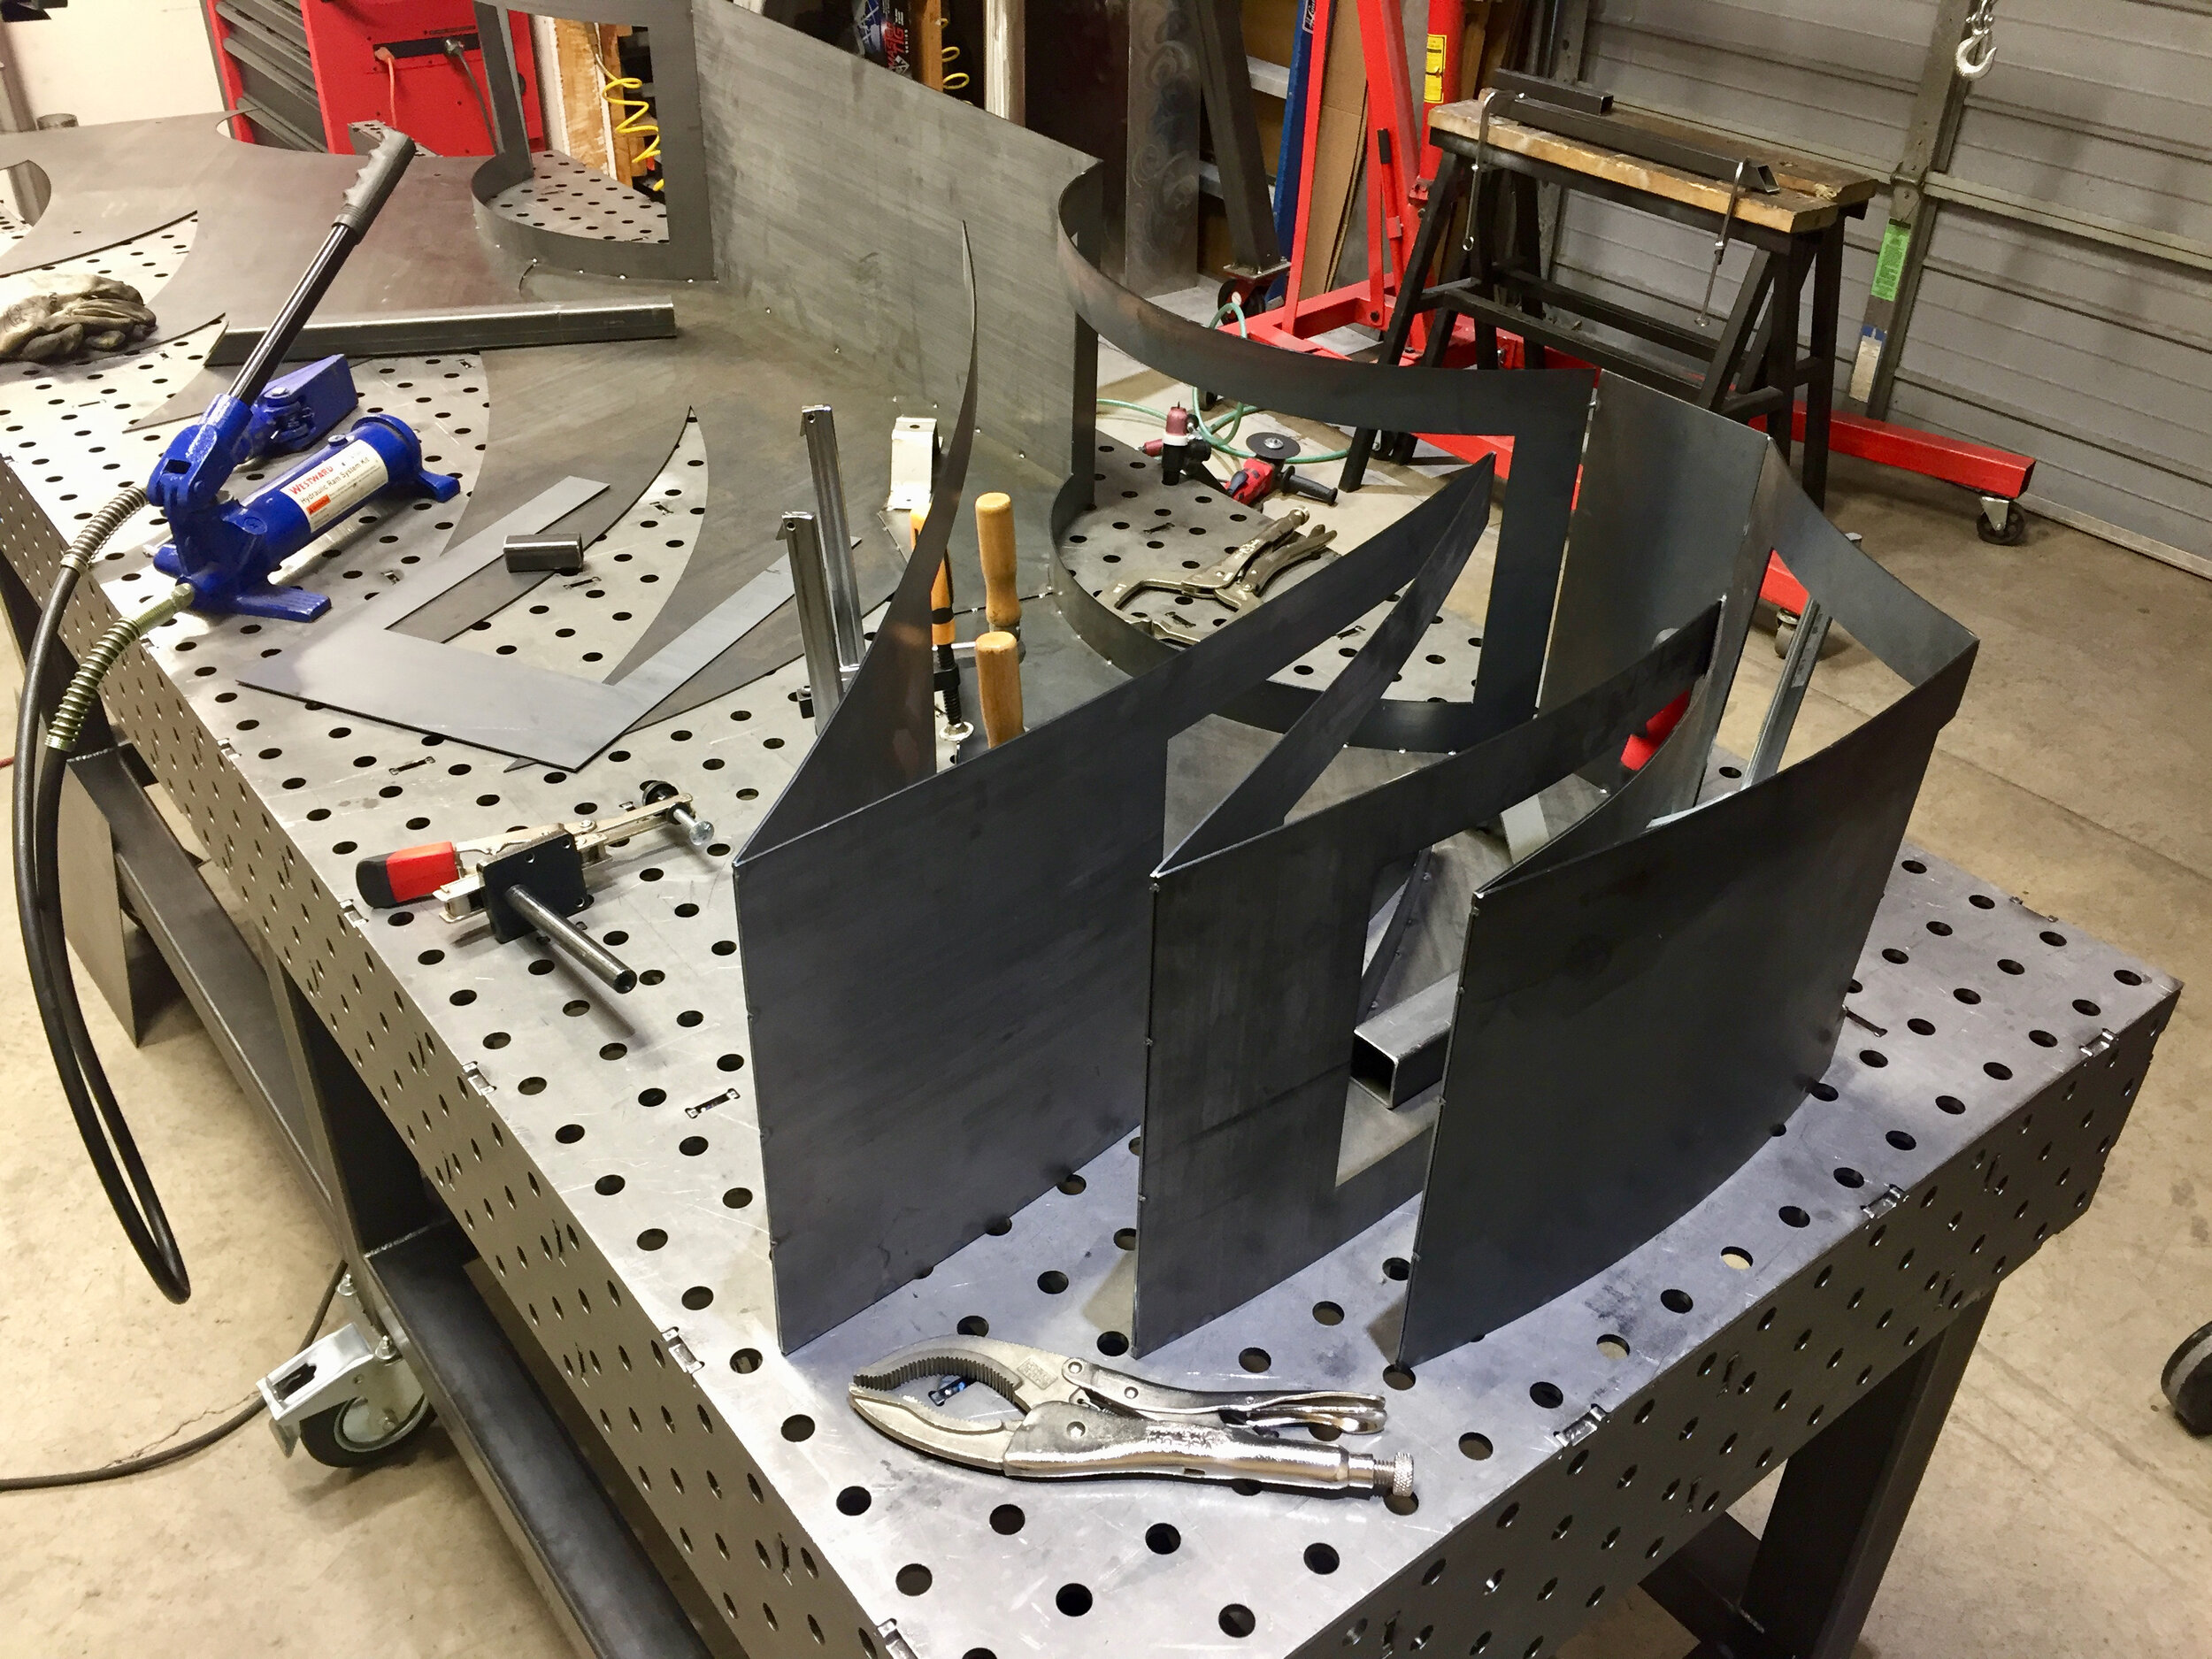
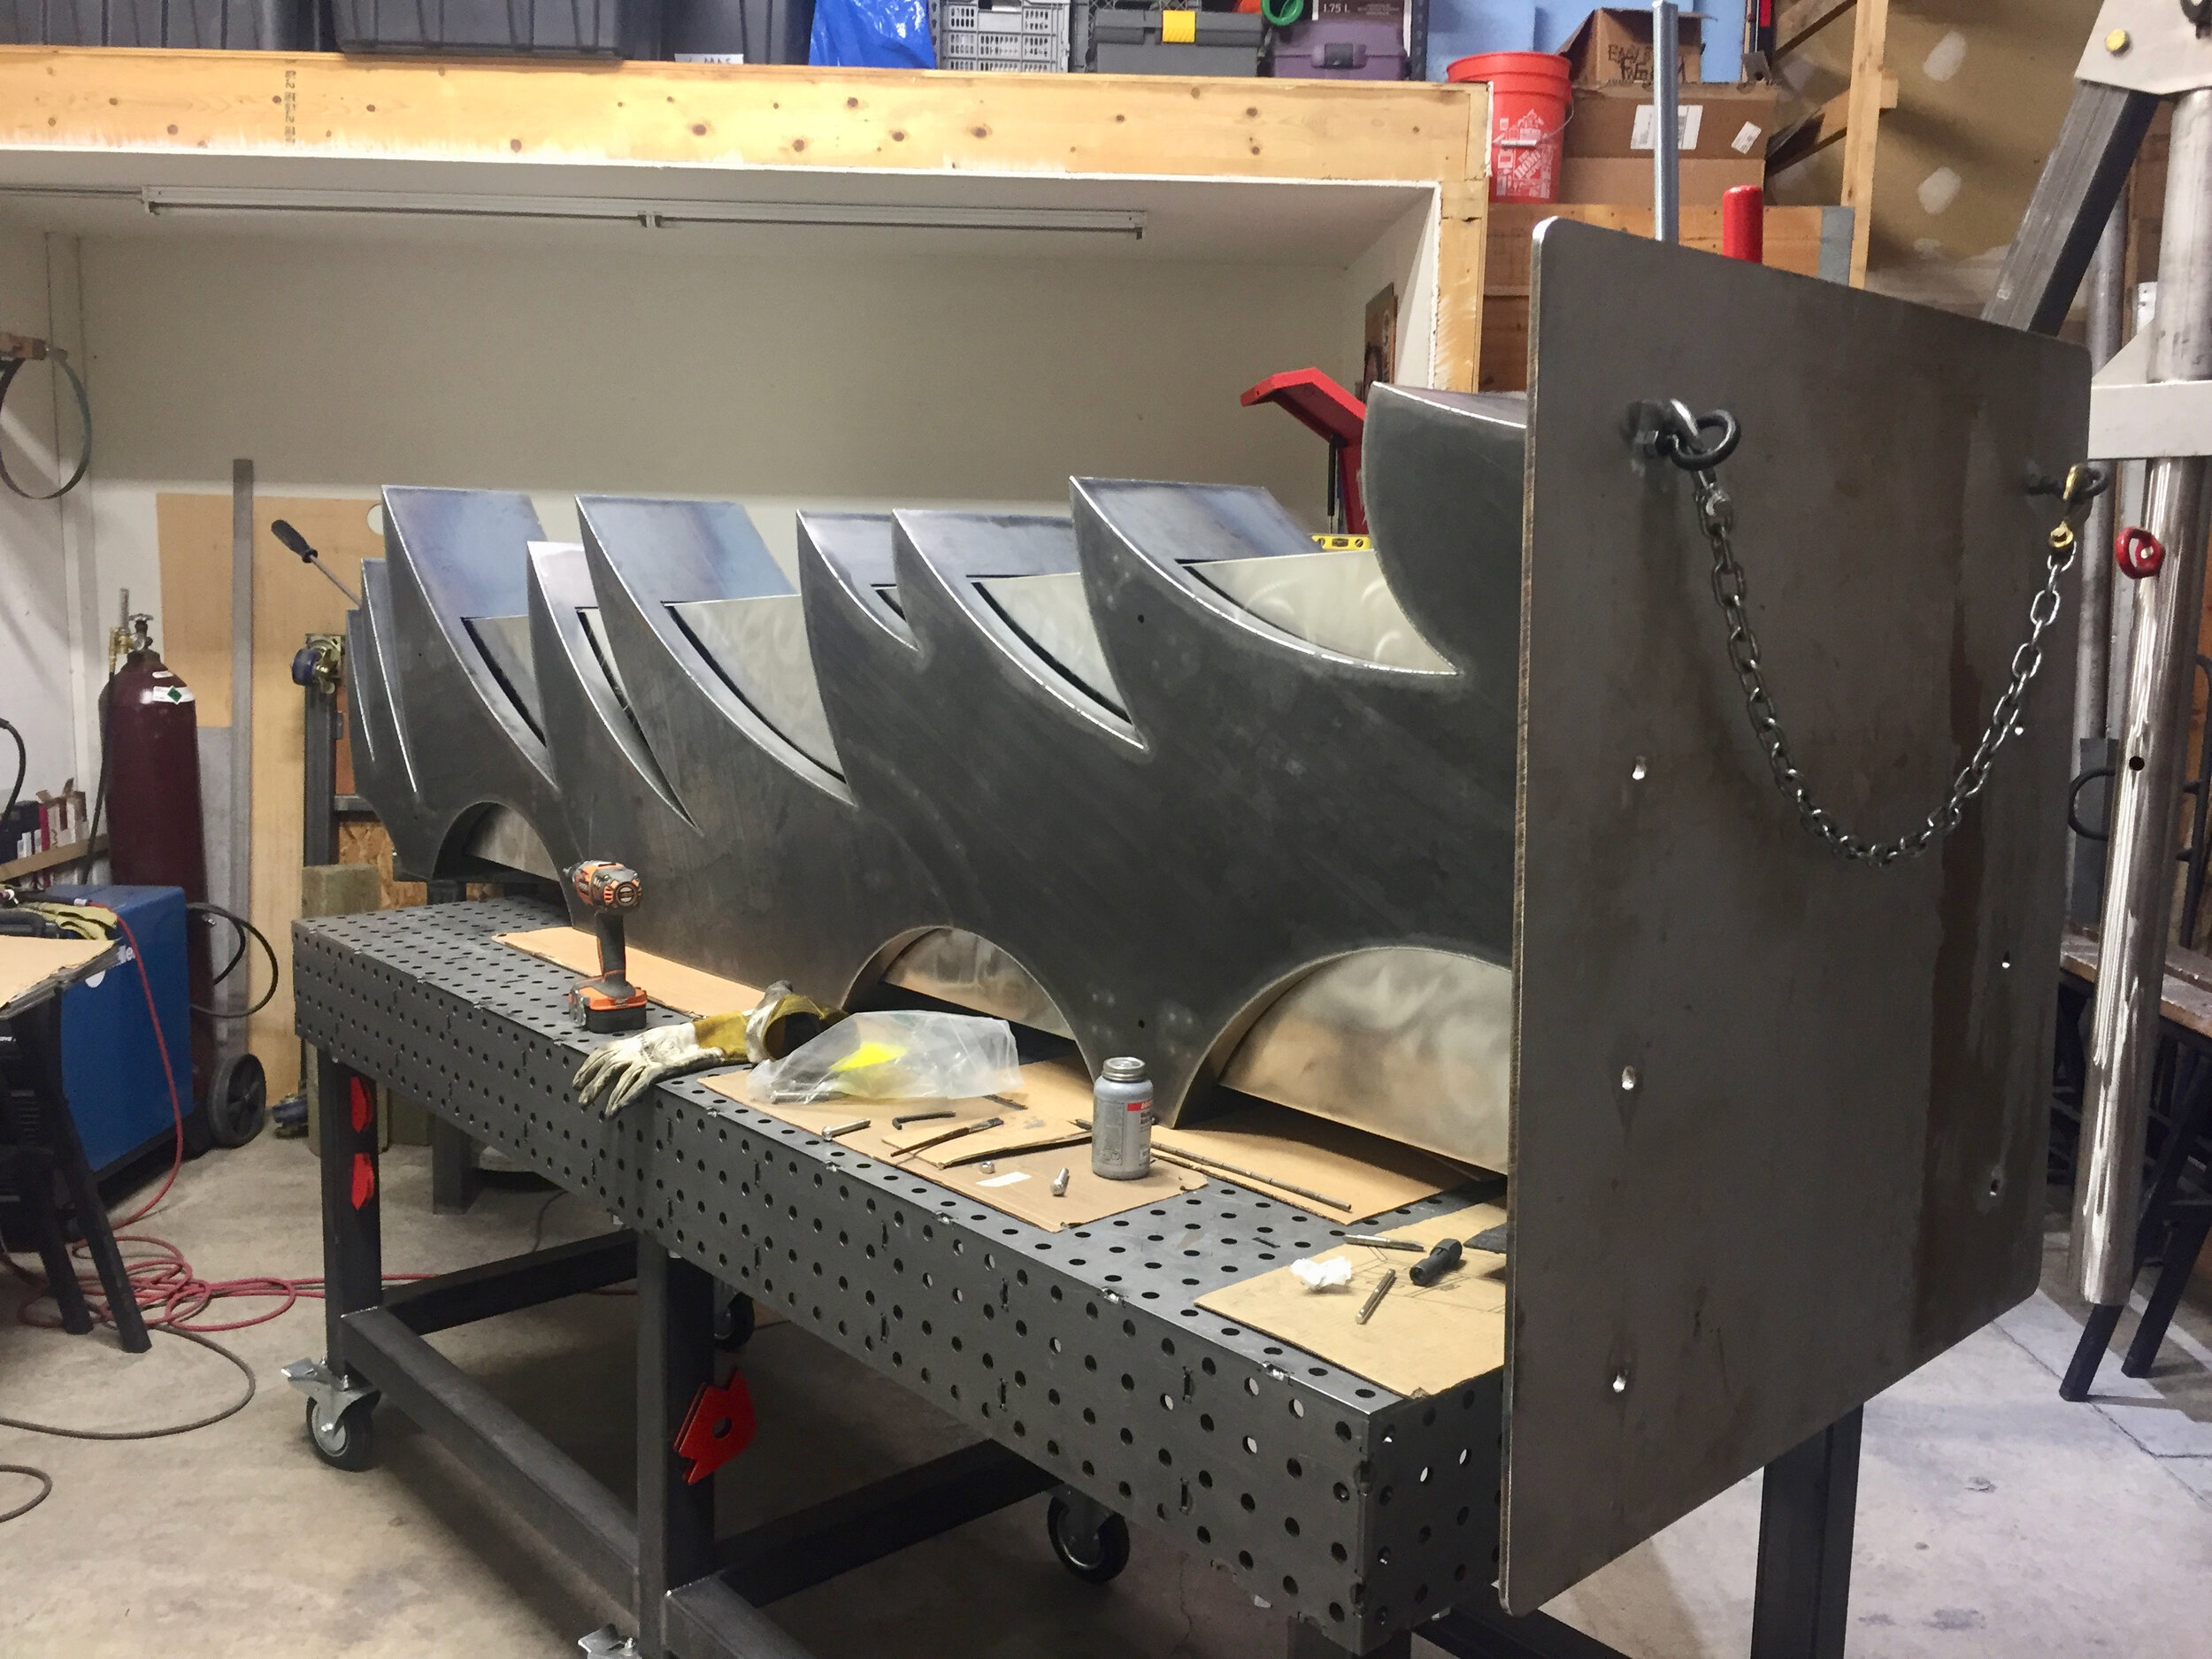
With the fire basin pretty much finished, time to tackle the upper section - the place where all the magic happens. These faces are where the cutouts reveal the fire through a pattern of flowing, distorted hexagons - giving CinderCone its unique look.

With the “belt line” brackets all welded together into a rigid ring, they can serve as a jig for aligning the patterned faces. I built a fancy fixture to hold adjacent faces while tacking their tops.

Bolting the bottoms and tacking the seams is a pretty quick, straightforward proposition.

Stitch welding the seams - an inch of weld, skip 3 inches, then another inch of weld. Lowers the amount of heat applied while allowing a bit of flexible relief for the strain of the heating/cooling cycle.

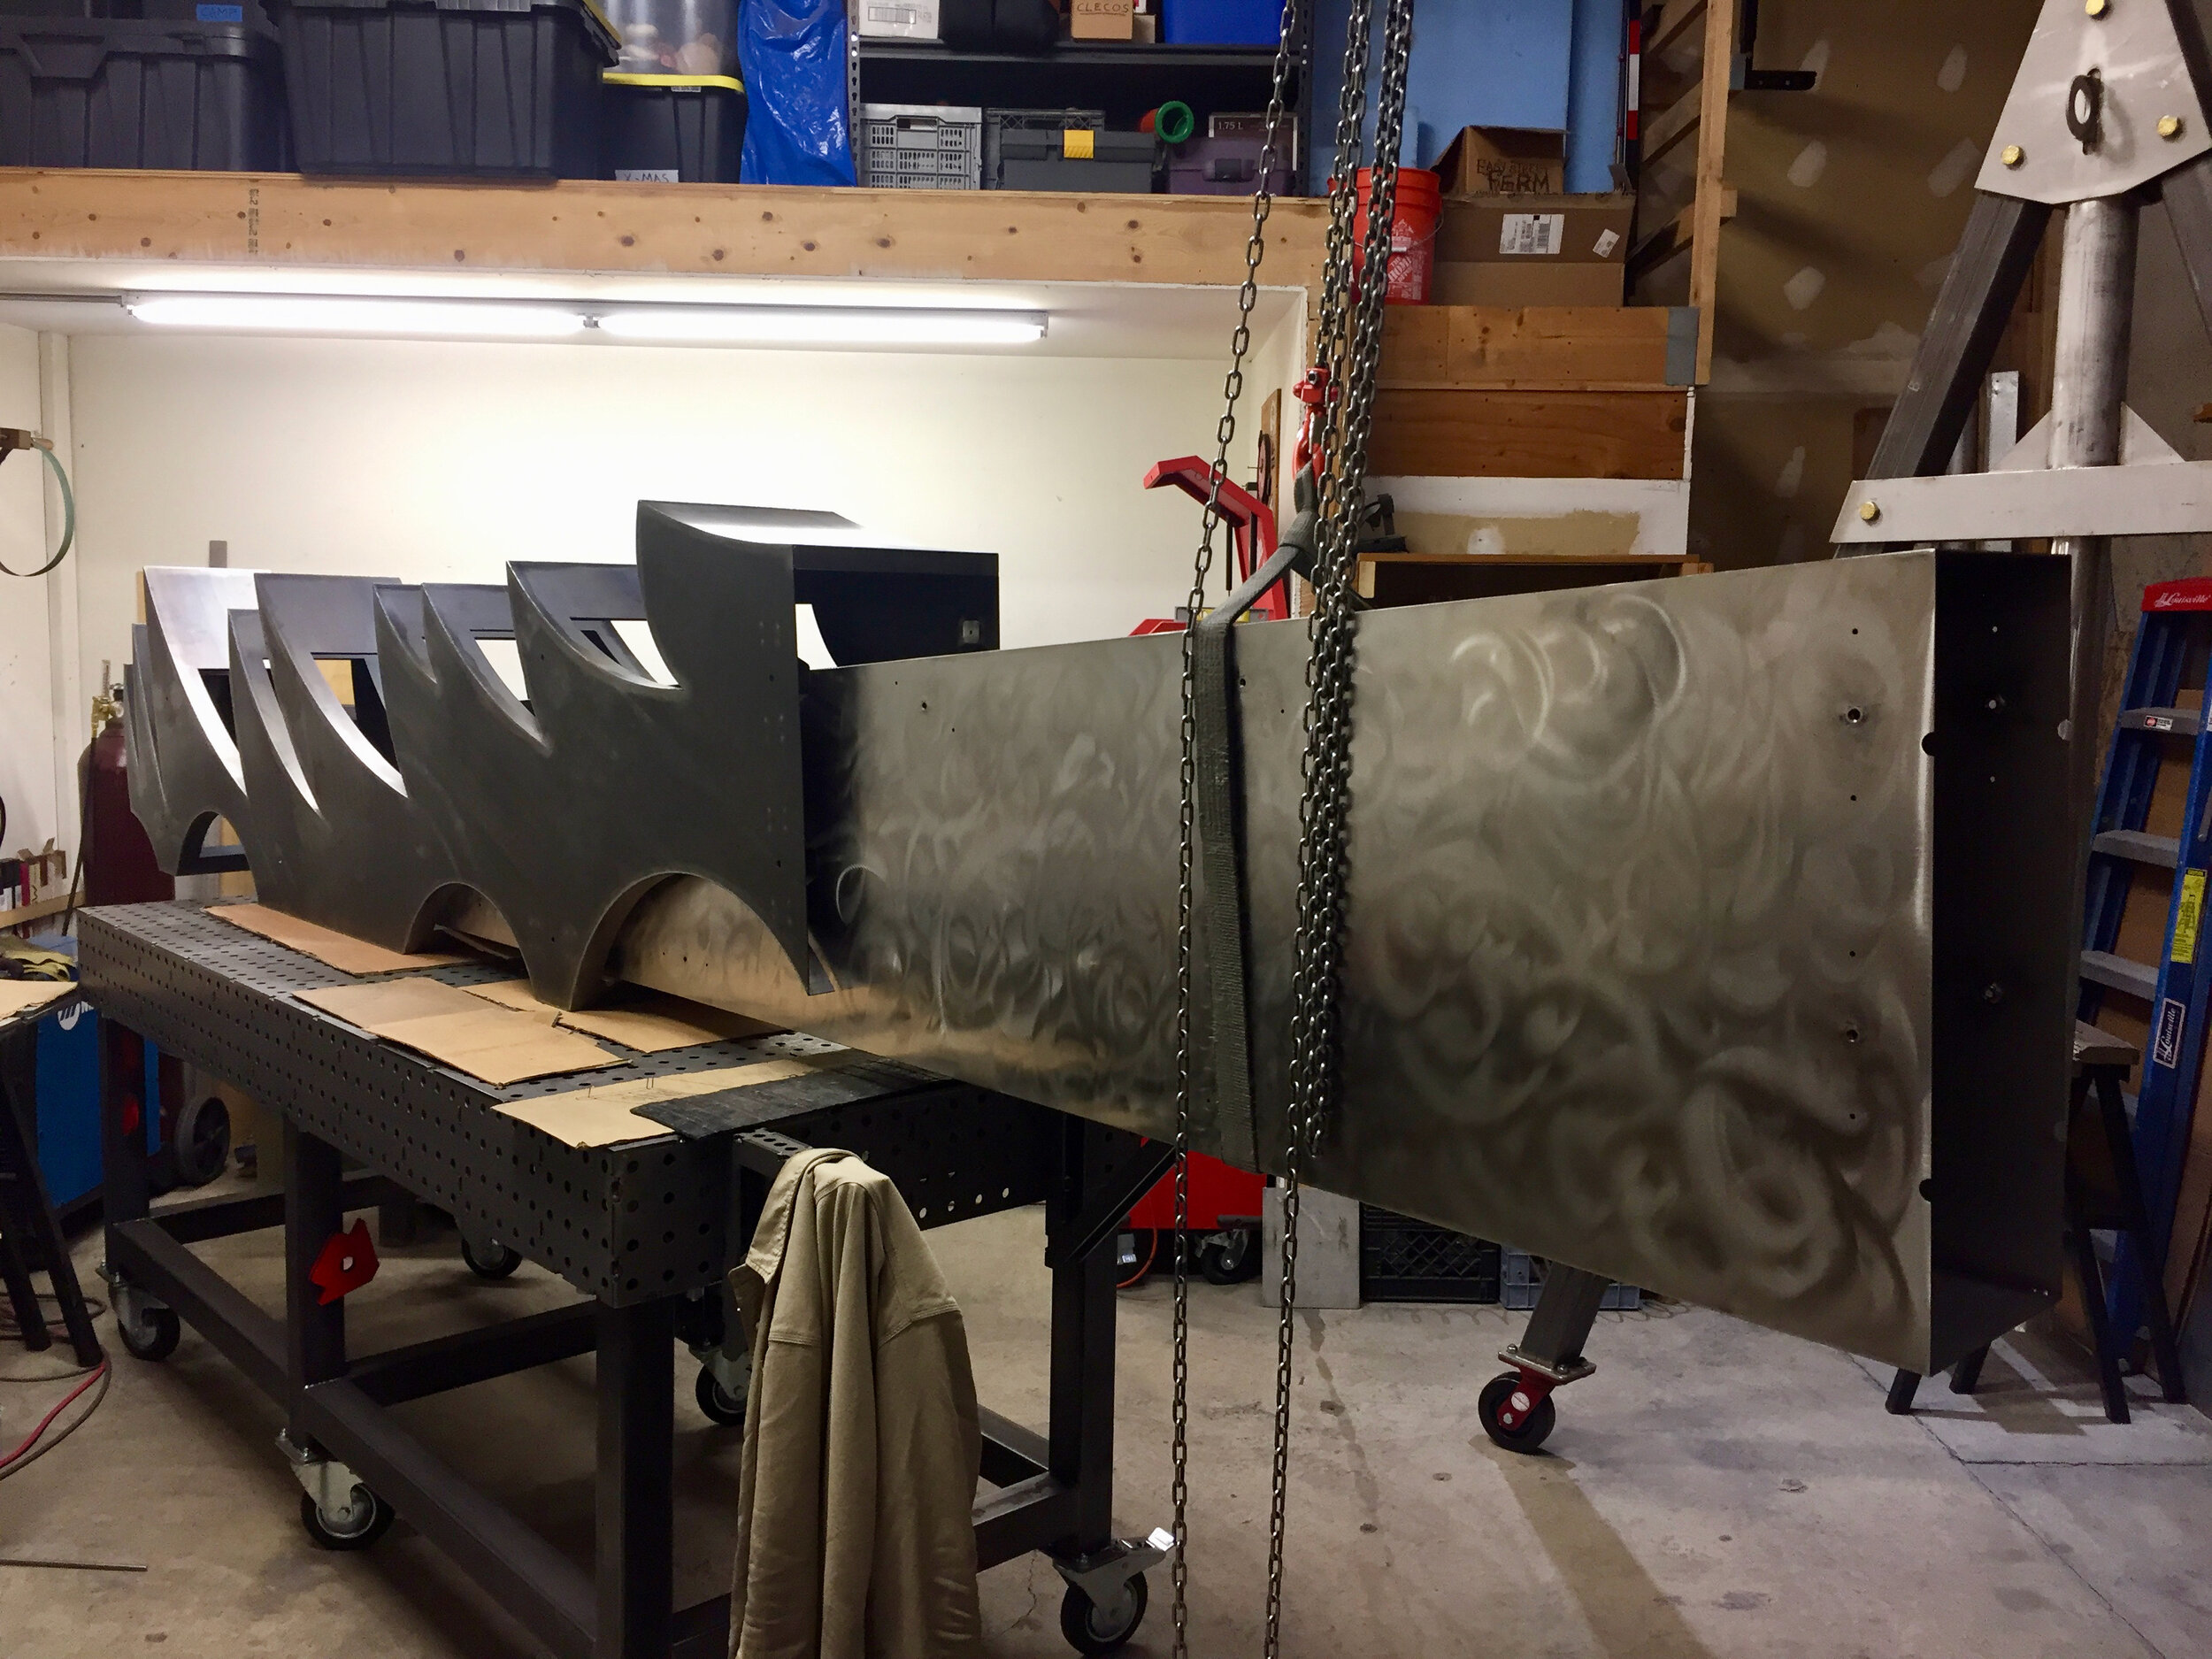
On to the hardest part fo the whole process: the “eyebrow” over the fire door. All the other parts are just welded together in their flat state; the is one needs to formed into a curve. Hydraulics to the rescue!

The Eyebrow. Attached.

With that, the upper section is finished.
CinderCone: Making V2.0 /
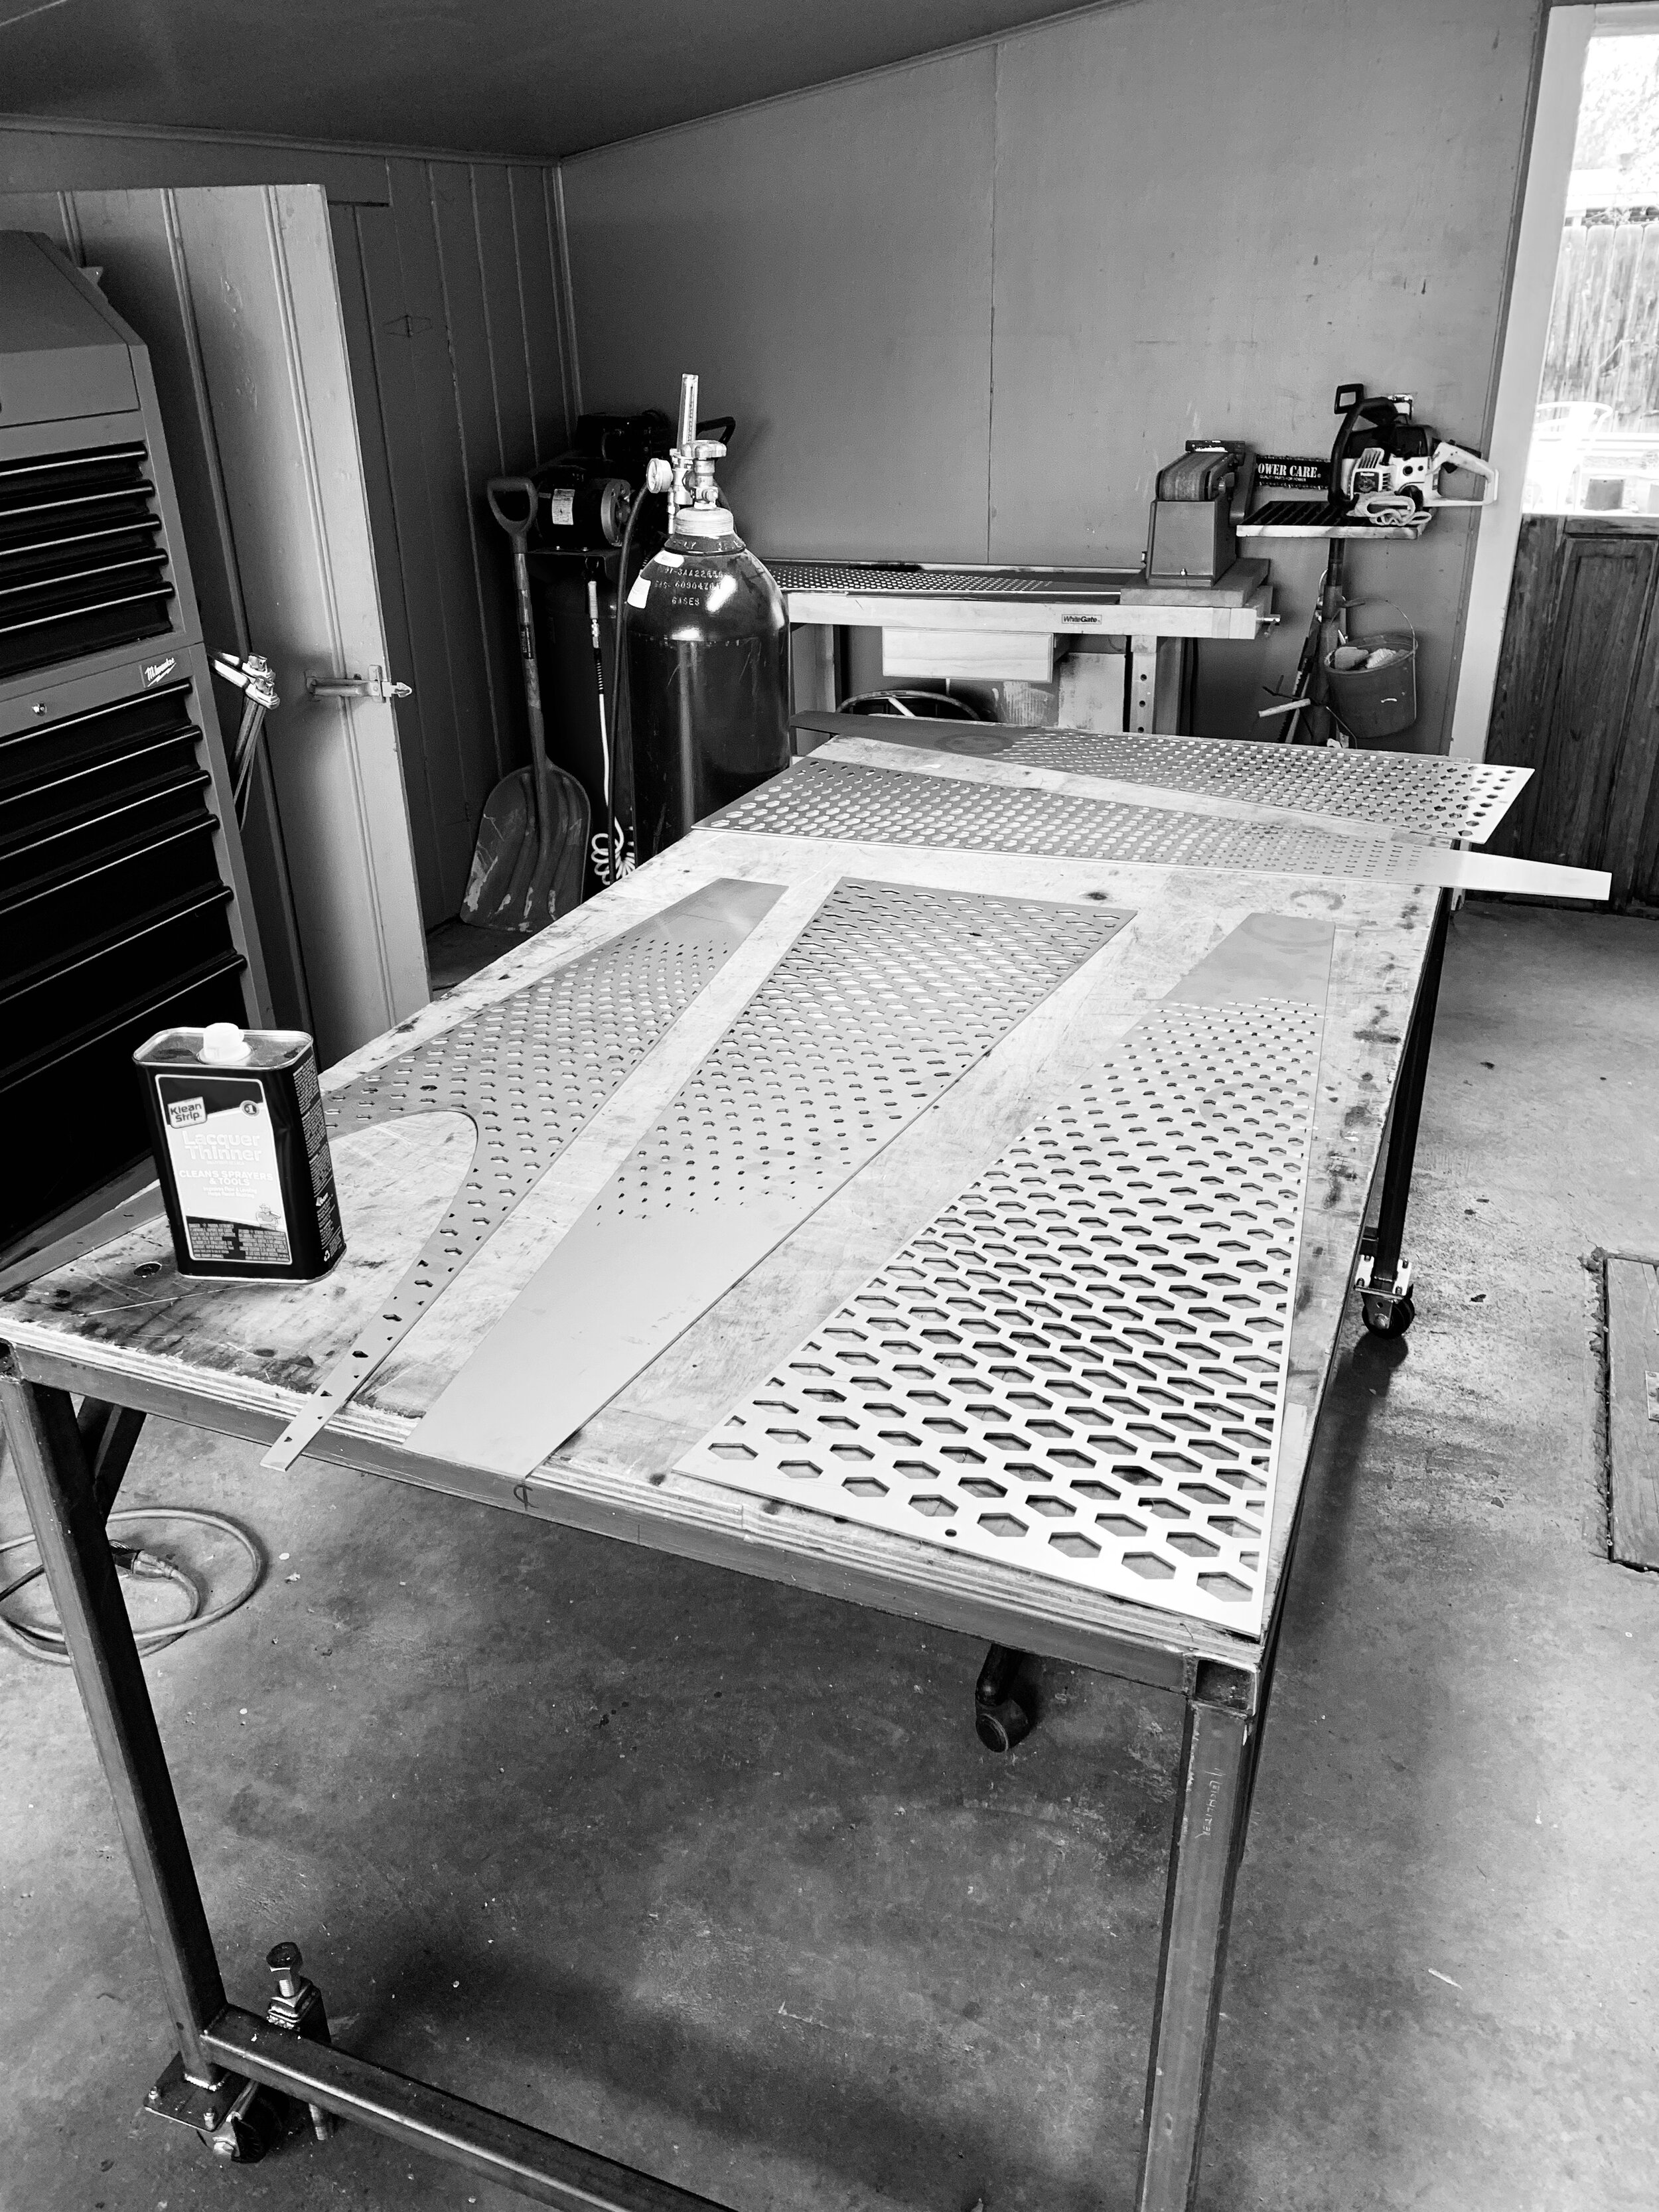
Now that I’ve figured out how to correct the issues that presented themselves in V1, it’s time to implement the changes. That means generating new patterns for the laser and having the improved design cut. I also went with slightly thicker material — 11 gauge instead of 12 — to provide a touch more rigidity. Let the games begin!

The updated upper faces. Here you can see the threshold below the door, and the updated trio of fastener holes in the bottom of each face.

Voila! The laser-cut metal in all its glory.

The bottom plate and fire basin faces.

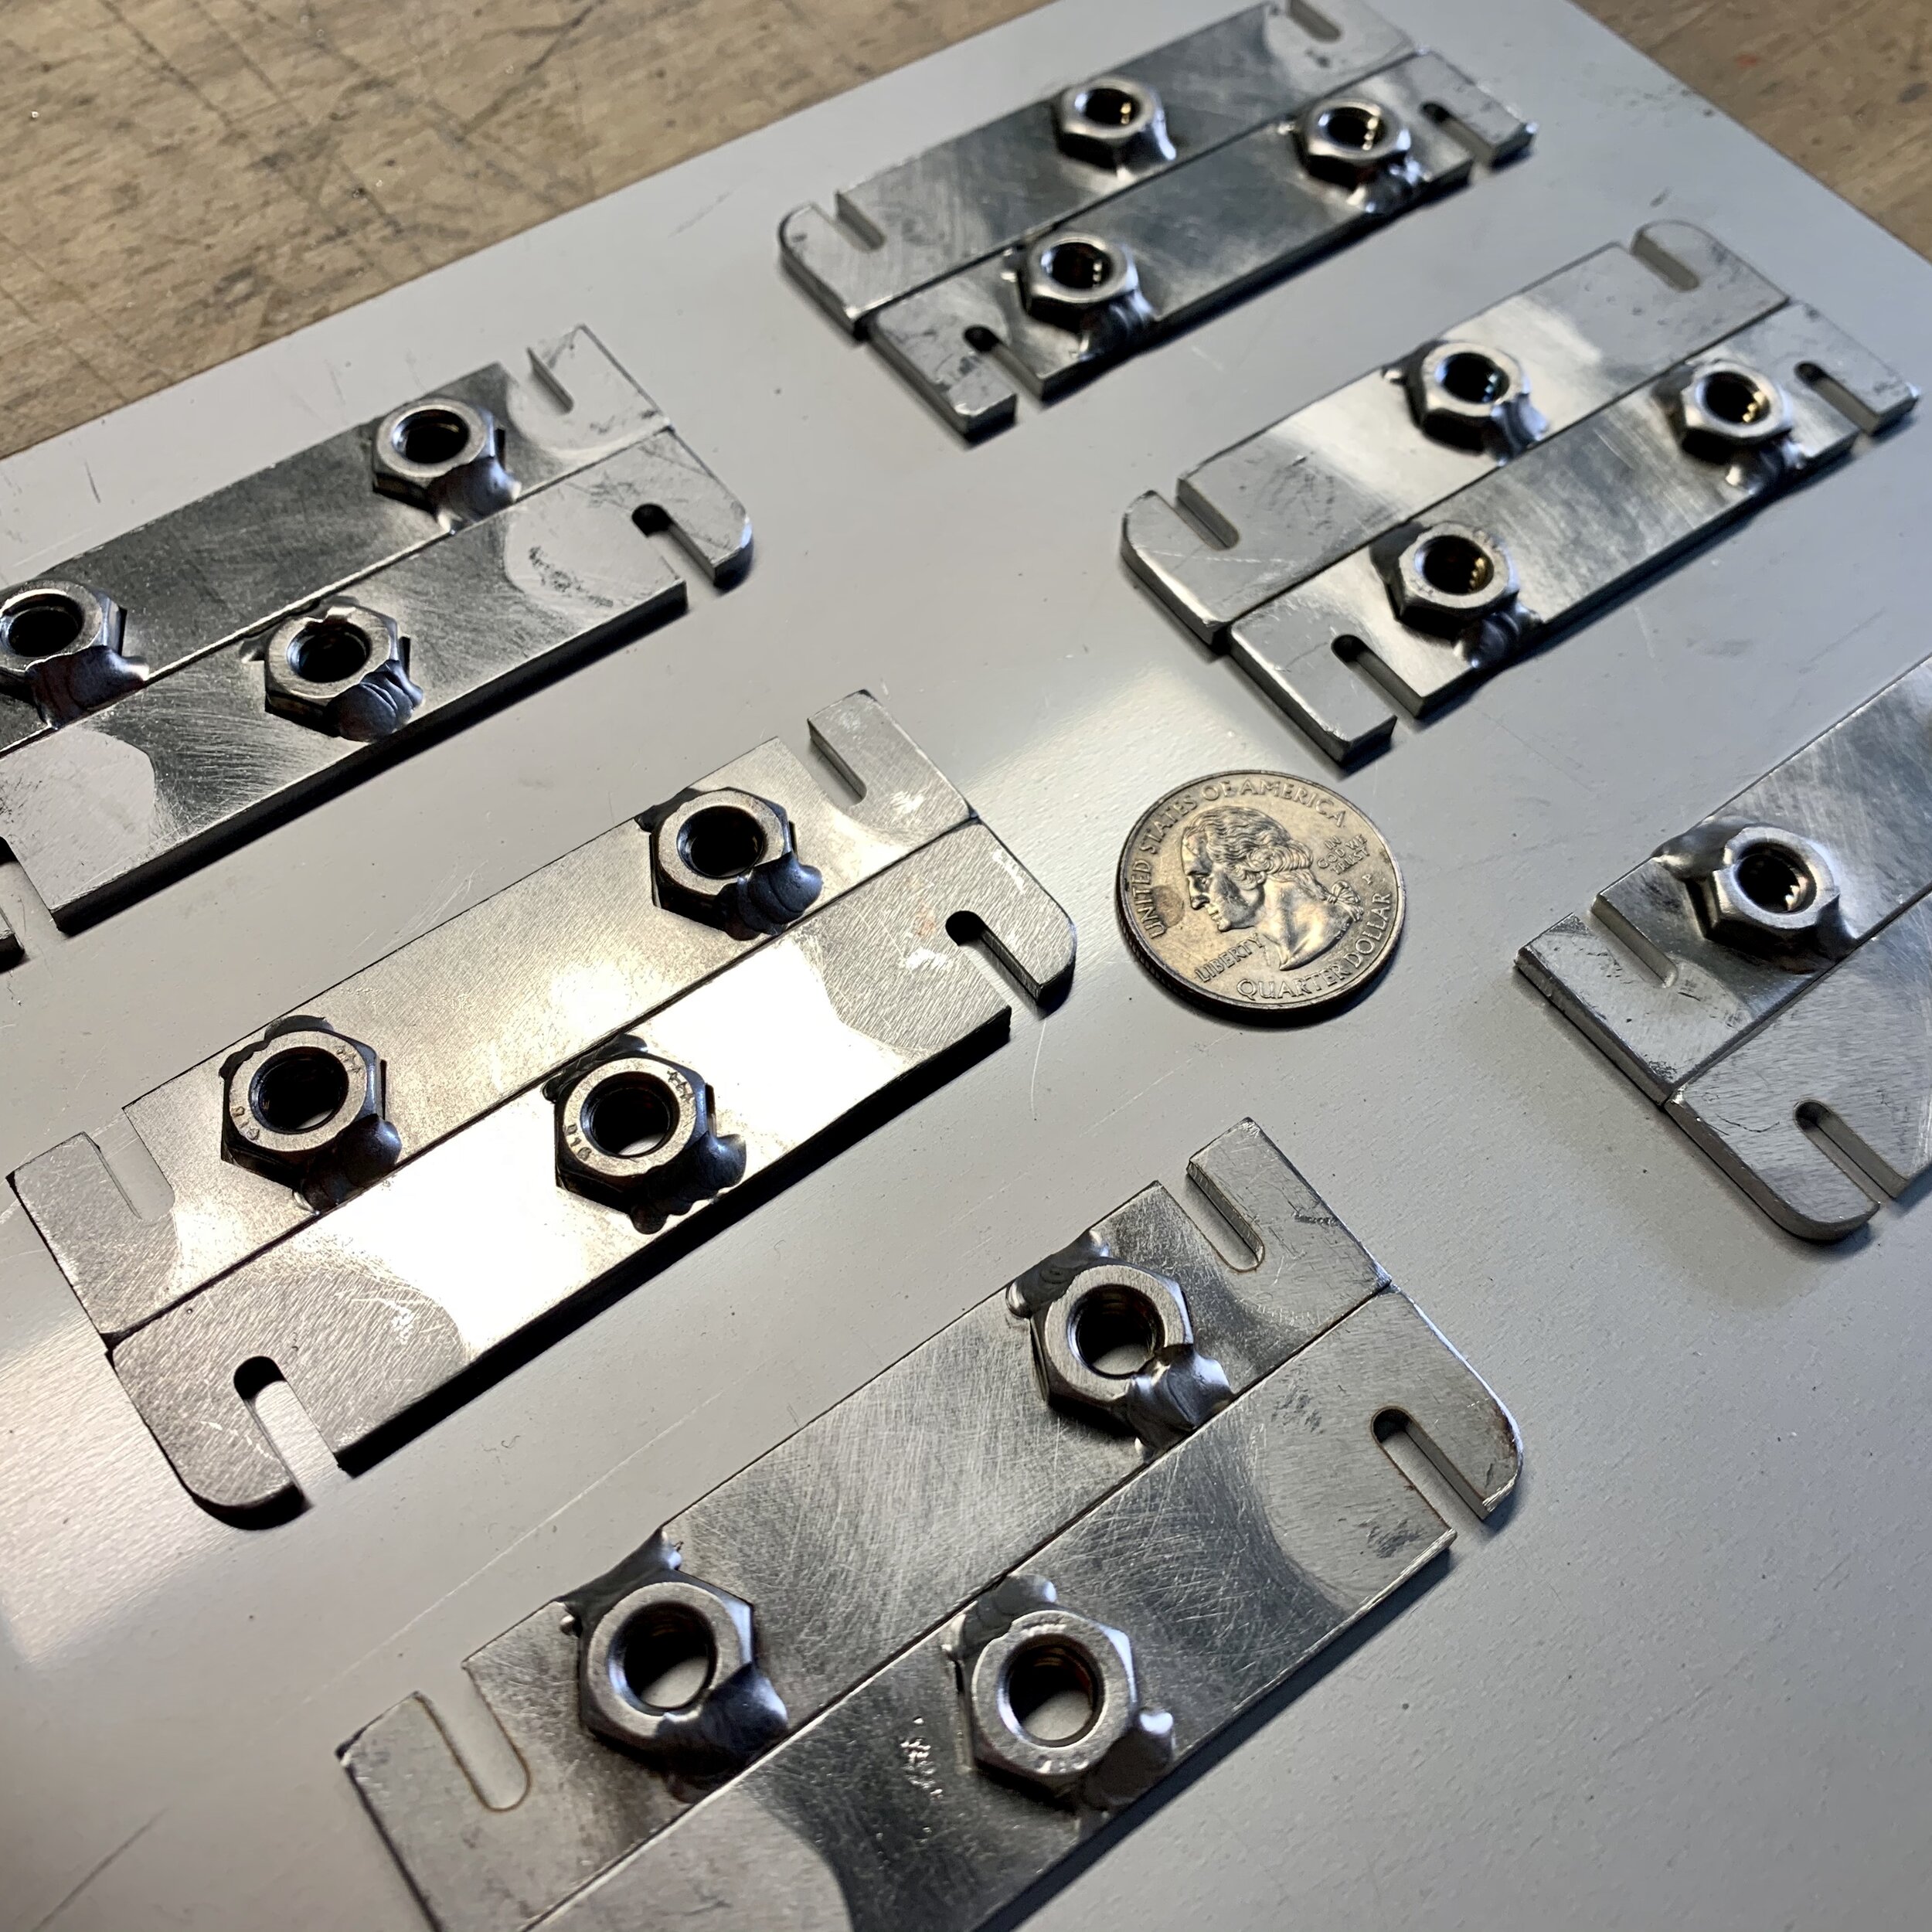
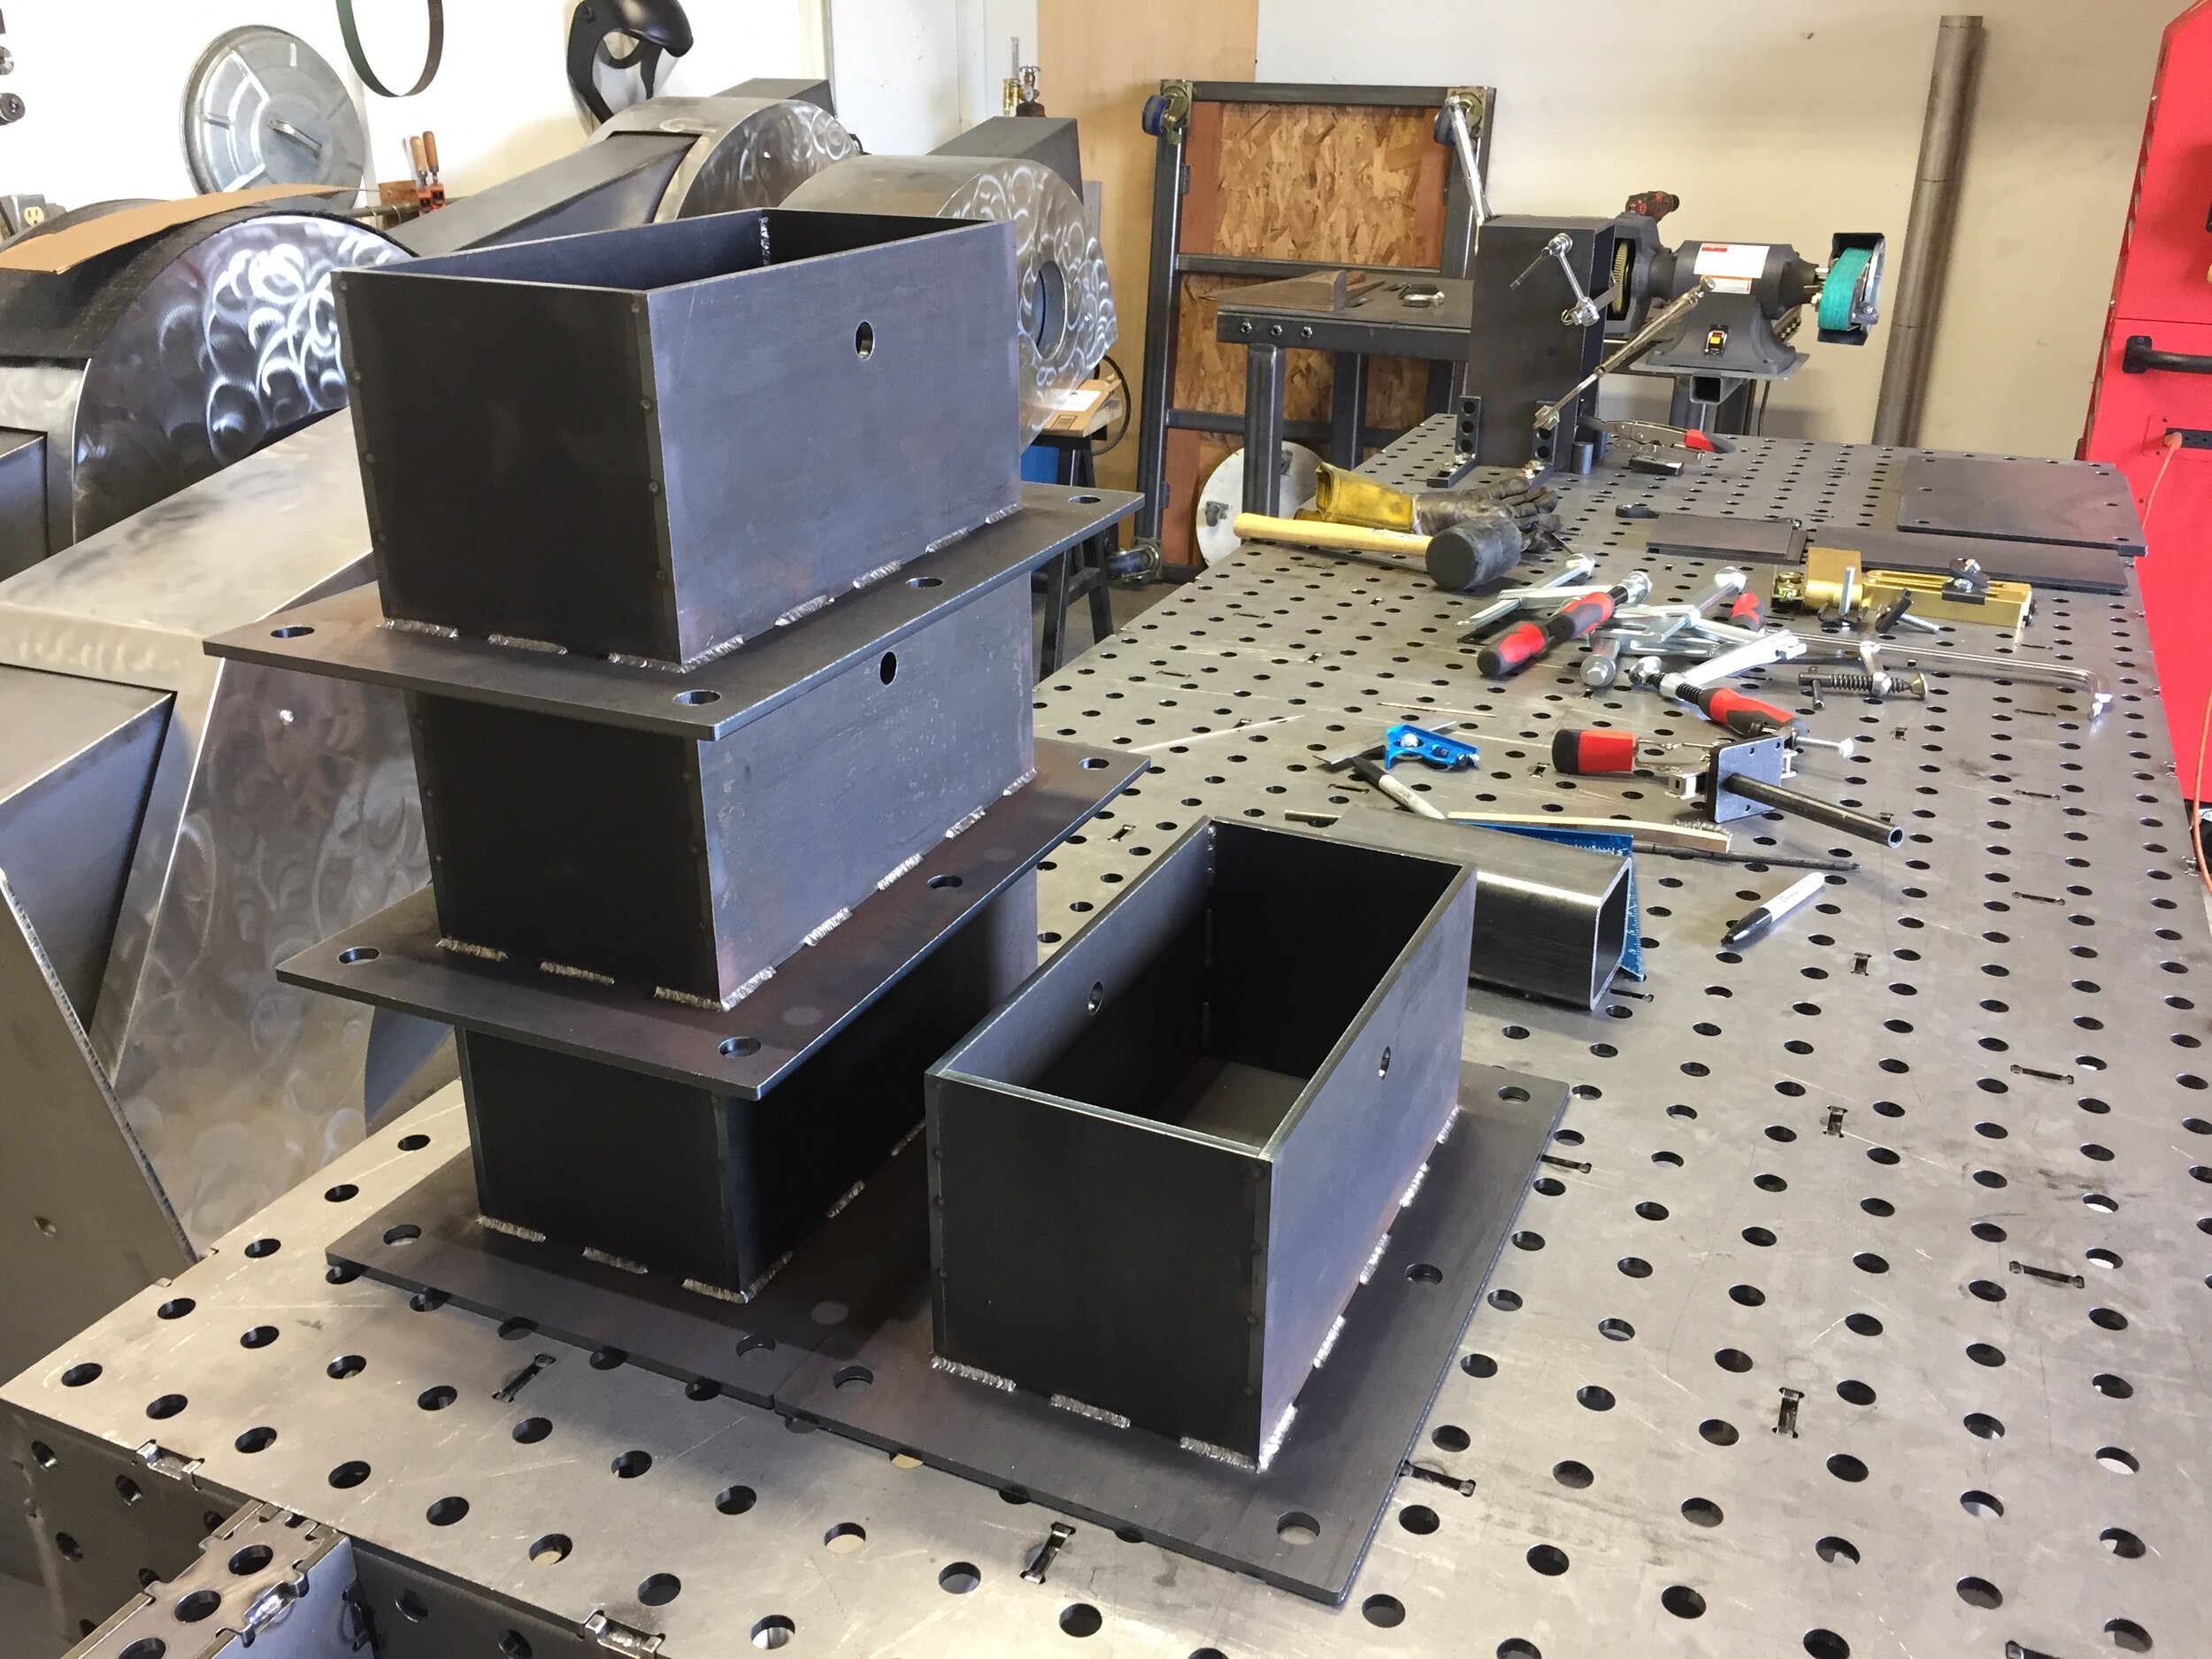
The 3D model of the new & improved anchoring bracket…

… and its real-world counterpart.
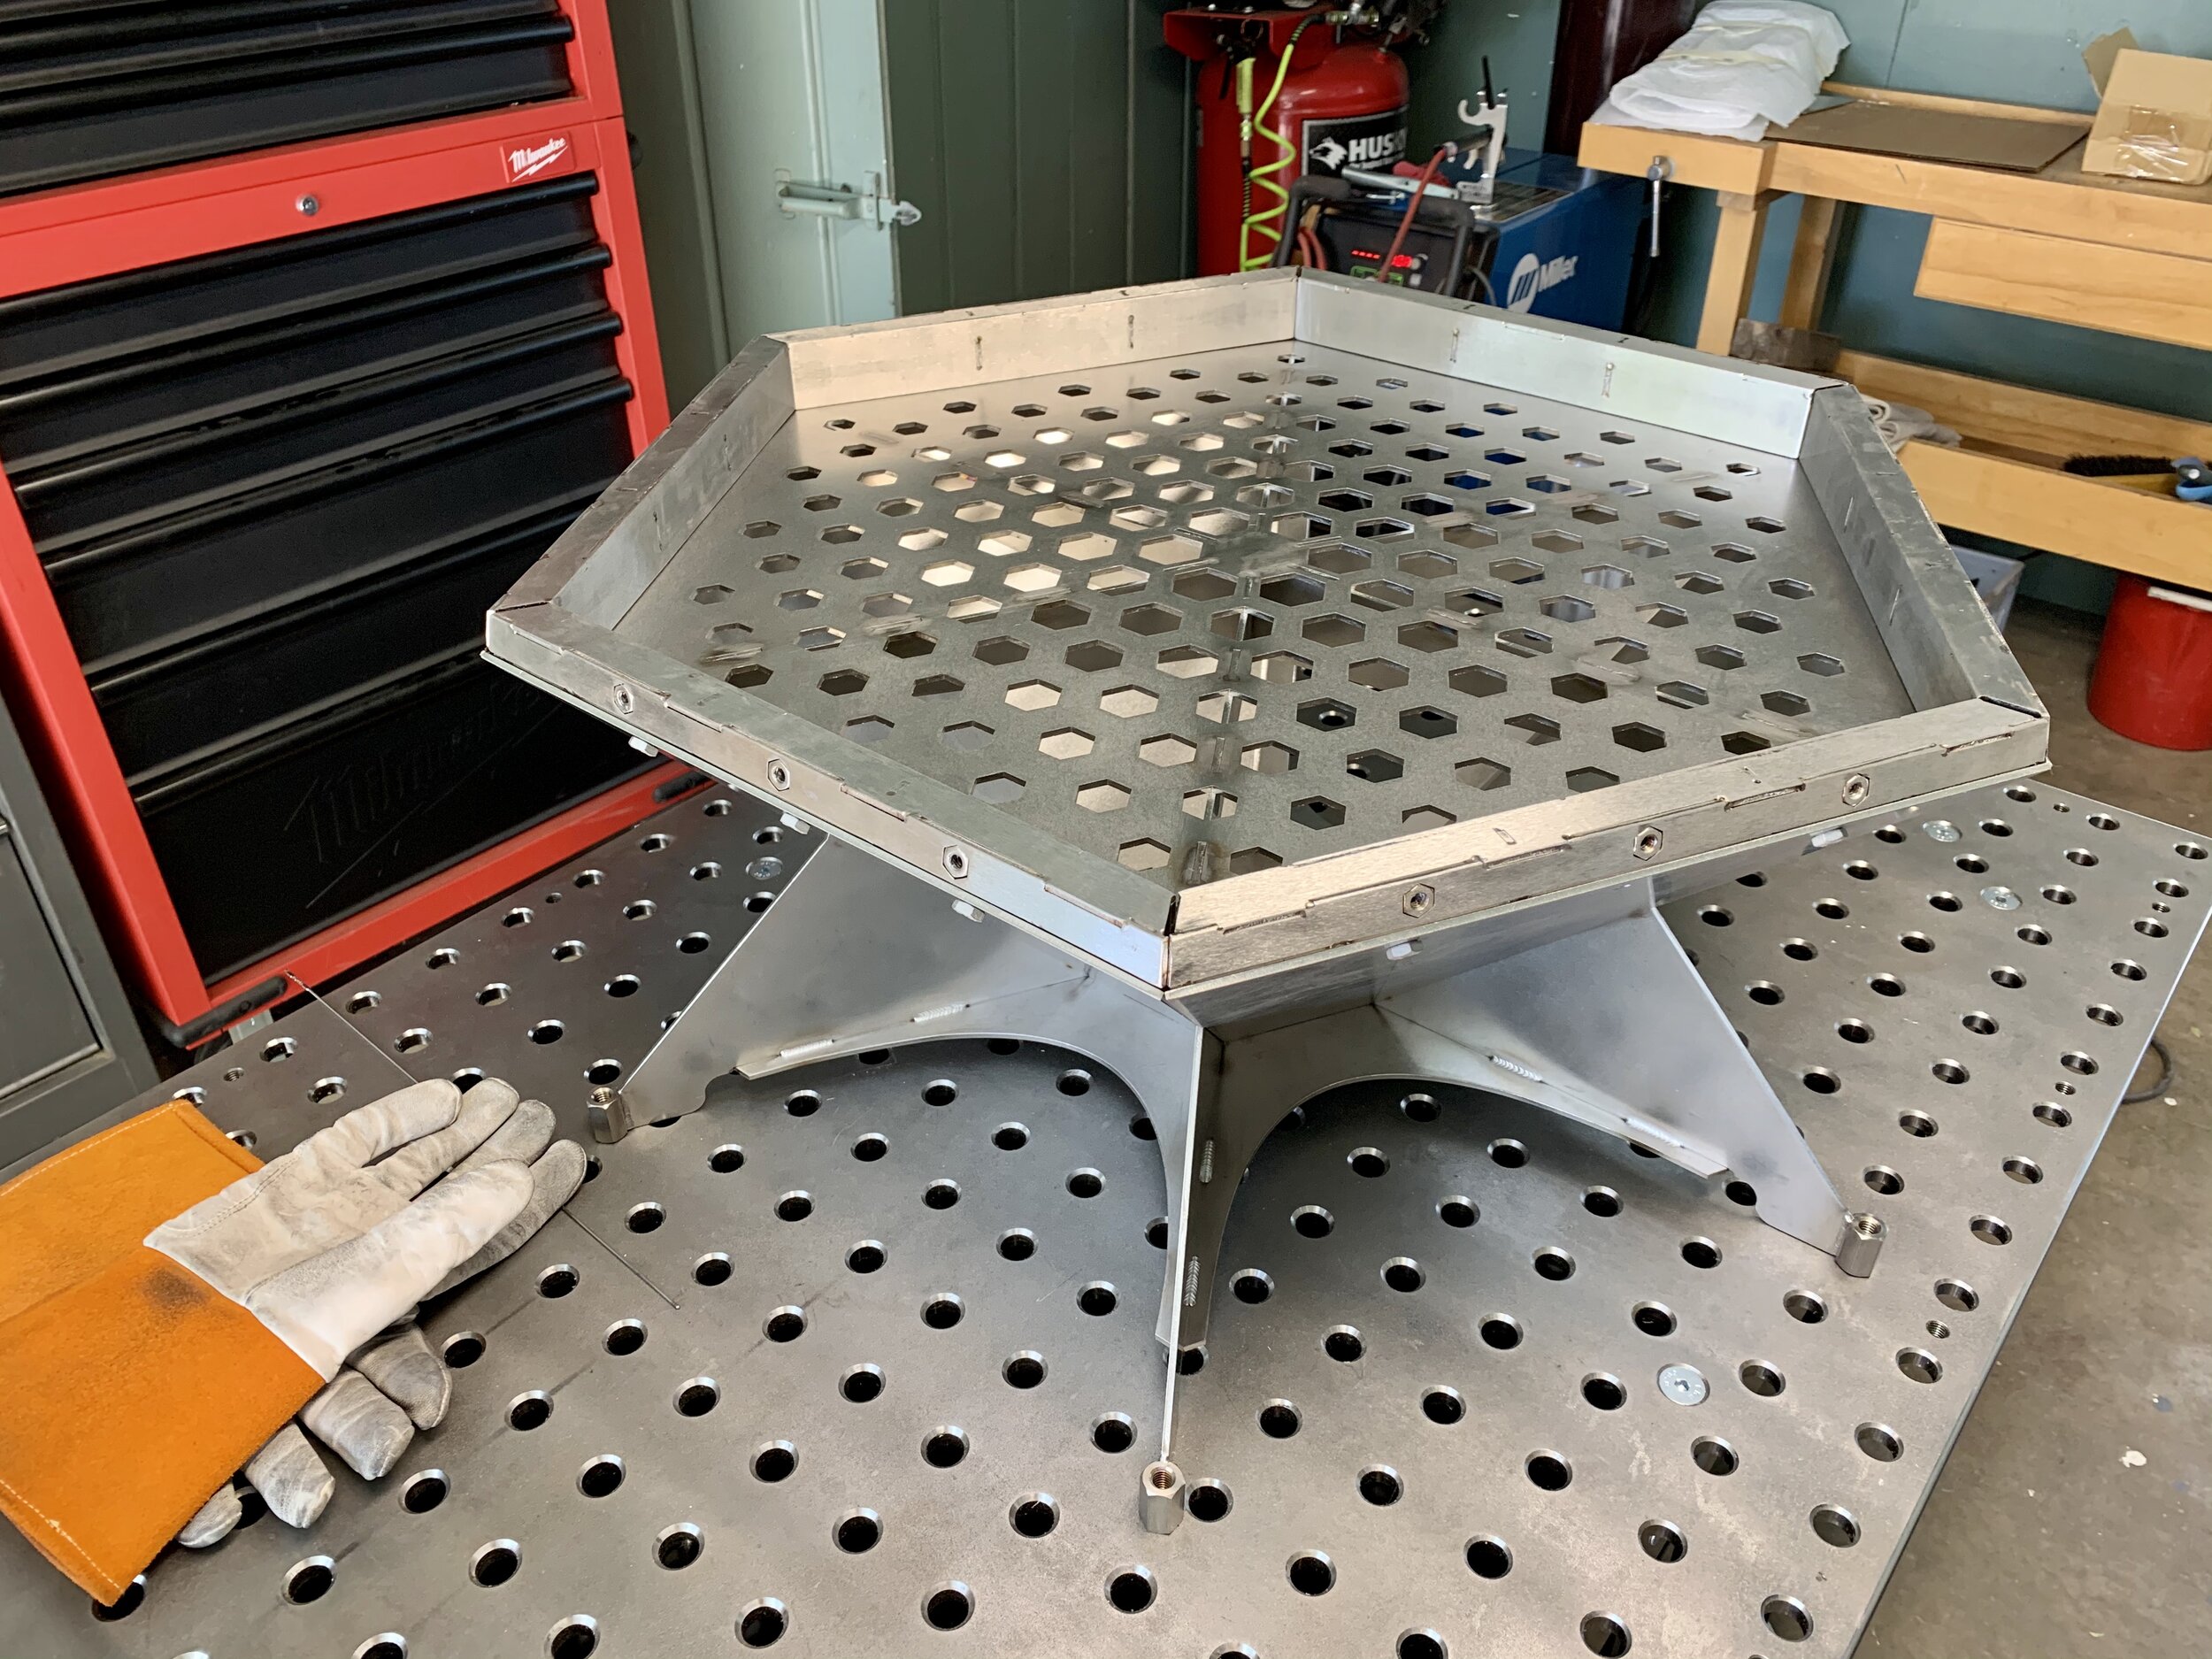
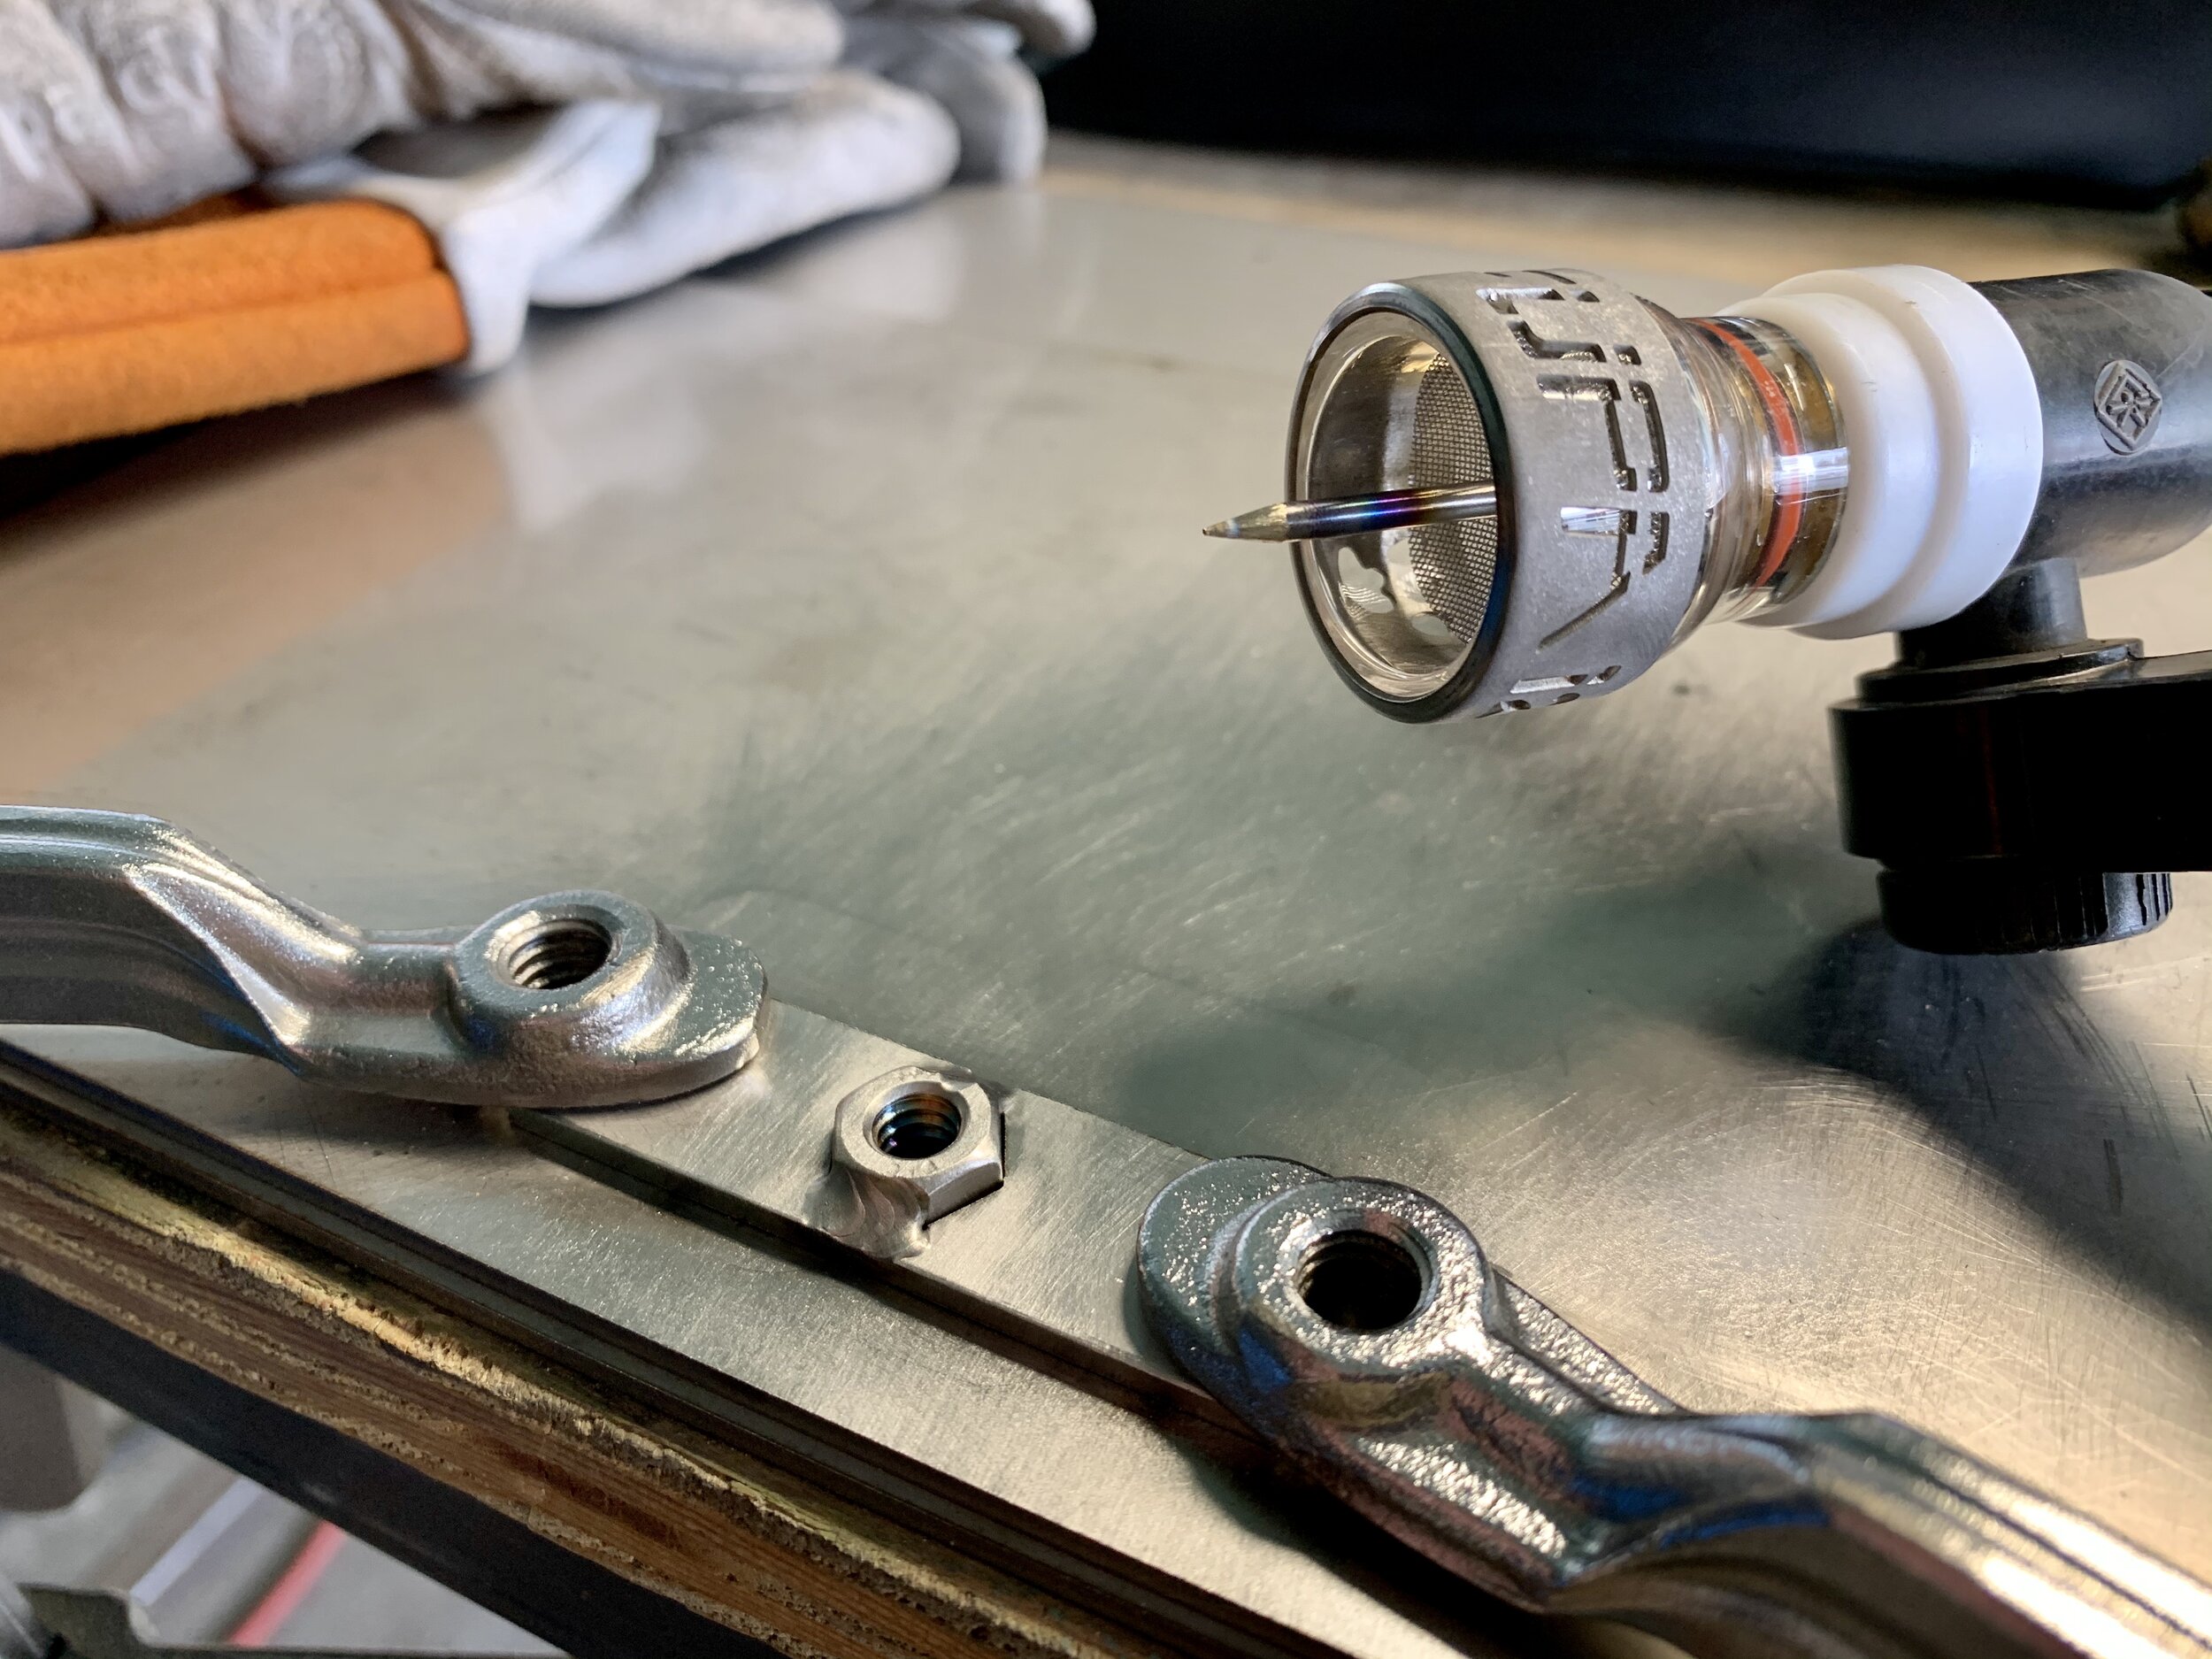
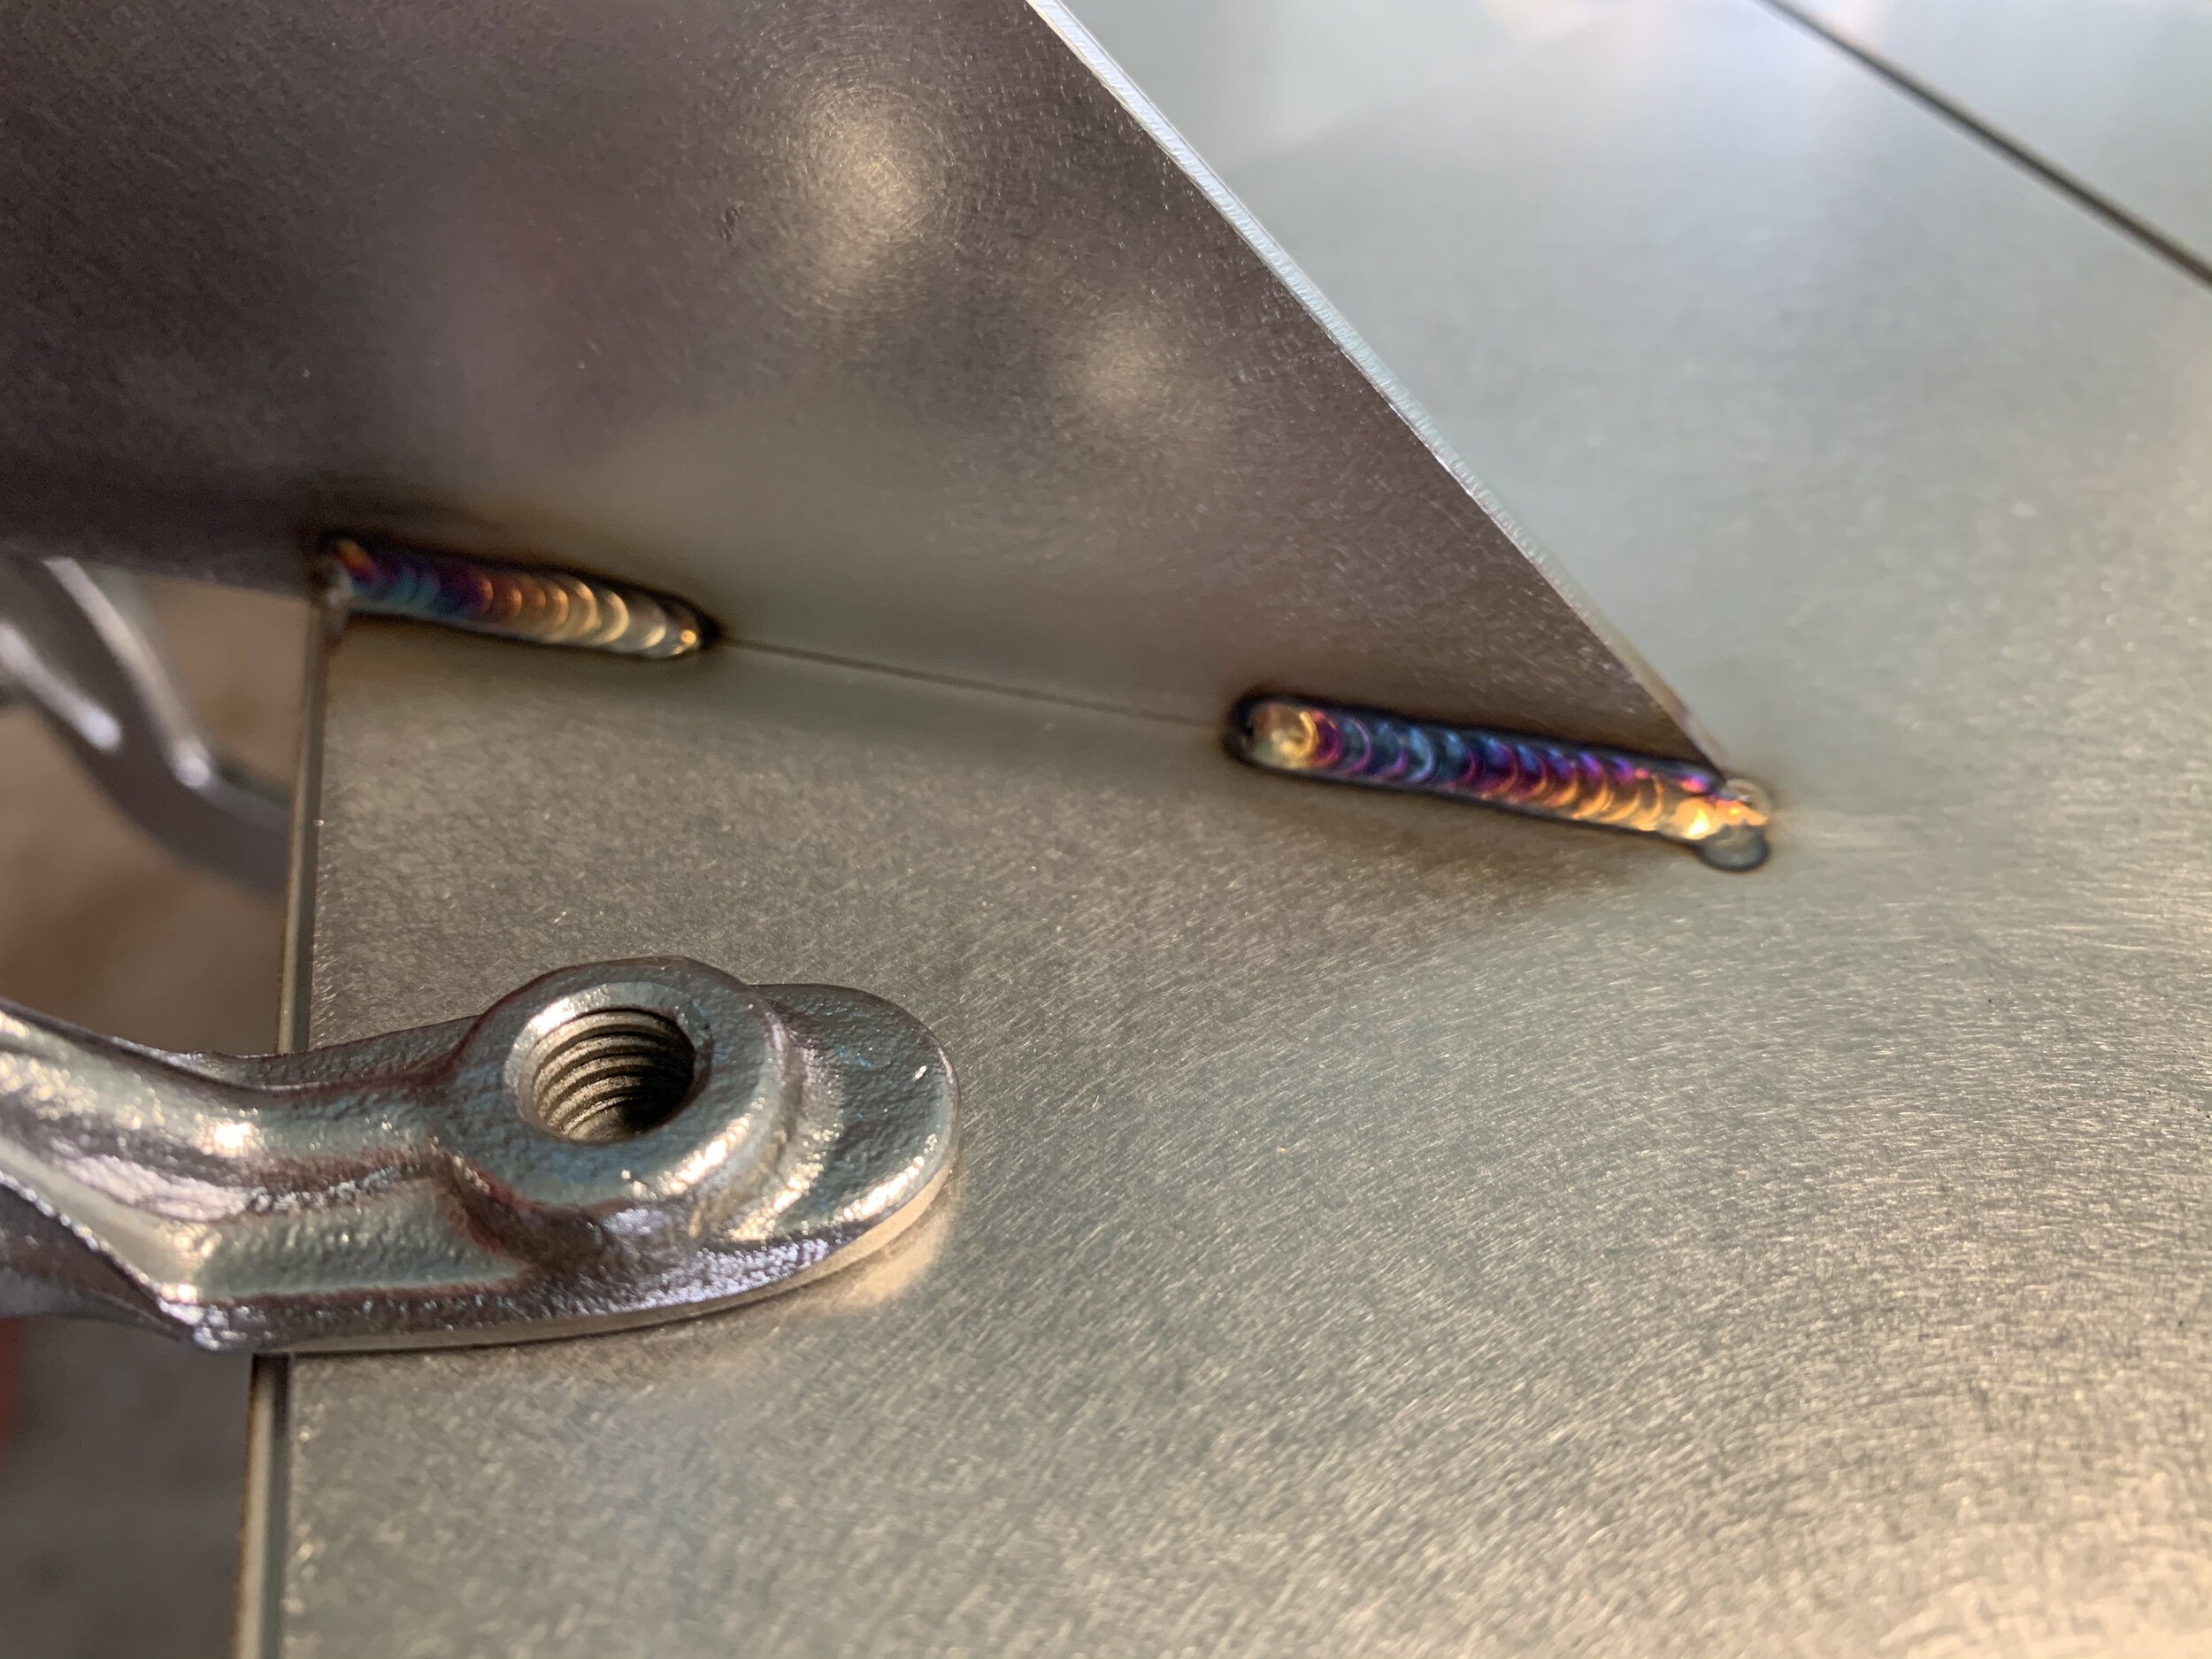
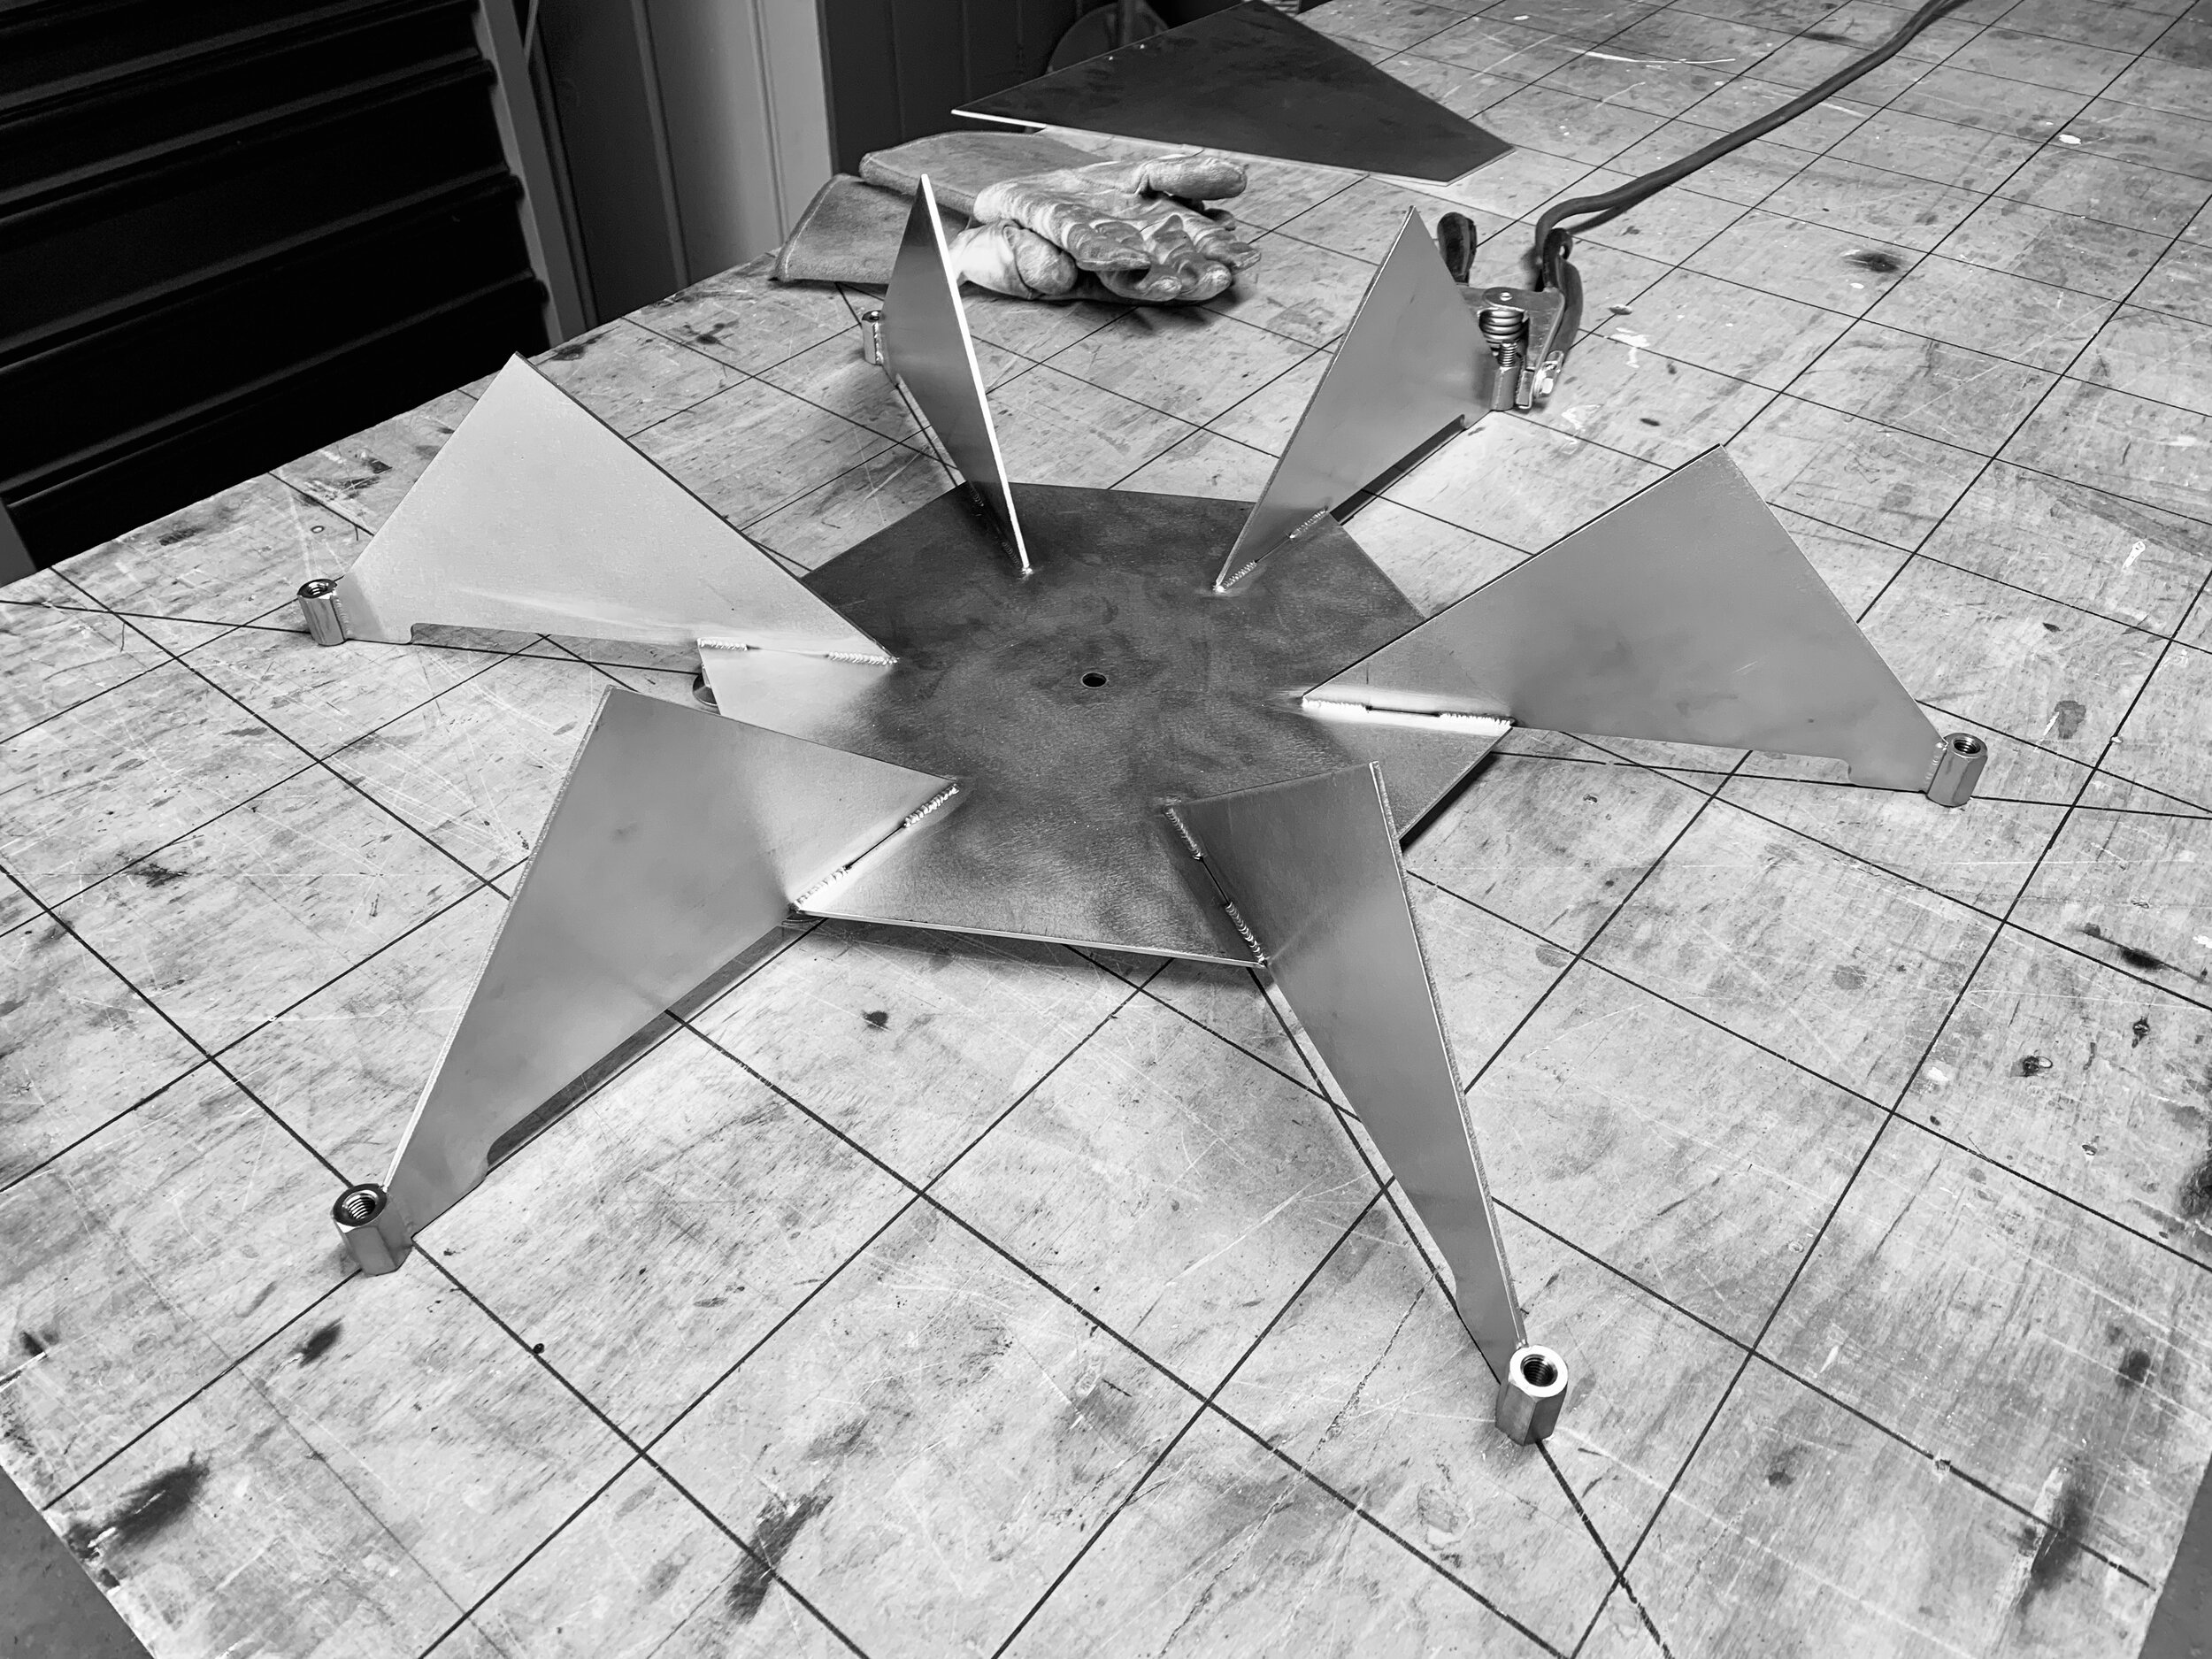
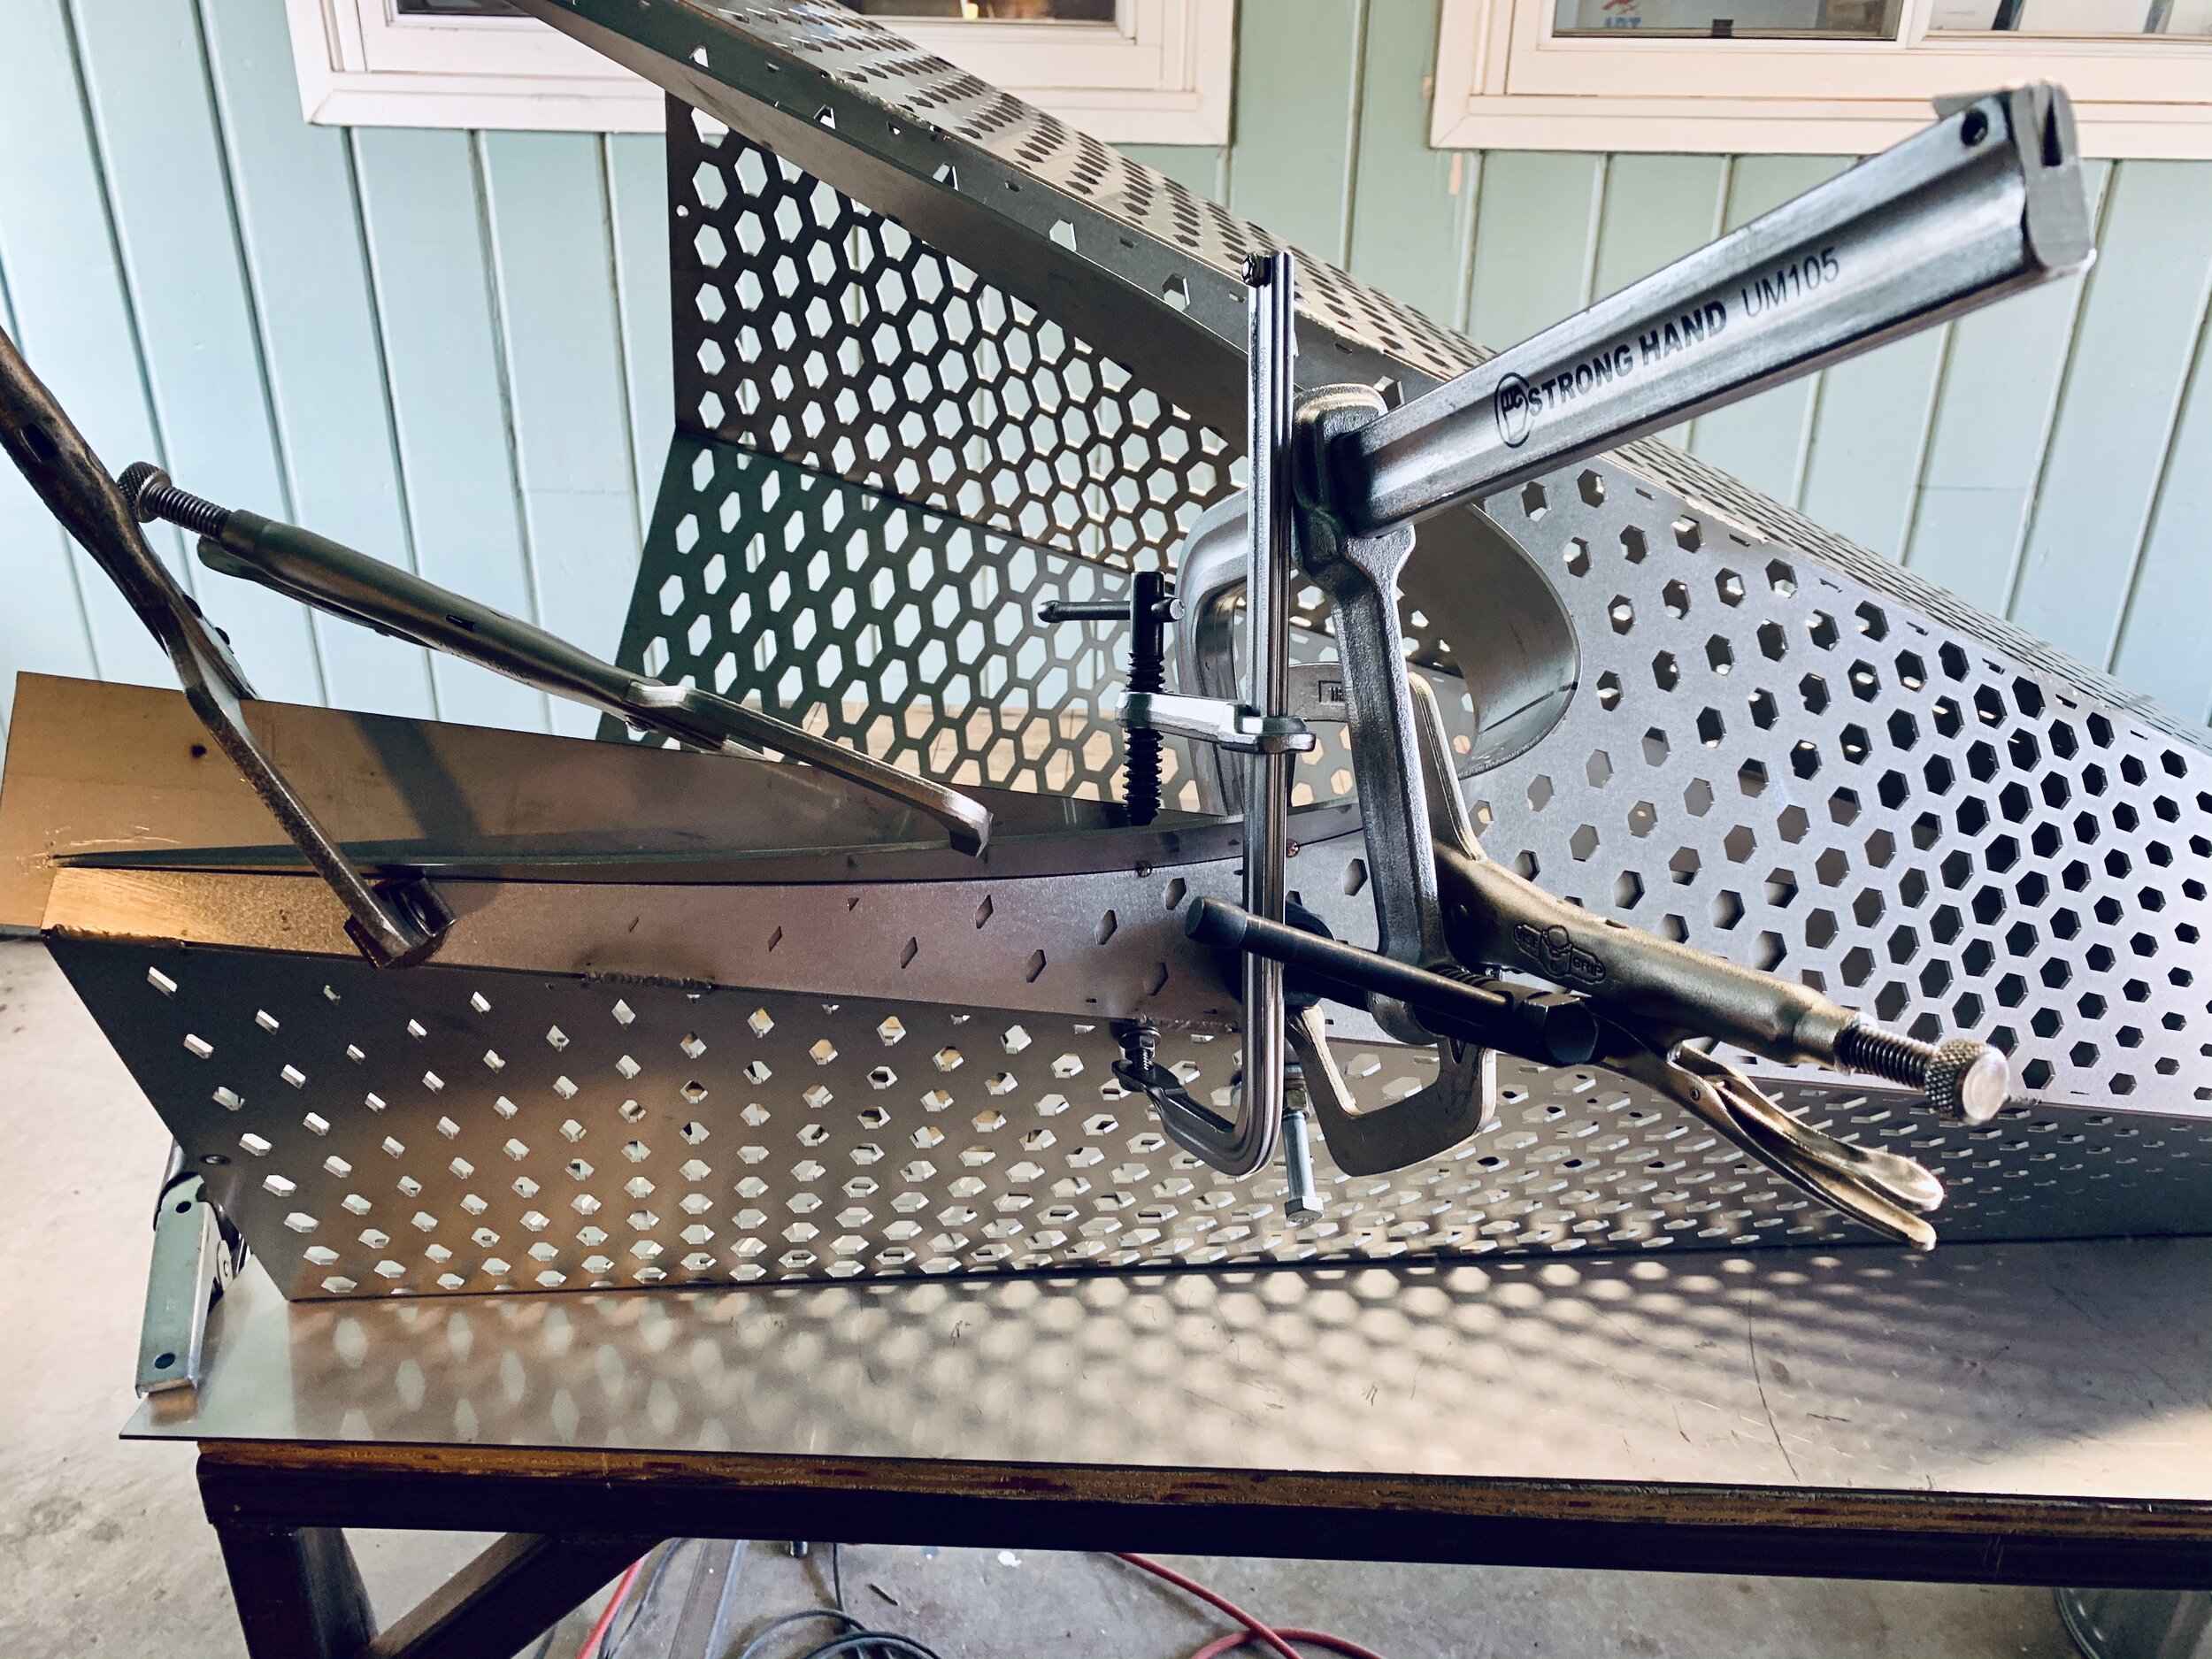
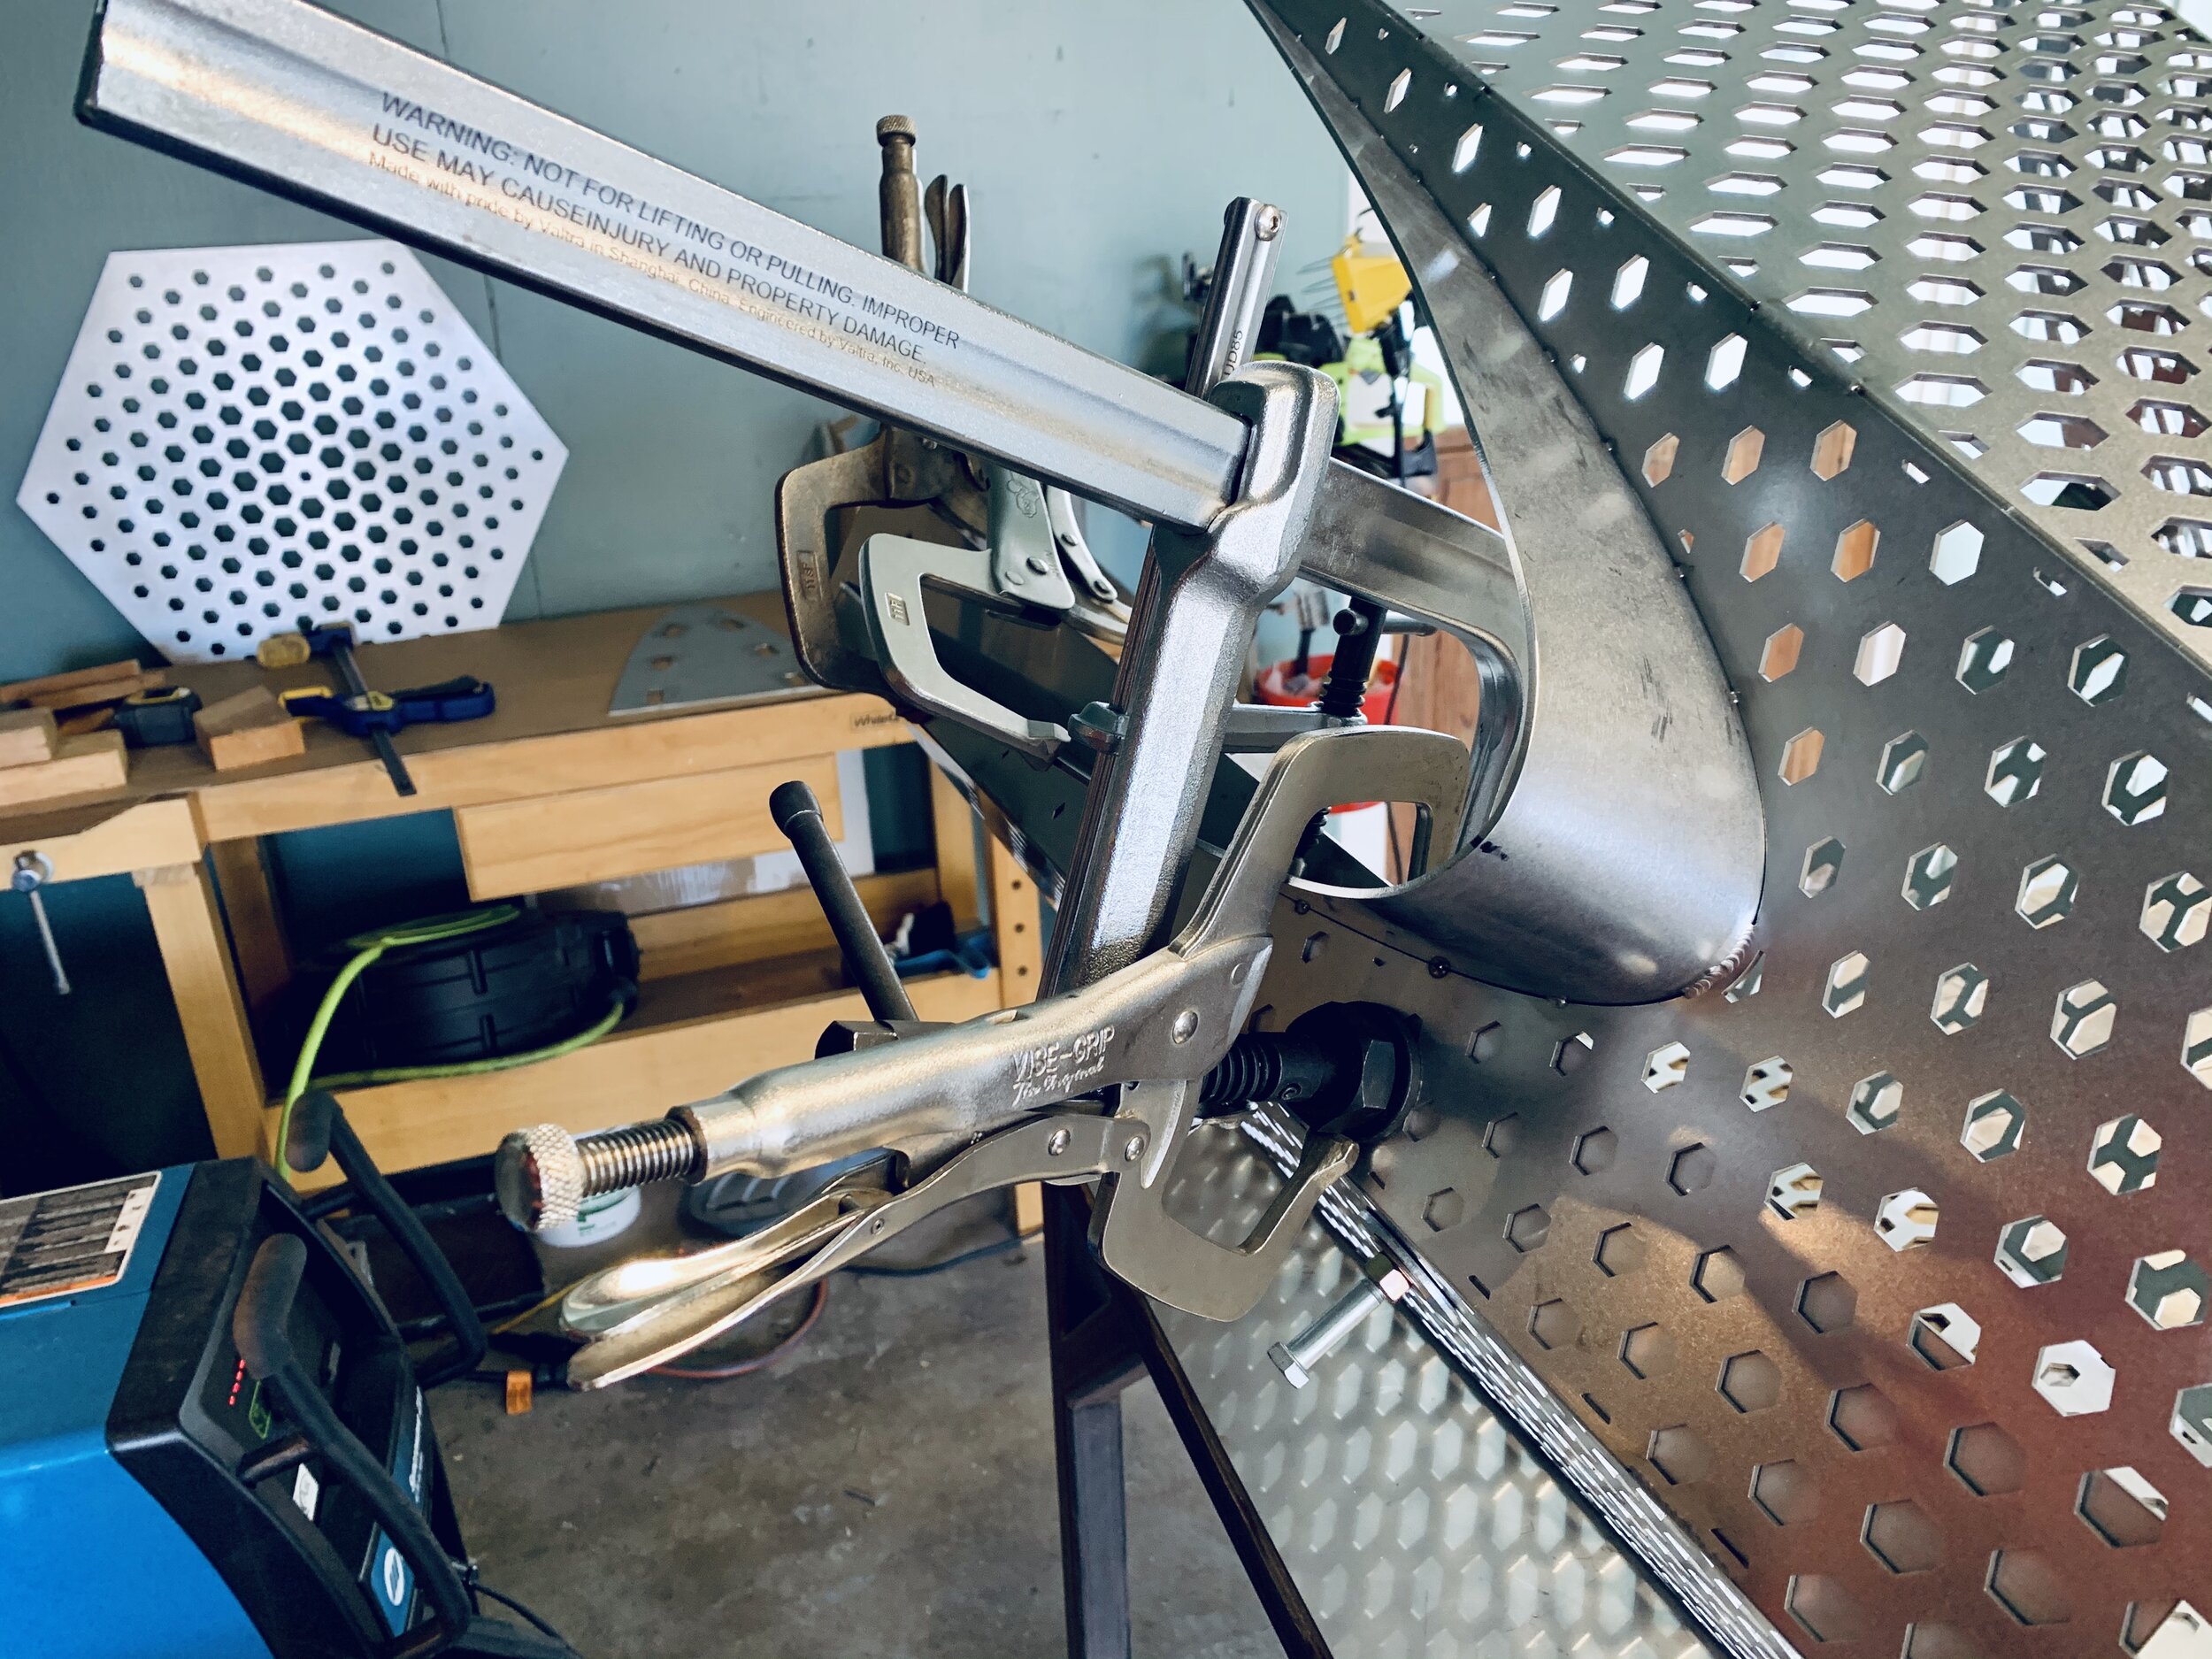
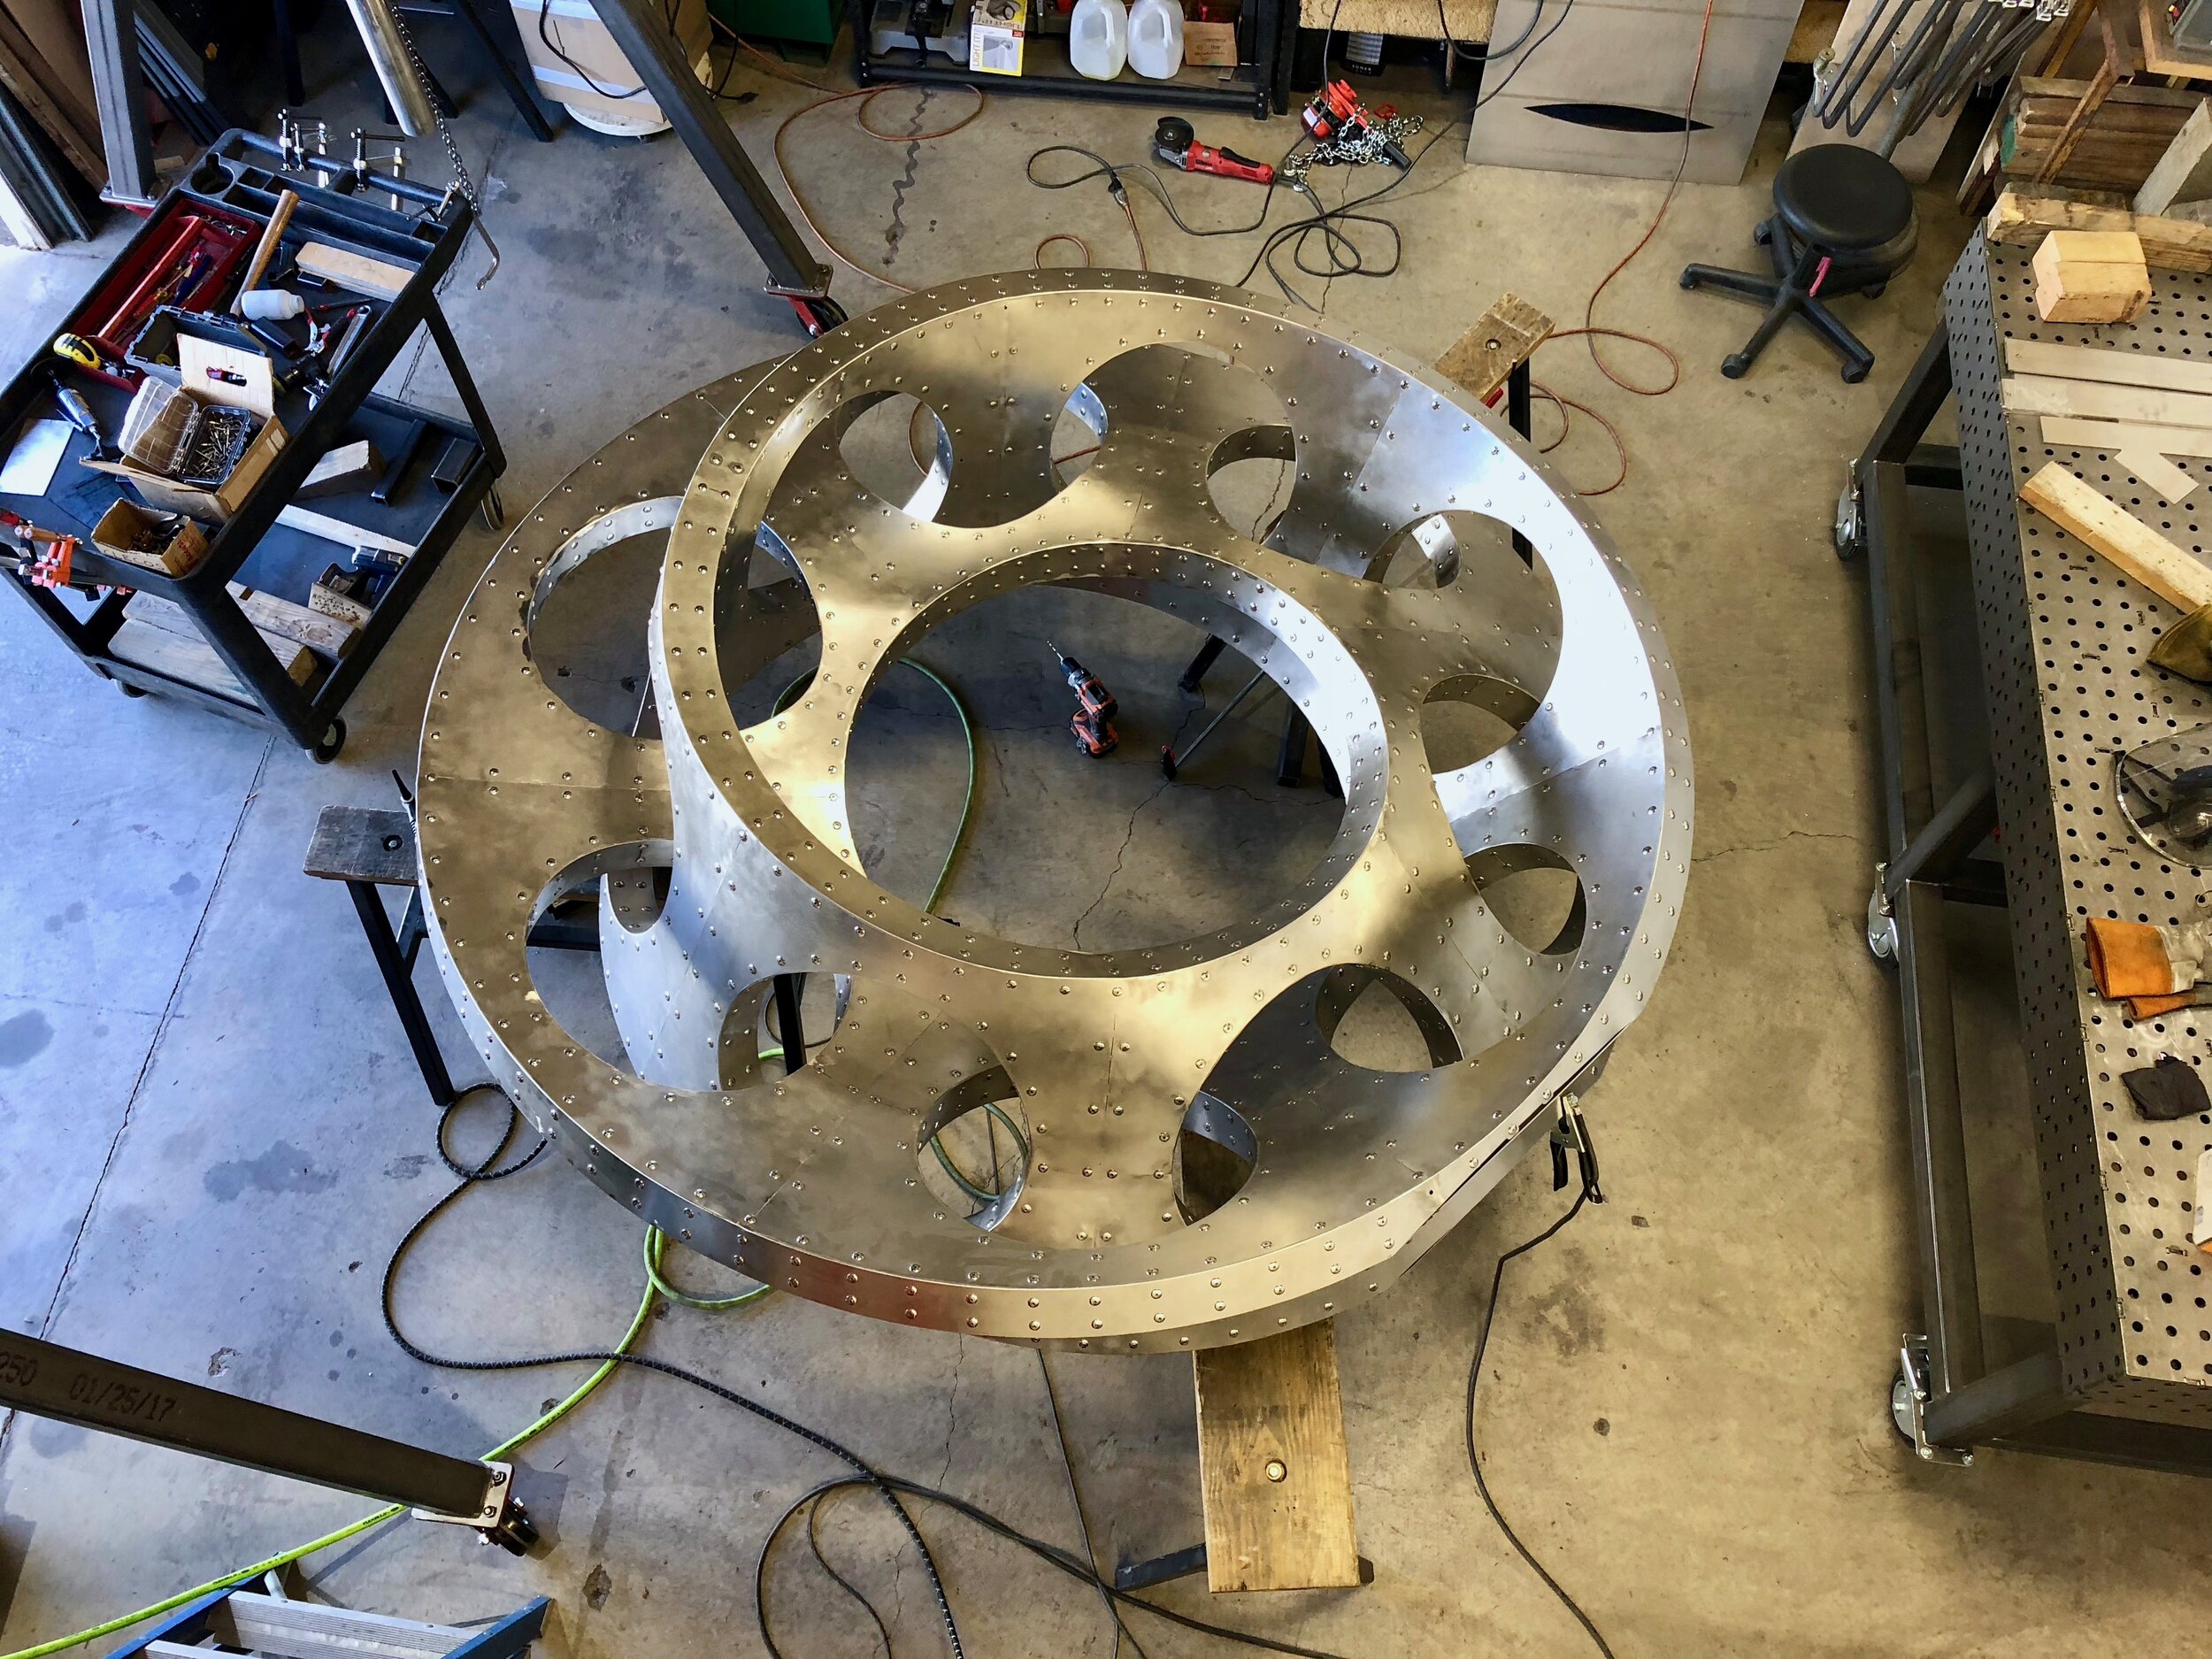
To insure a proper fit, I bolt the brackets into the fire basin and tack them together while there. Here, you can see how the ring of brackets pins the grill in place.

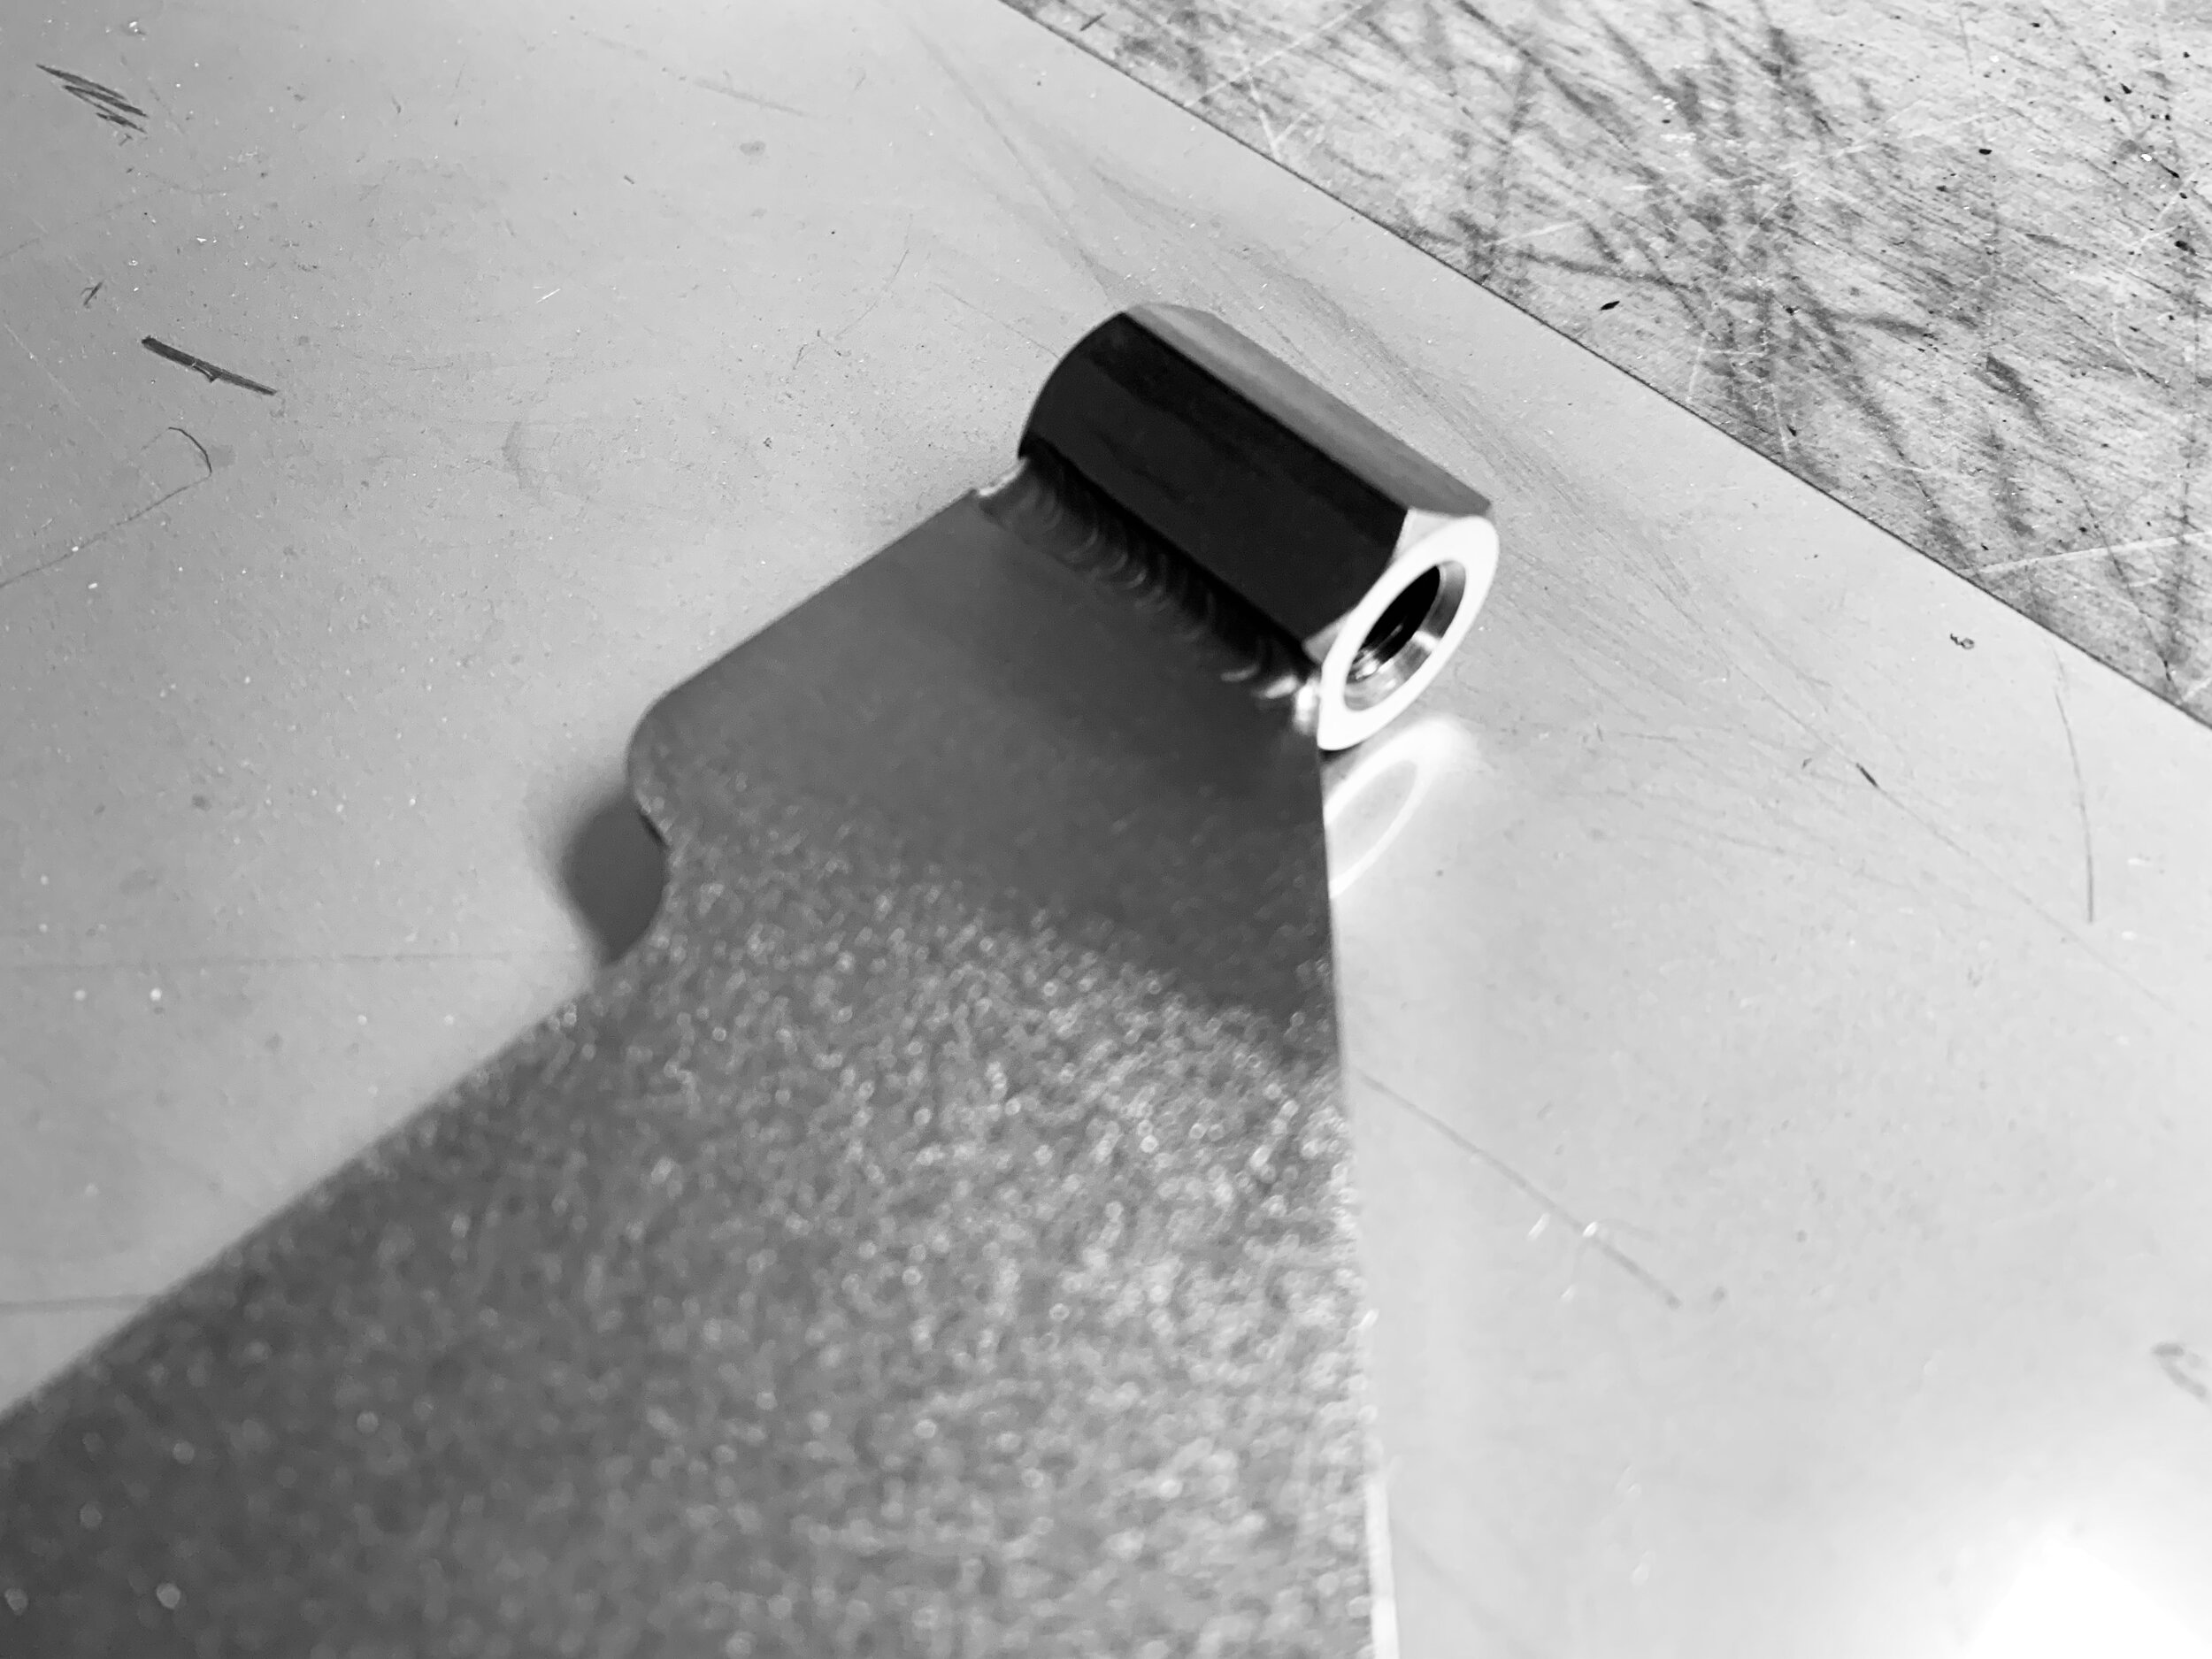
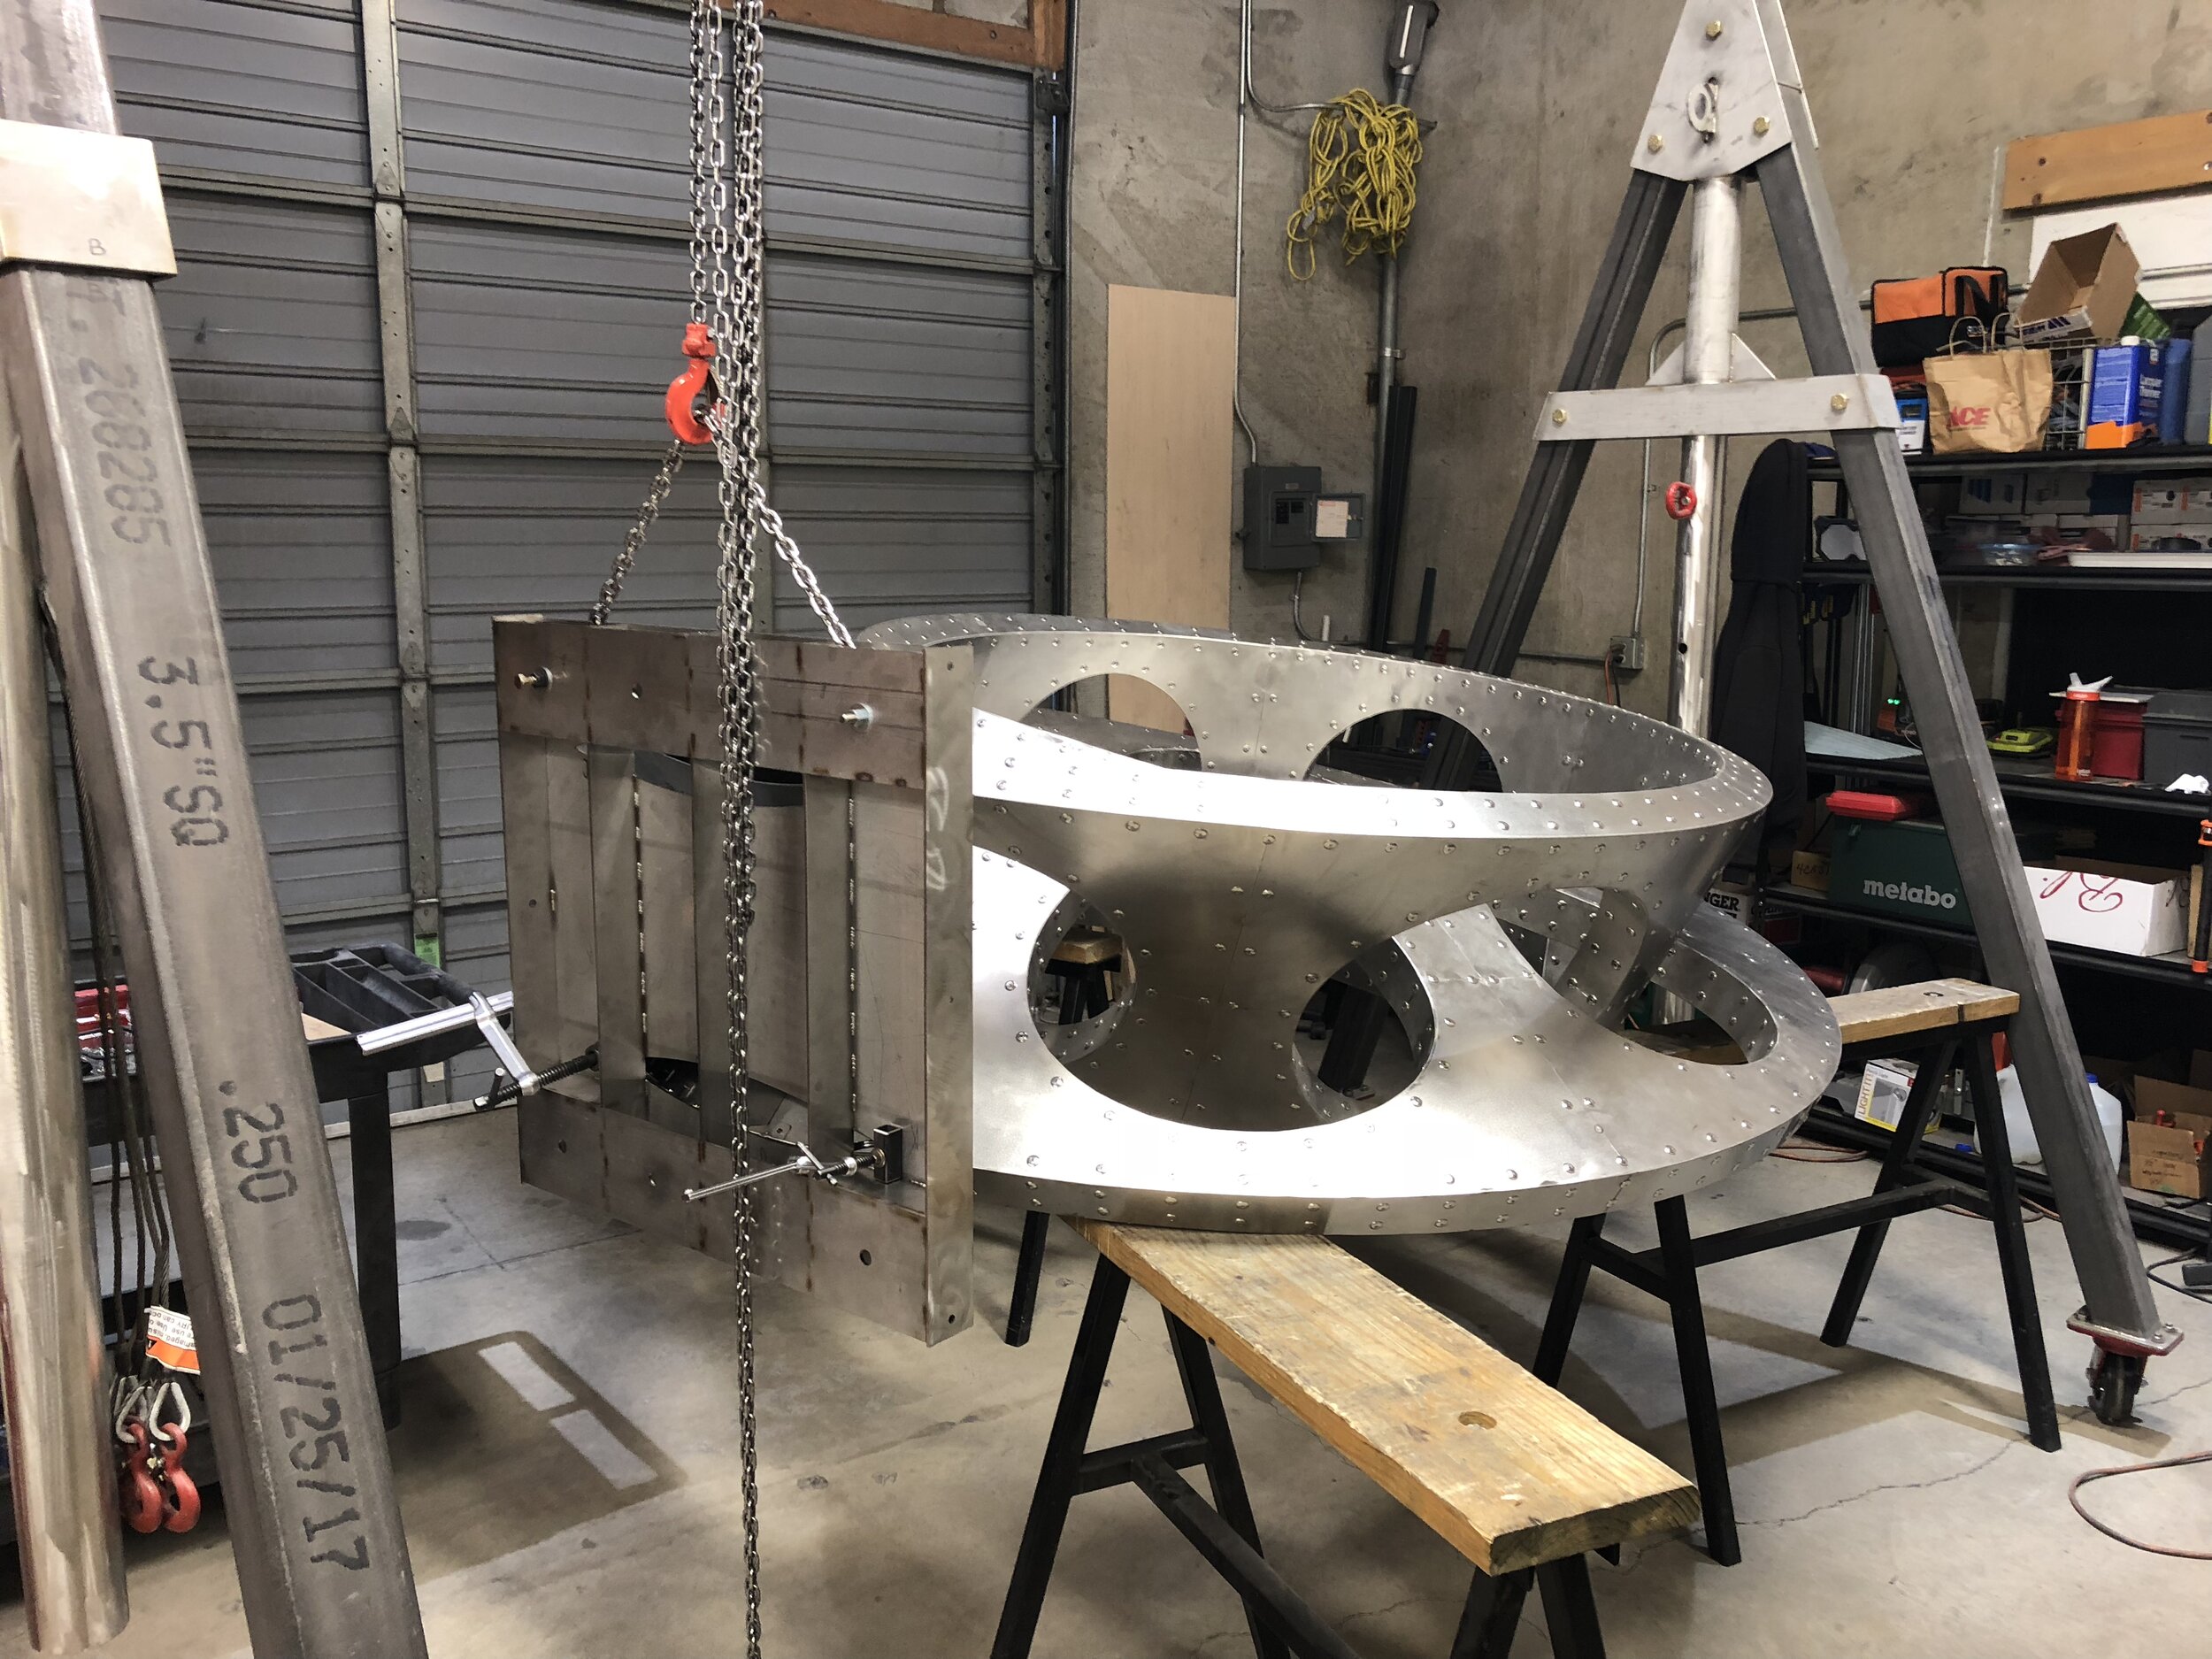
Once tack welded, the brackets are removed, clamped securely flat, and the final welds added. Oh - about that work surface: I was massively frustrated with how my fixturing and clamping setup worked on the prototype, so I broke down and bought a fancy German fabrication table. I really only spend money on things that make making better.
That’s the first half of the assembly for version 2. I’m really pleased at how the design is working out, and the new welding table not only makes things easier, but insures that the quality of my parts is top notch.
CinderCone: How, Part 2. /
Now that the design and layout work is complete, and the laser has done its thing, the real work begins. Or the FUN, depending on your feelings about welding and sanding metal. The interesting thing about my process is just how much of the fit-up and fixturing is simplified by the earlier CAD work — there’s very little guesswork or problem solving left at this point. Photos below tells the story of assembling the first CinderCone prototype.

CinderCone: How. /
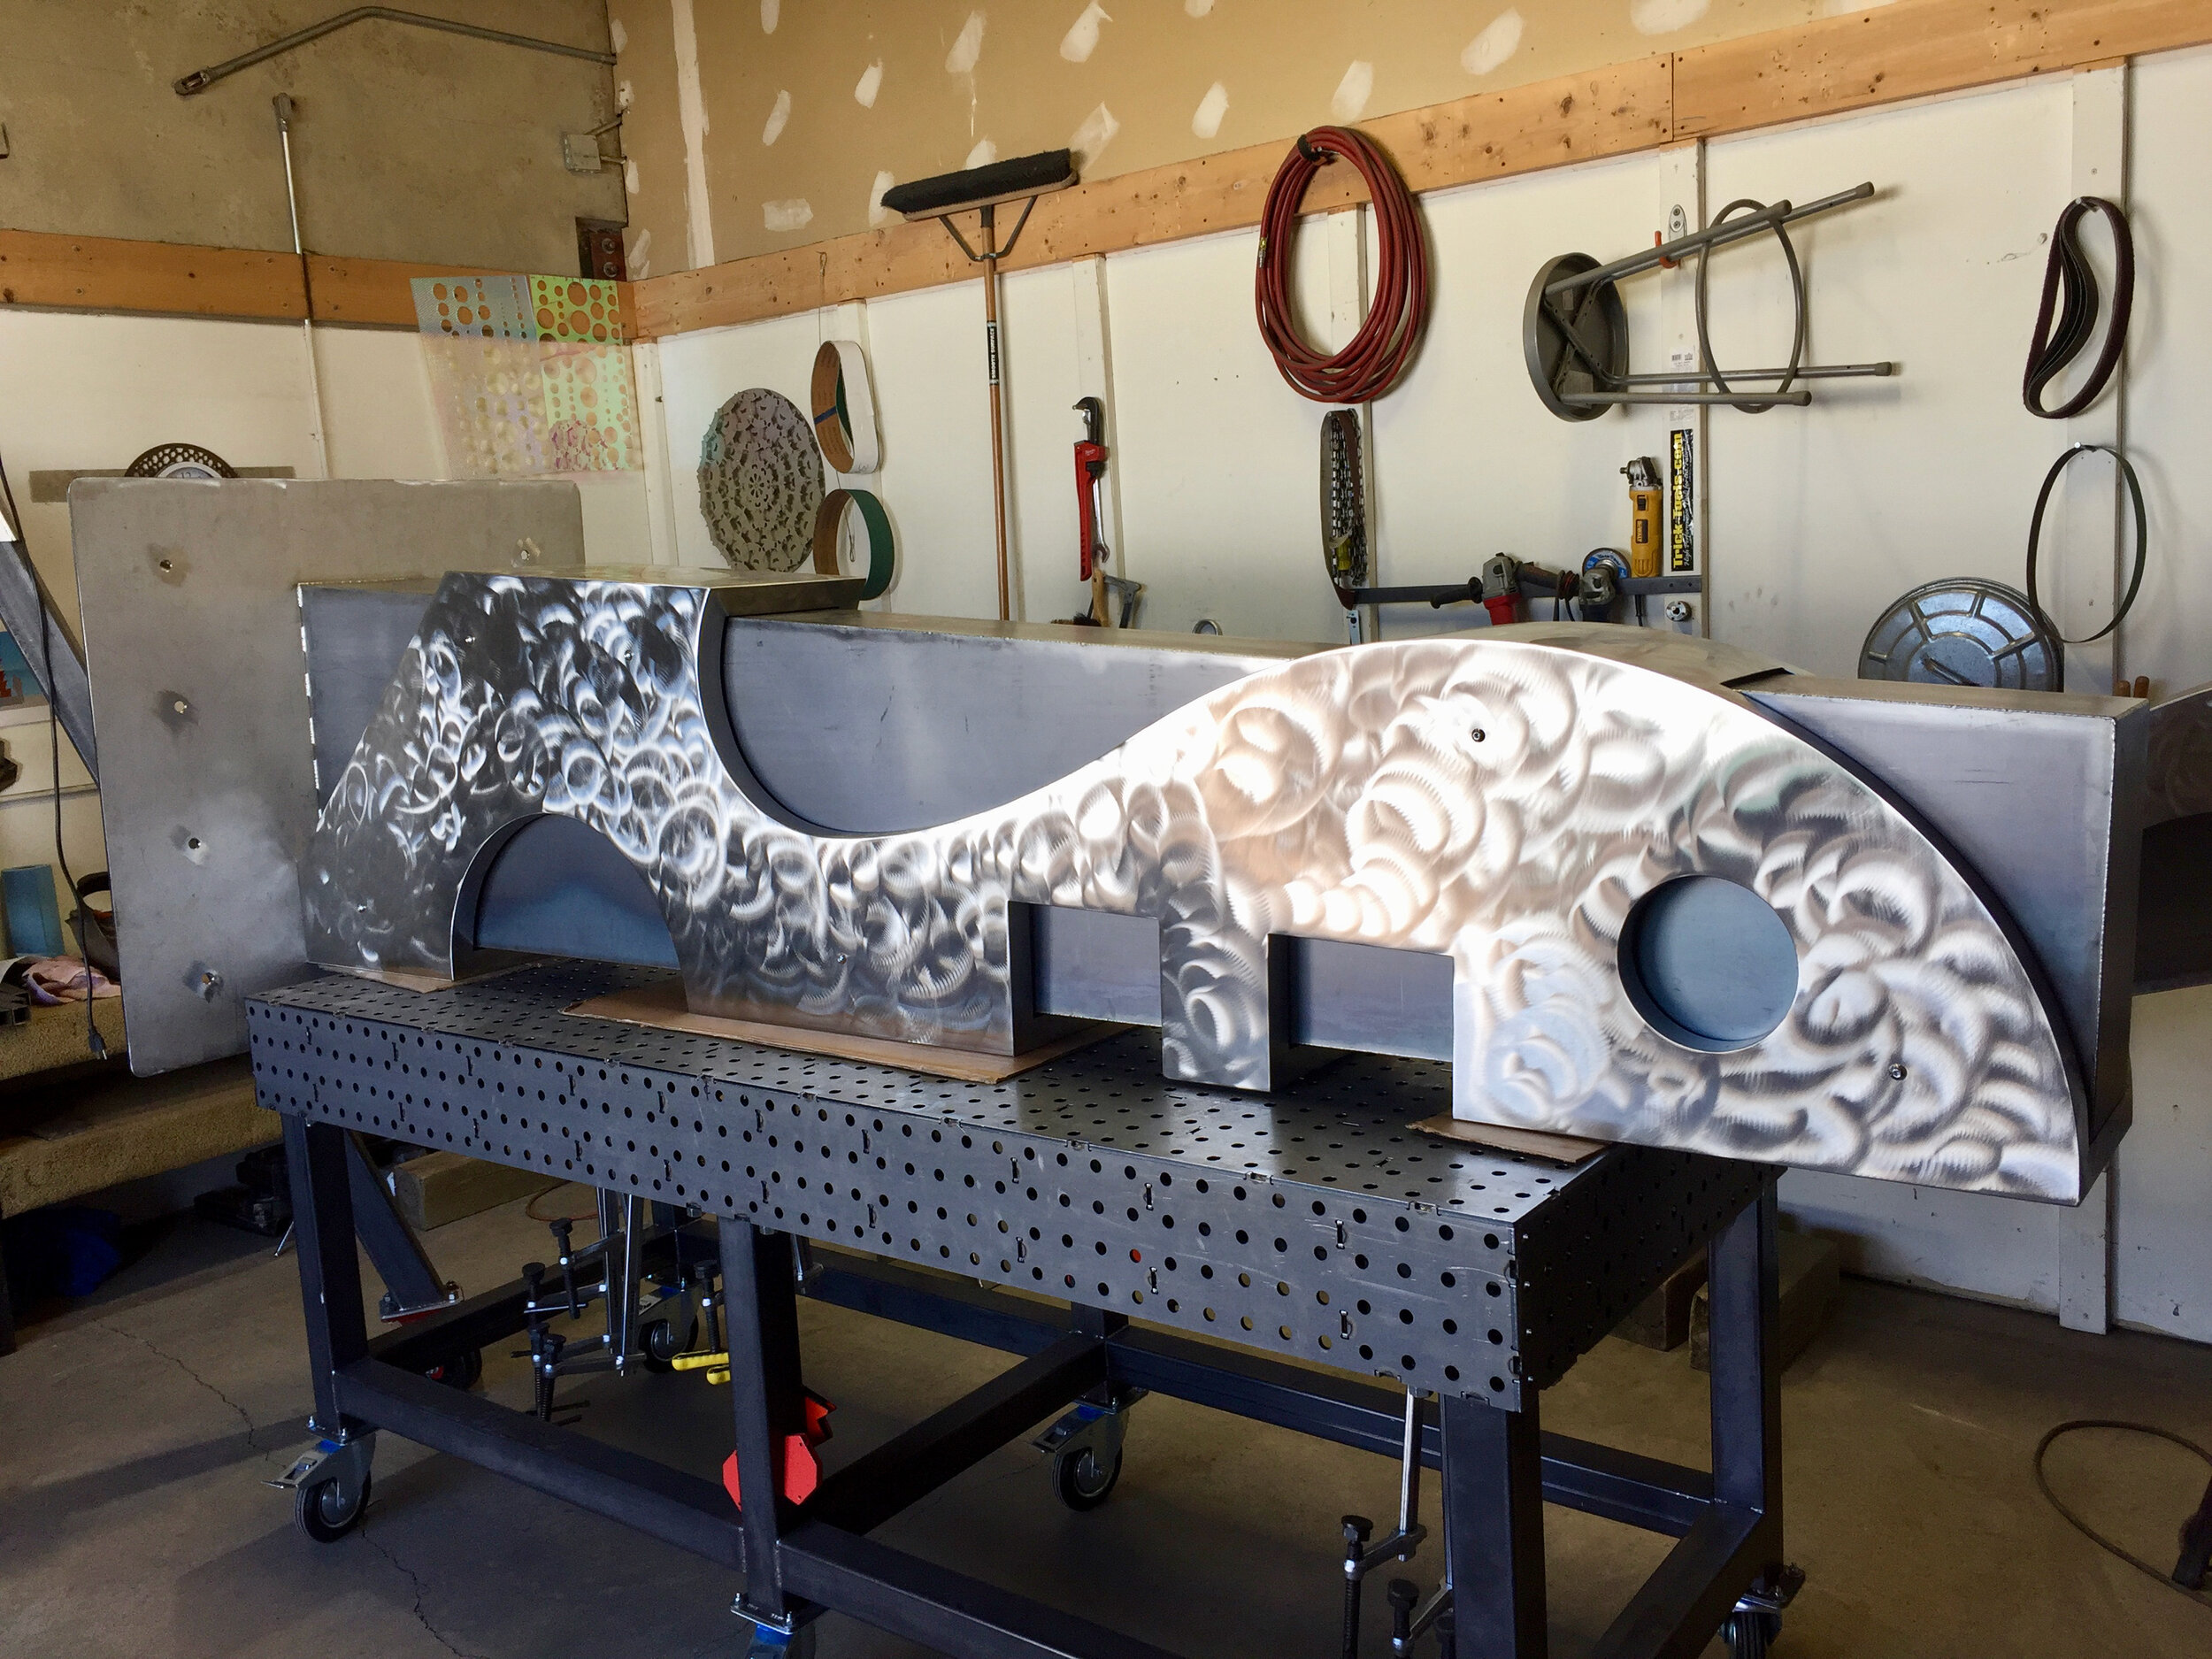
Once I decided I wanted to make a chimenea, it was time to address the “How?” I’ve spent 25 years slowly incorporating computer-aided design elements into my work, including patterns that are warped and deformed algorithmically. I had a vague idea of how I wanted the perforated pattern to look, but utilized the "mess with it 'til it looks good" method to arrive at a layout of hexagons, warped along a curving path. Not to get too far into the weeds, but that curving path acts as an attractor, deforming the hexes more strongly relative to their distance from it.

Doing a bit of time travel here, but thought this showed the pattern off nicely.
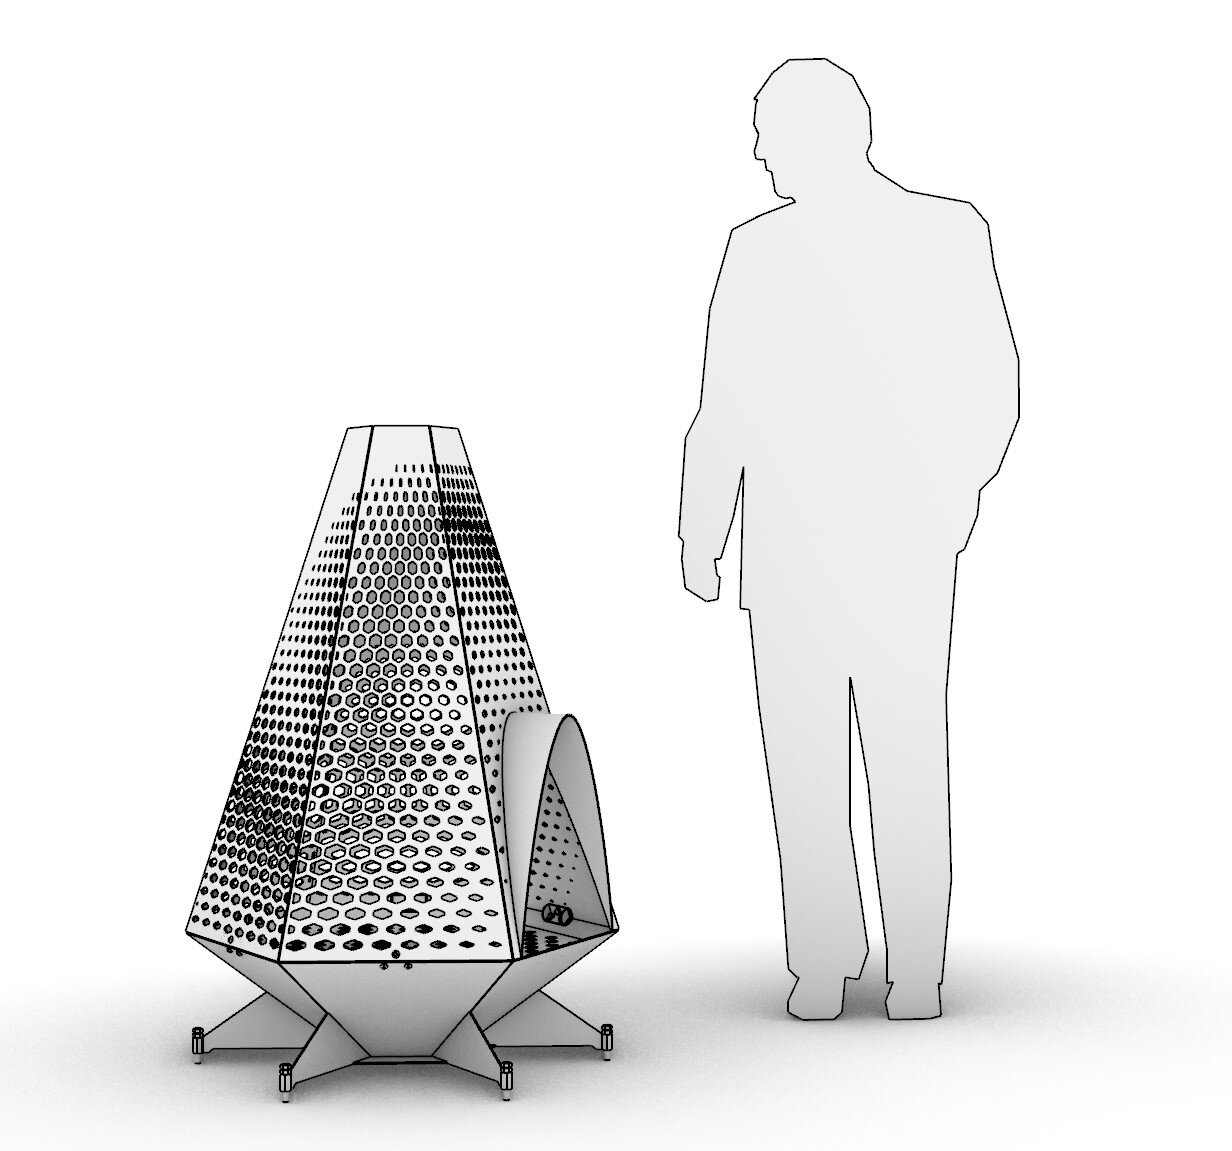
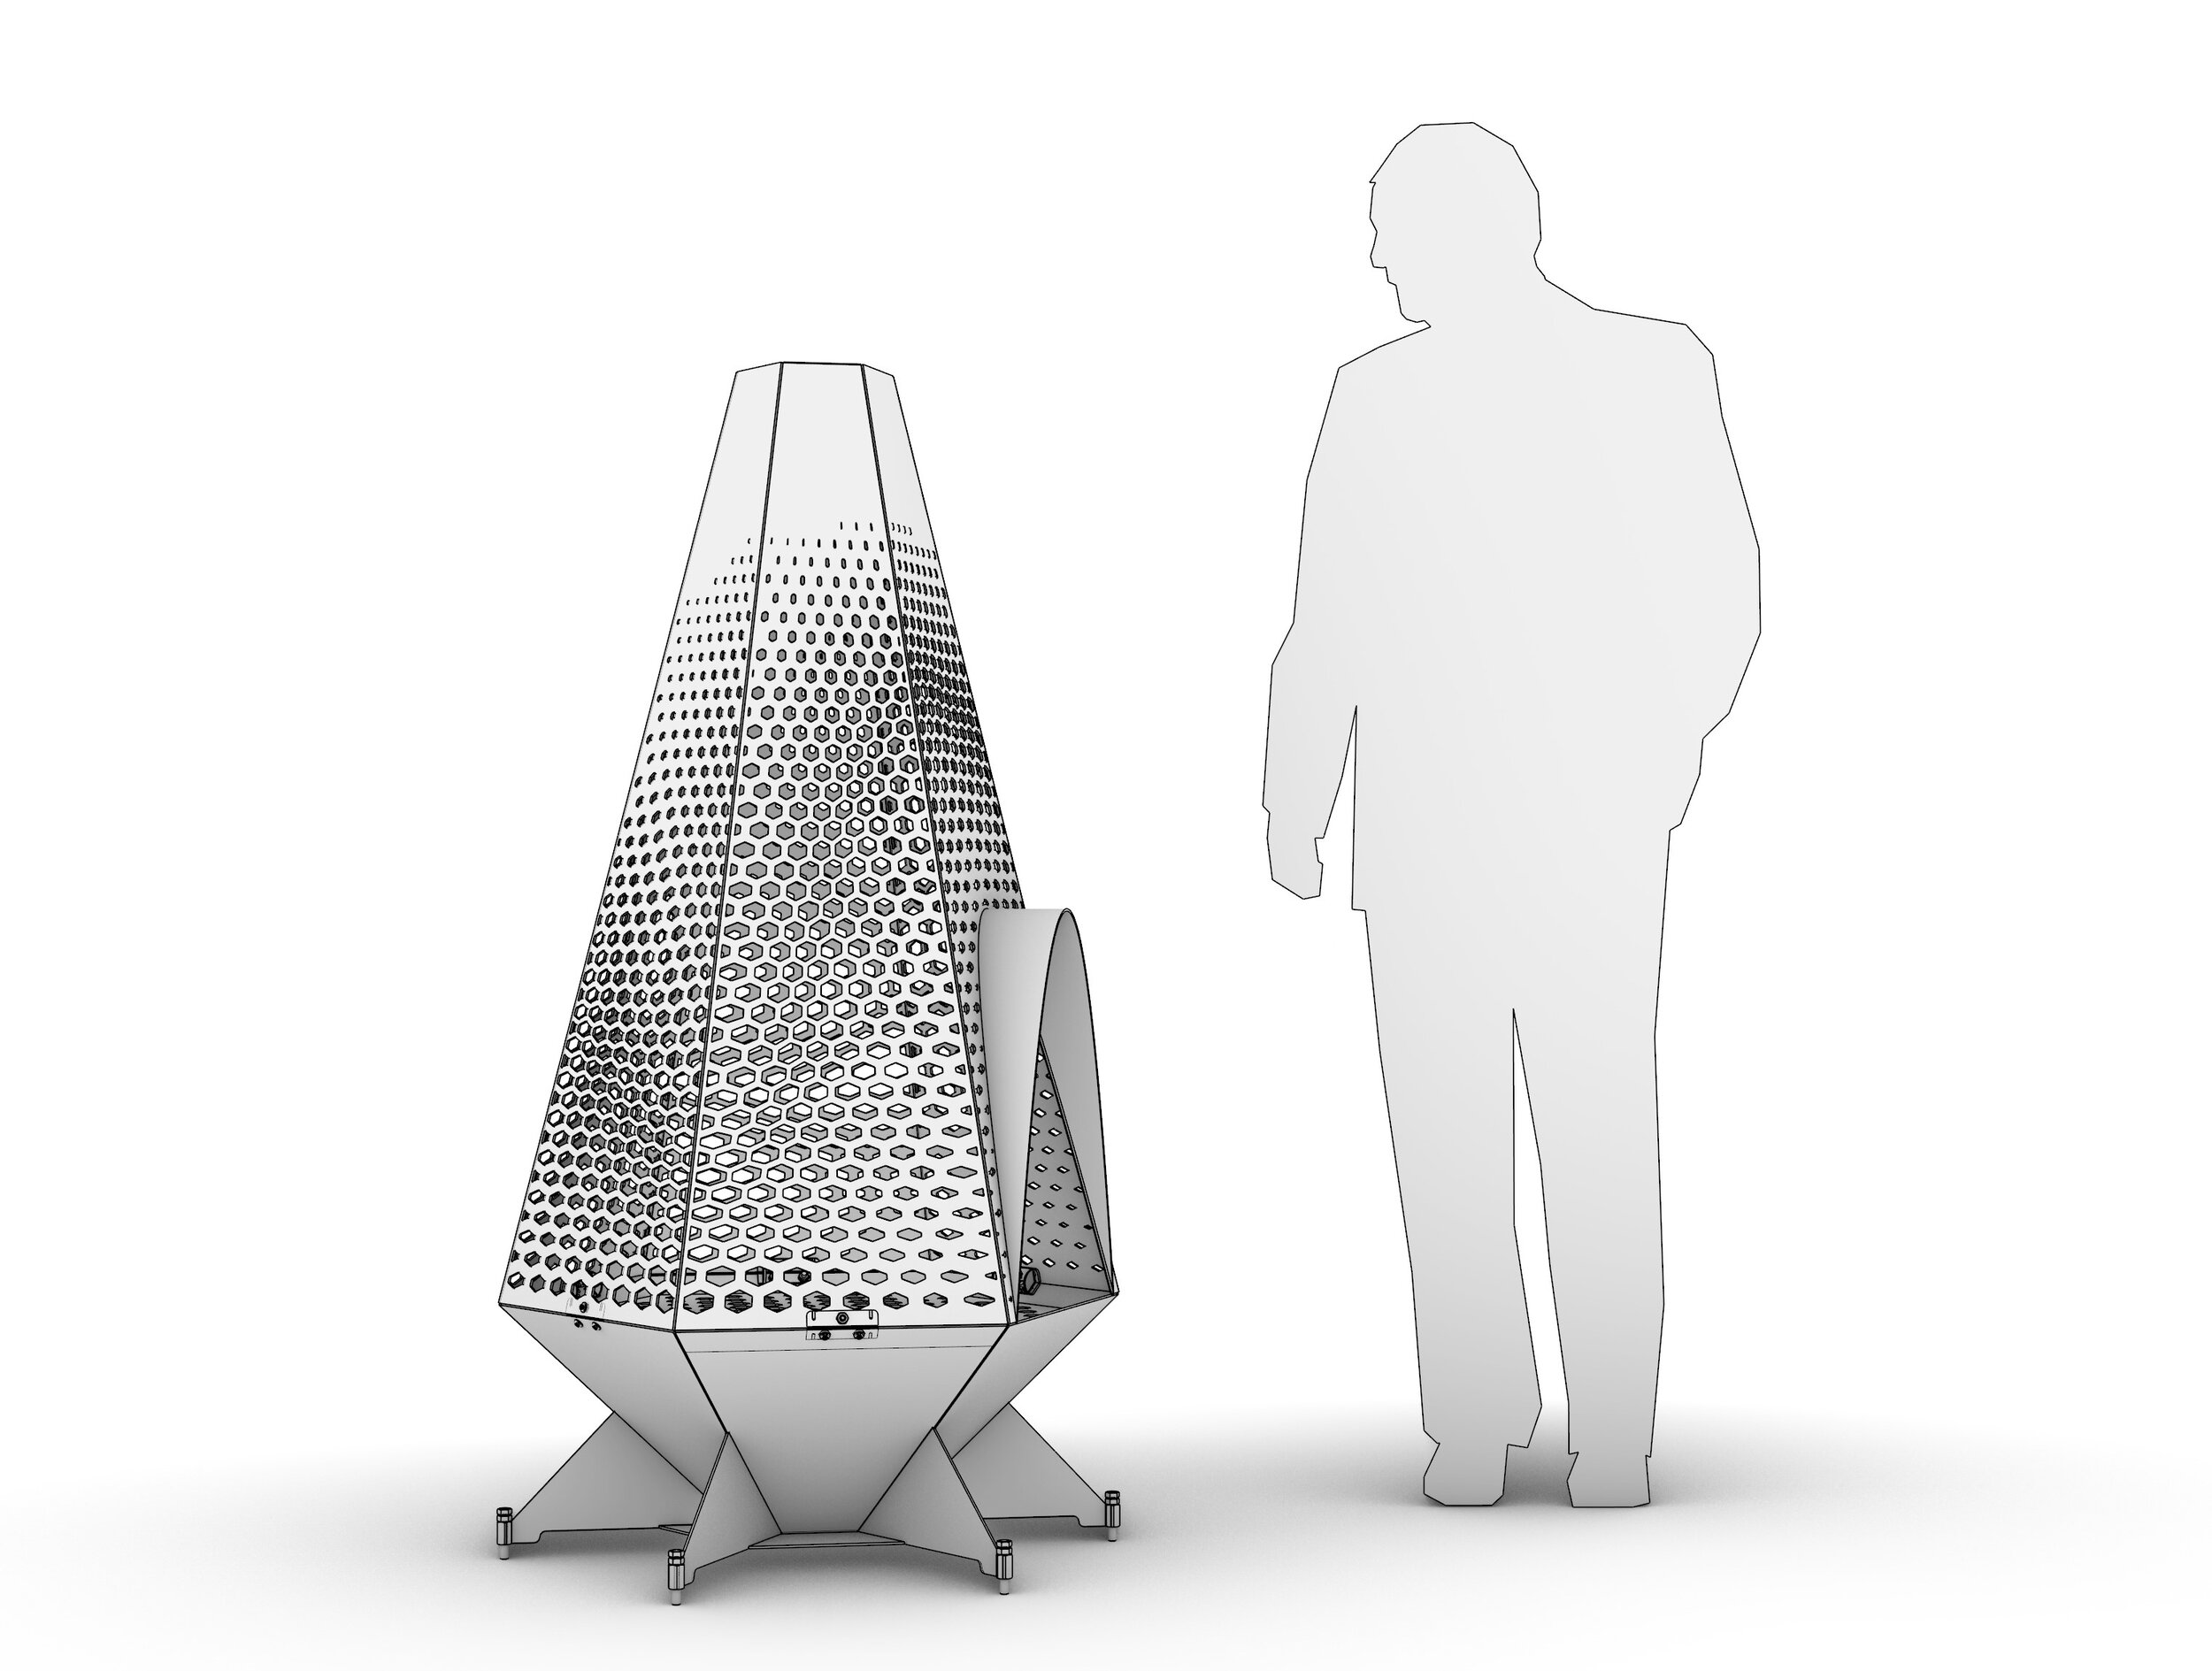
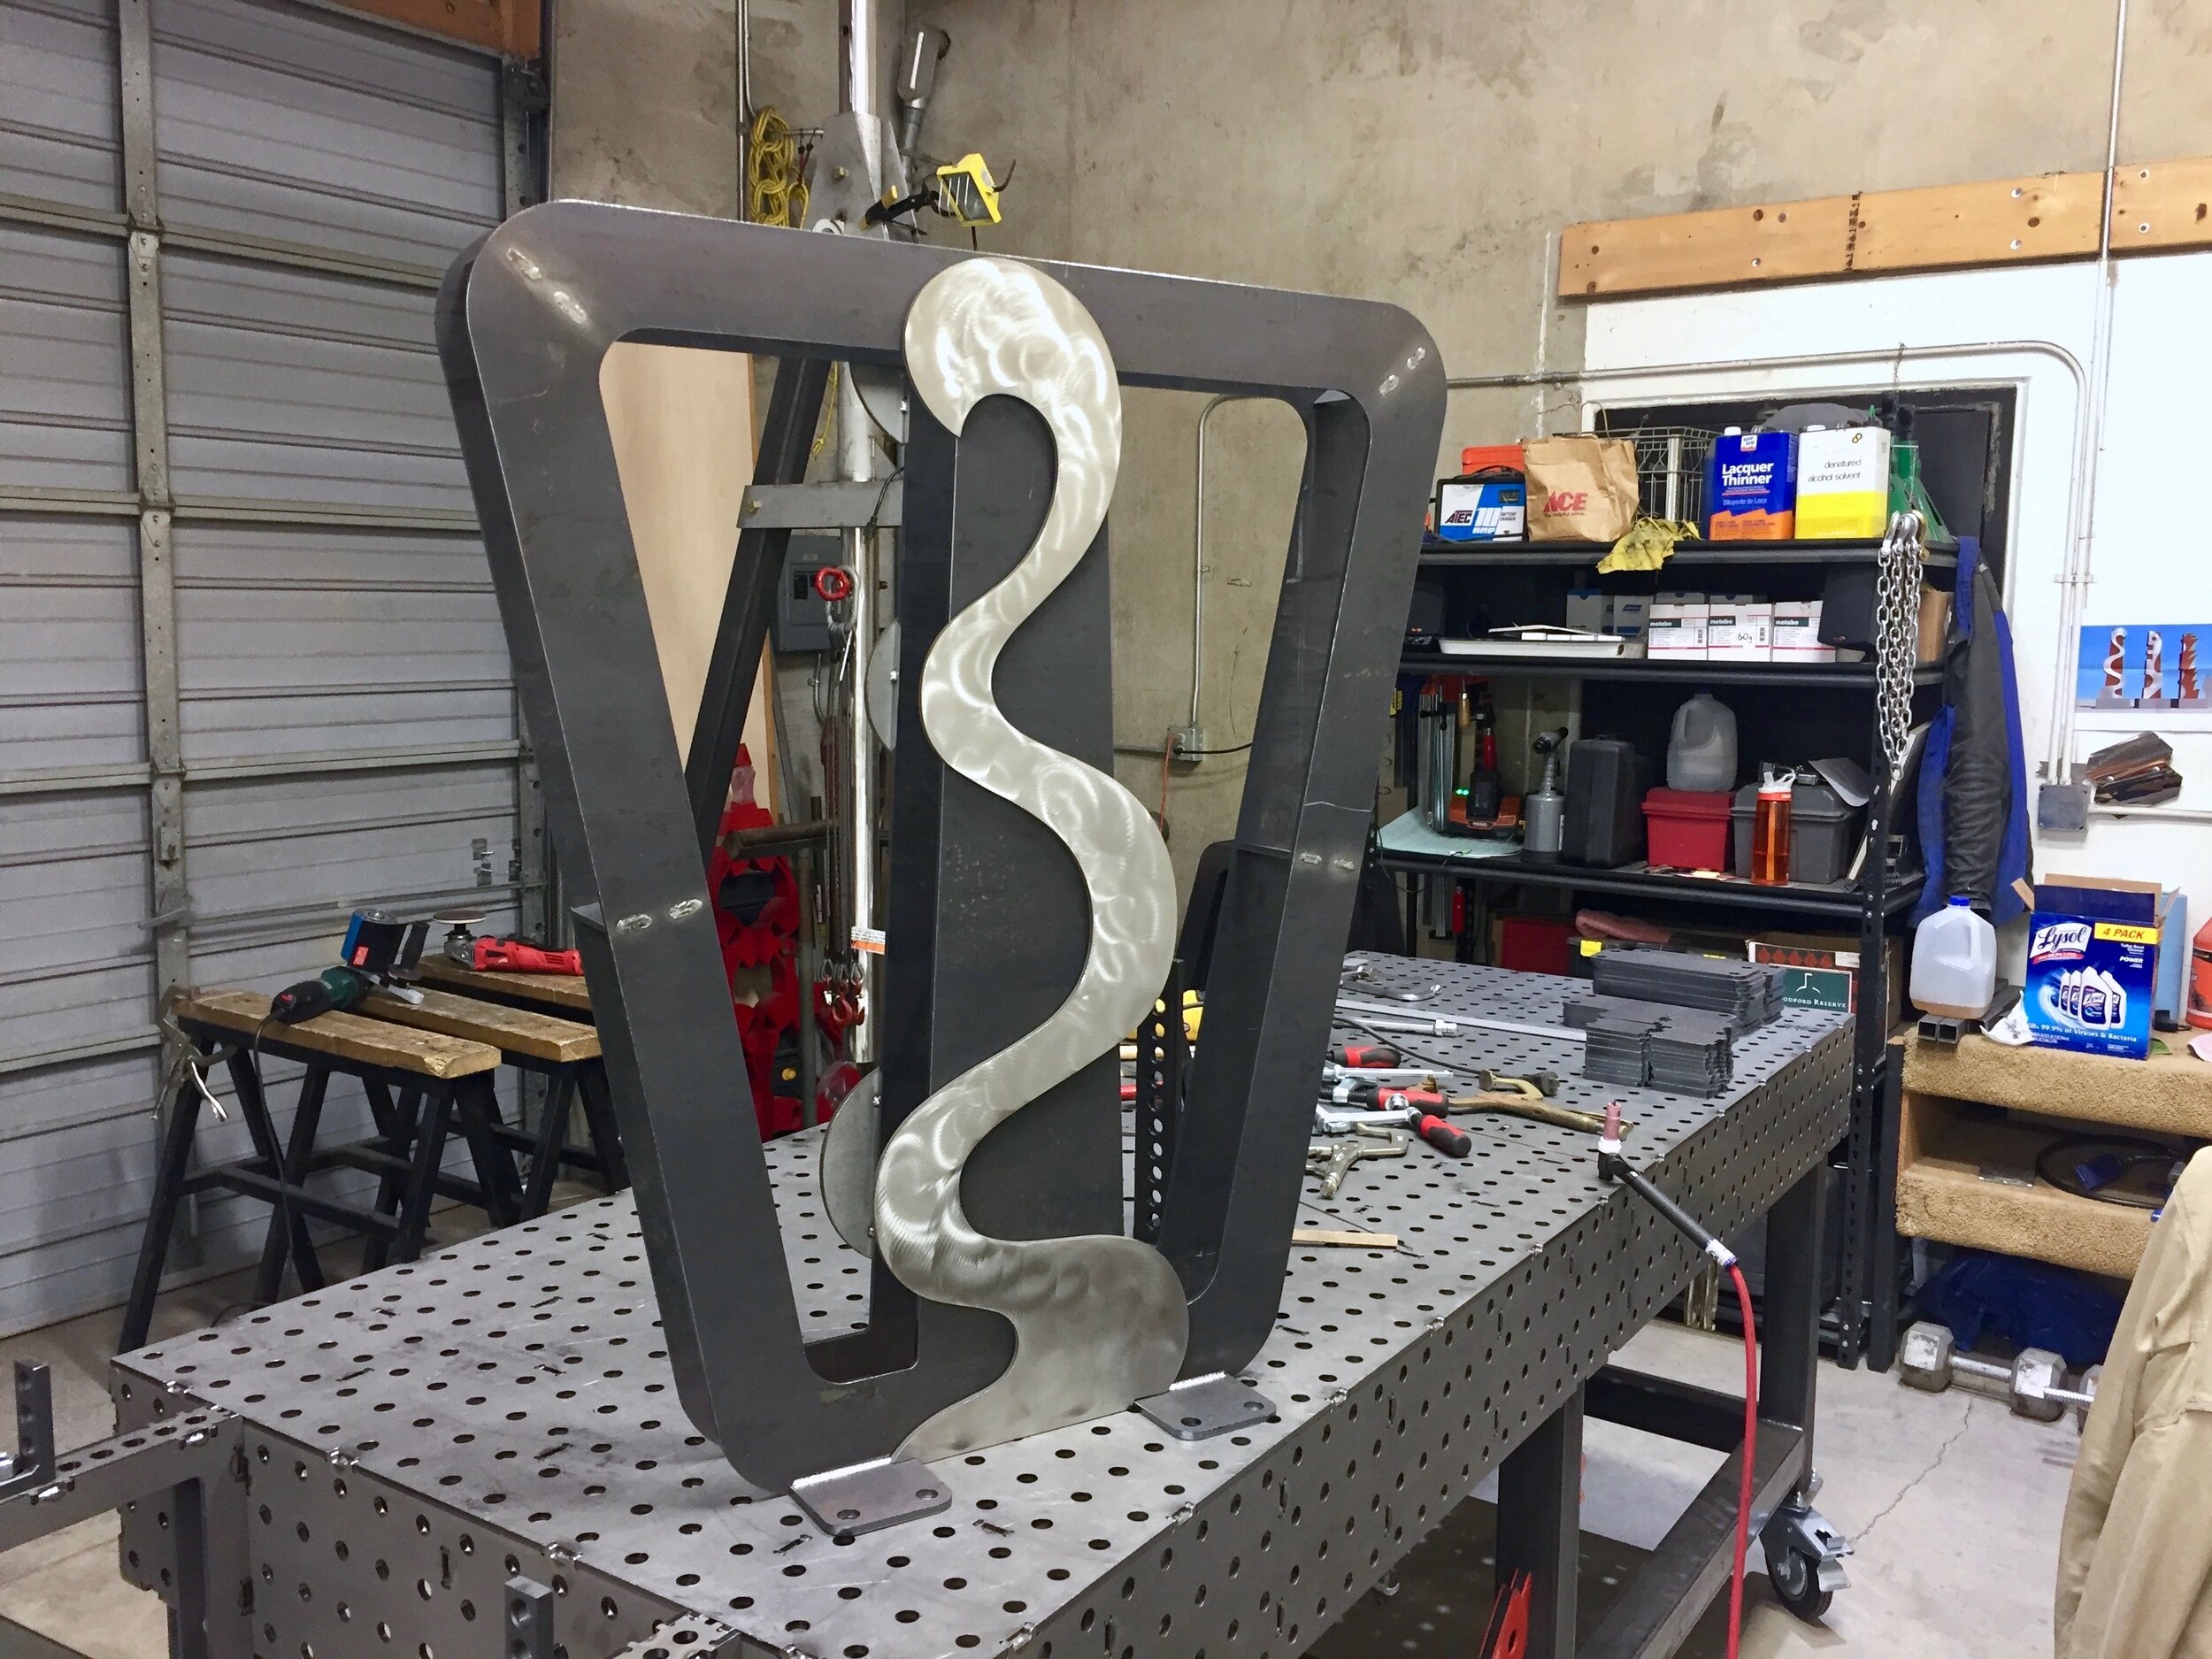
Since the humble hexagon was the seed for the pattern, I thought it appropriate to use it as the driving motif for the chimenea's main form, too. Given that there are some immutable constraints at play - scale, containing the fire, supporting the wood, channeling the smoke, etc. - much of the remaining design choices were just a matter of adjusting the form to allow for said constraints. I worked up the basic shape, then stuck an average-sized human into the scene to check the scale. The initial 40 inch height just felt too small when viewed in this context, so I added a foot. Ta Da!
Once I have the design finalized, I lay out all the parts as flat patterns for the laser cutter, then send them off to be cut.

Interwoven. /
Interwoven is finished
After five long months of work through the winter, Interwoven is finally done. Very happy little metal monkey over here. So pleased, in fact, that I composed a wee poem for the occasion:
Interwoven
Unseen fabric
Warp of Time
Weft of Space
The tapestry of connection
Between me and everything
Nexus
Node to node
Emergent consciousness
Synapse
And Synecdoche
Hydrogen becoming
Humanity
A Universe evolving
Eyes
with which to see
Itself
Making Terralogue Totems: Even Deeper. /
More fabrication photos. "Crop" was delayed due to the corten face material arriving damaged. Took forever to get replacements.


Making Terralogue Totems: In Deep. /
More photos from the fabrication of all the Lincoln Corridor elements, including the bases for the bollards, the bike racks, and more of the main sculptures.


Making Terralogue Totems: Both Nitty and Gritty. /
Getting into the meat of the fabrication now. Mostly a pretty straight-forward process and totally familiar to those of you who've followed along with other projects here on my blog. One hallmark of this particular design is the complication of using two different metals. Corten and stainless both rely on an oxide layer that develops on their surface to provide corrosion protection; Corten's oxide just happens to be, well, rust-colored, while stainless steel's is chalky gray. The only issue this presents is the rusty Corten oxide can stain the stainless (how the?), ruining the aesthetics of the piece. I elected to use internal supports (standoffs) to hold the two materials a quarter inch apart to prevent this.
Take a look at these photos and see if you can spot the standoffs.