Now that I’ve figured out how to correct the issues that presented themselves in V1, it’s time to implement the changes. That means generating new patterns for the laser and having the improved design cut. I also went with slightly thicker material — 11 gauge instead of 12 — to provide a touch more rigidity. Let the games begin!

The updated upper faces. Here you can see the threshold below the door, and the updated trio of fastener holes in the bottom of each face.

Voila! The laser-cut metal in all its glory.

The bottom plate and fire basin faces.

The 3D model of the new & improved anchoring bracket…

… and its real-world counterpart.
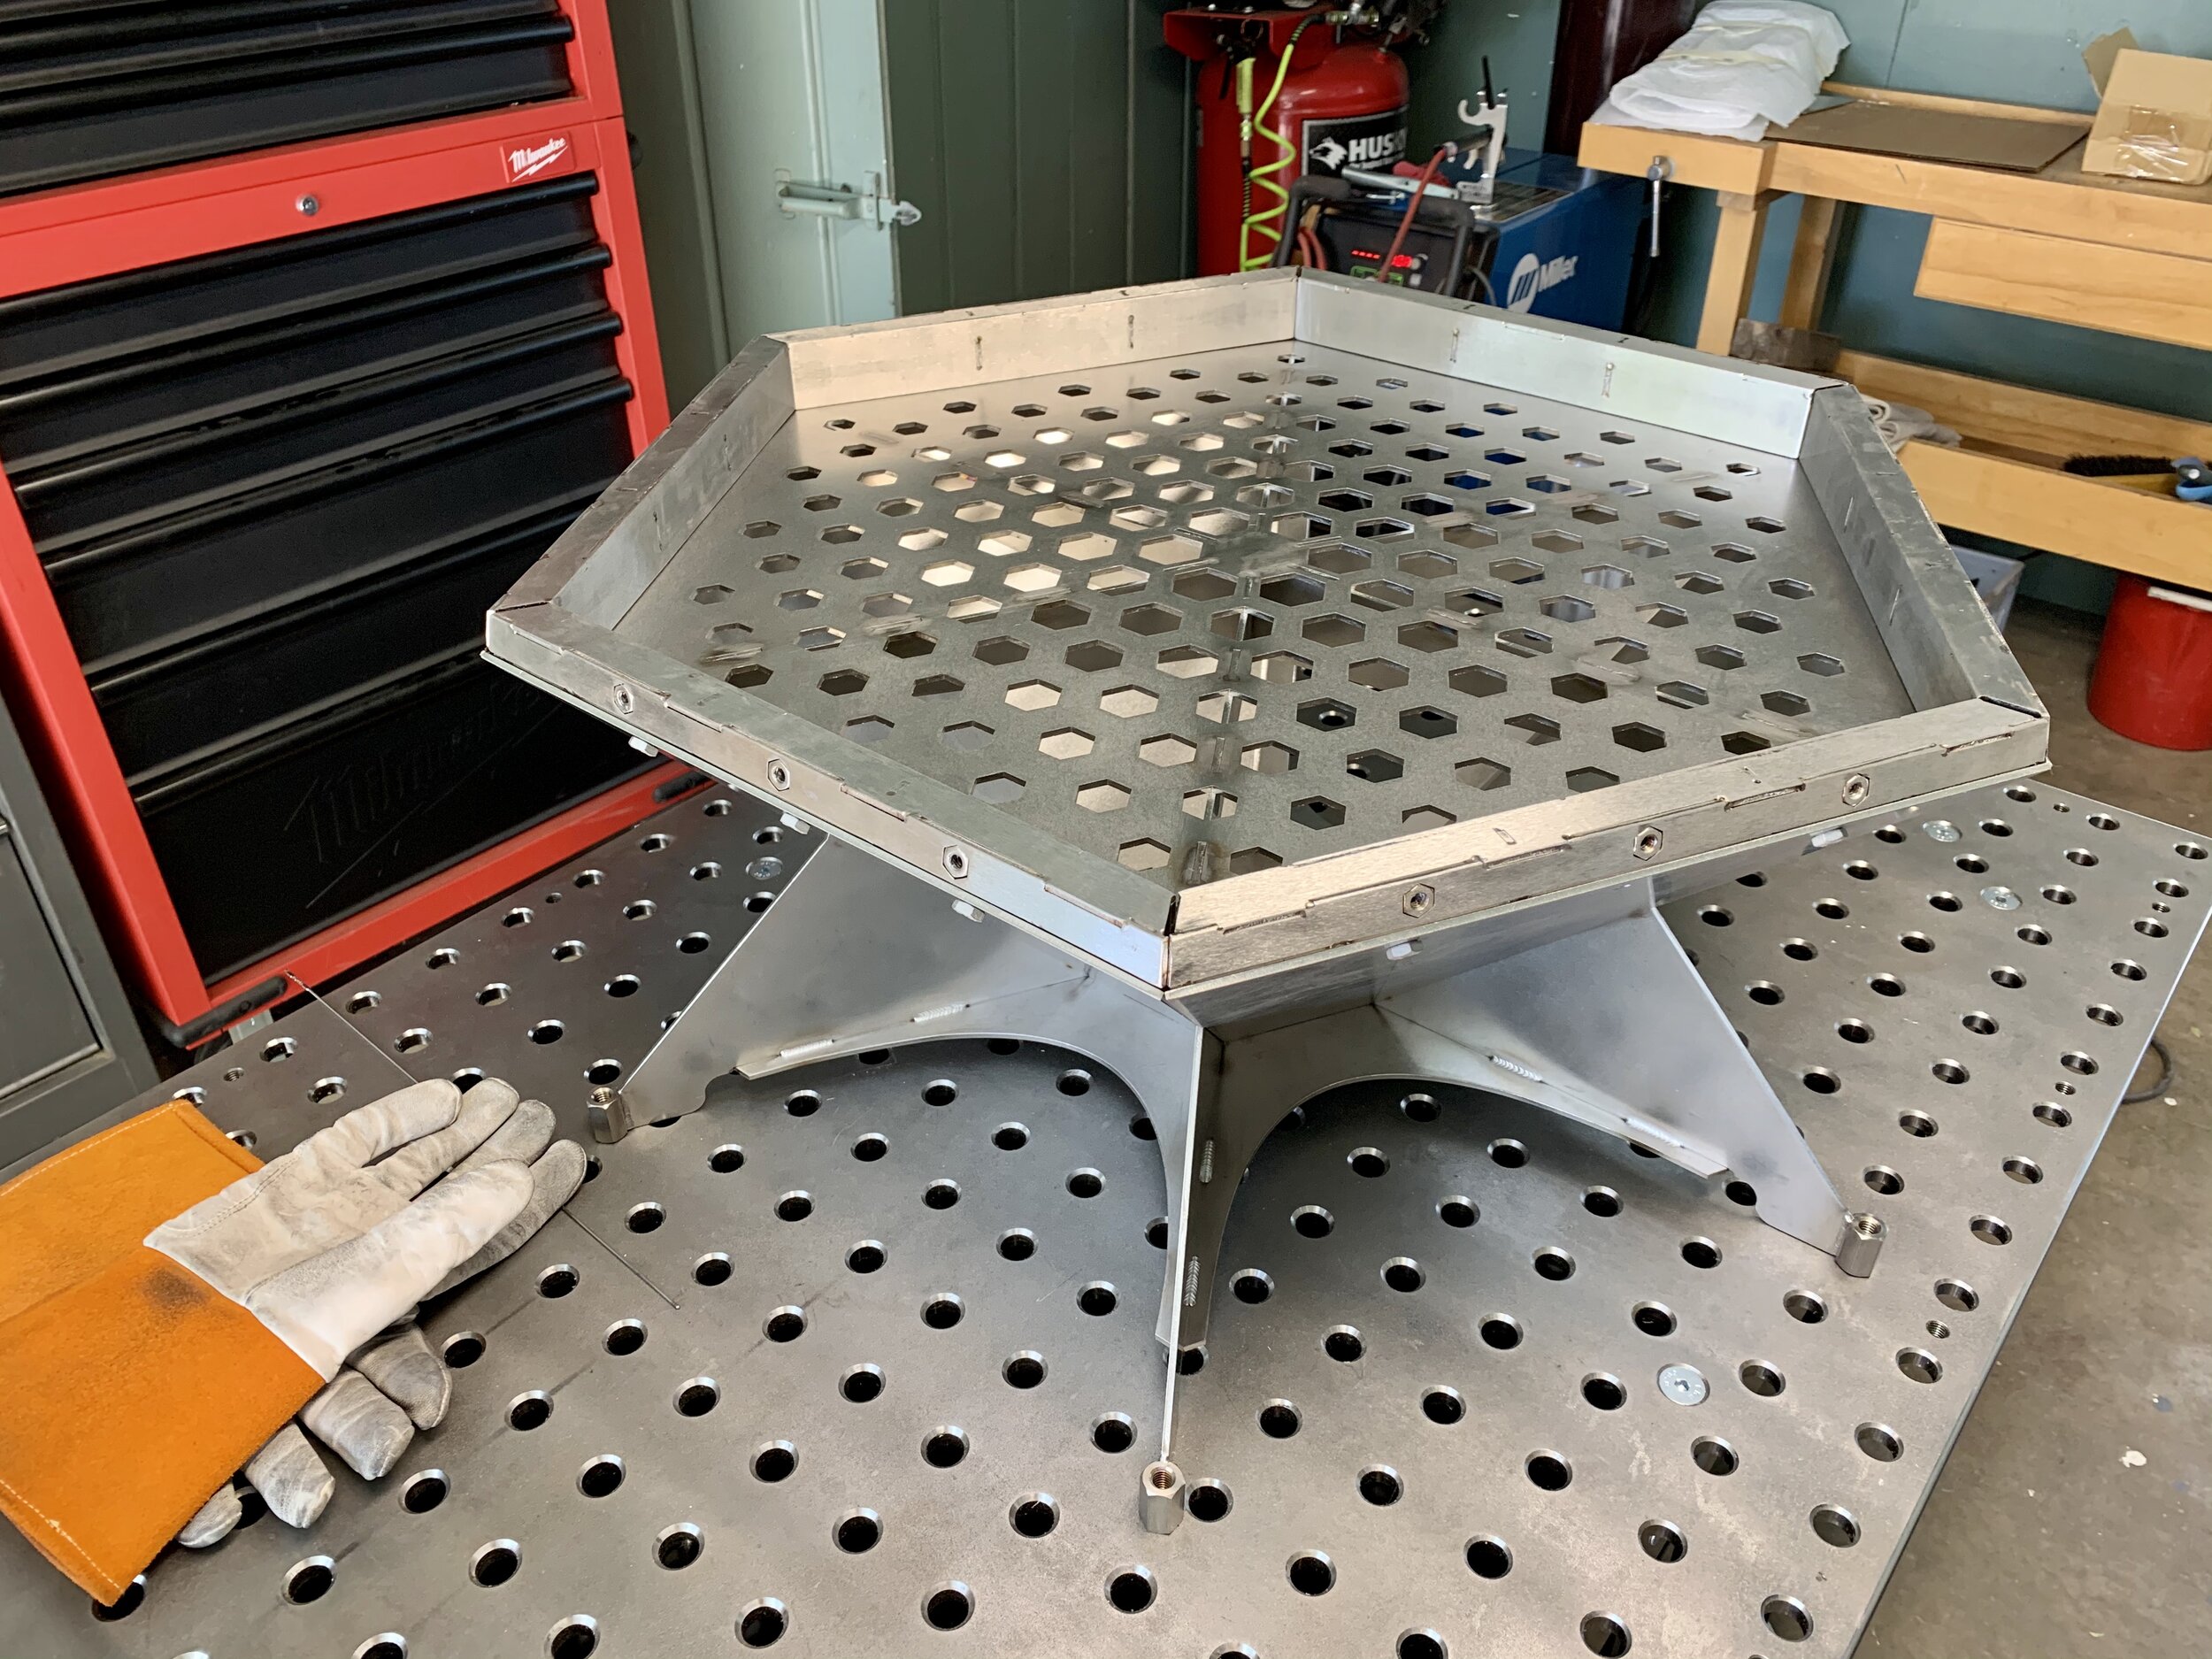
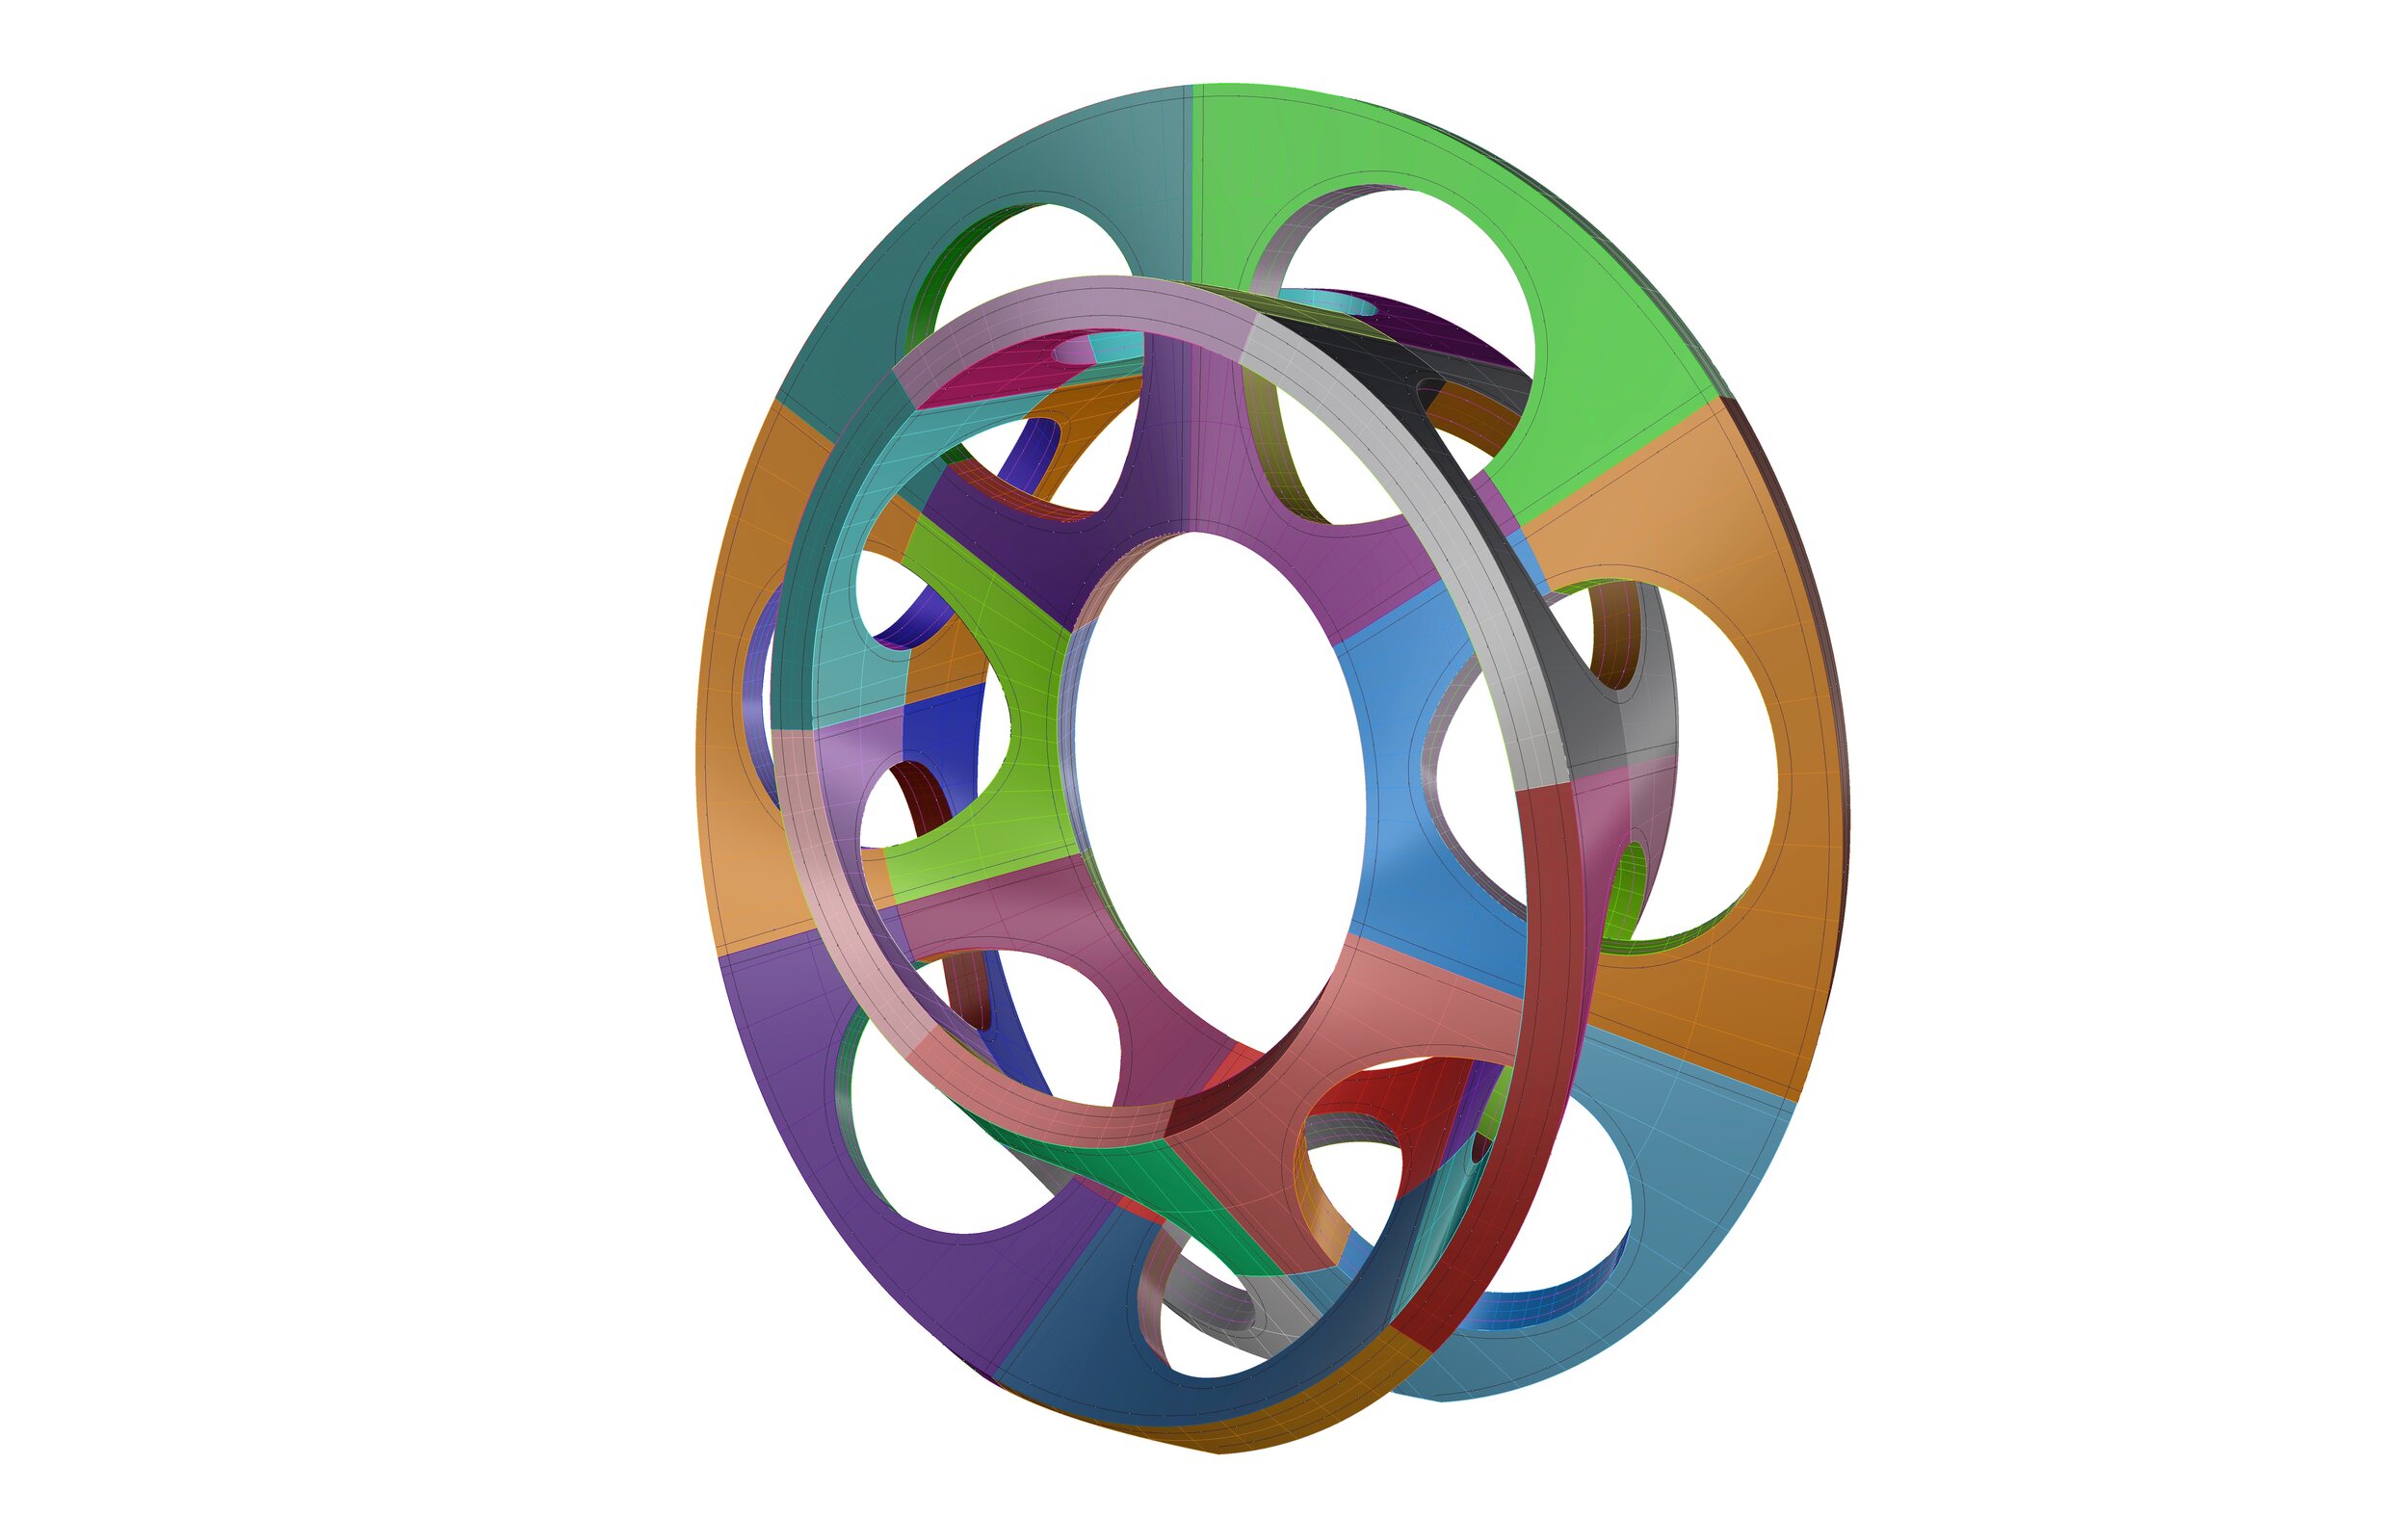
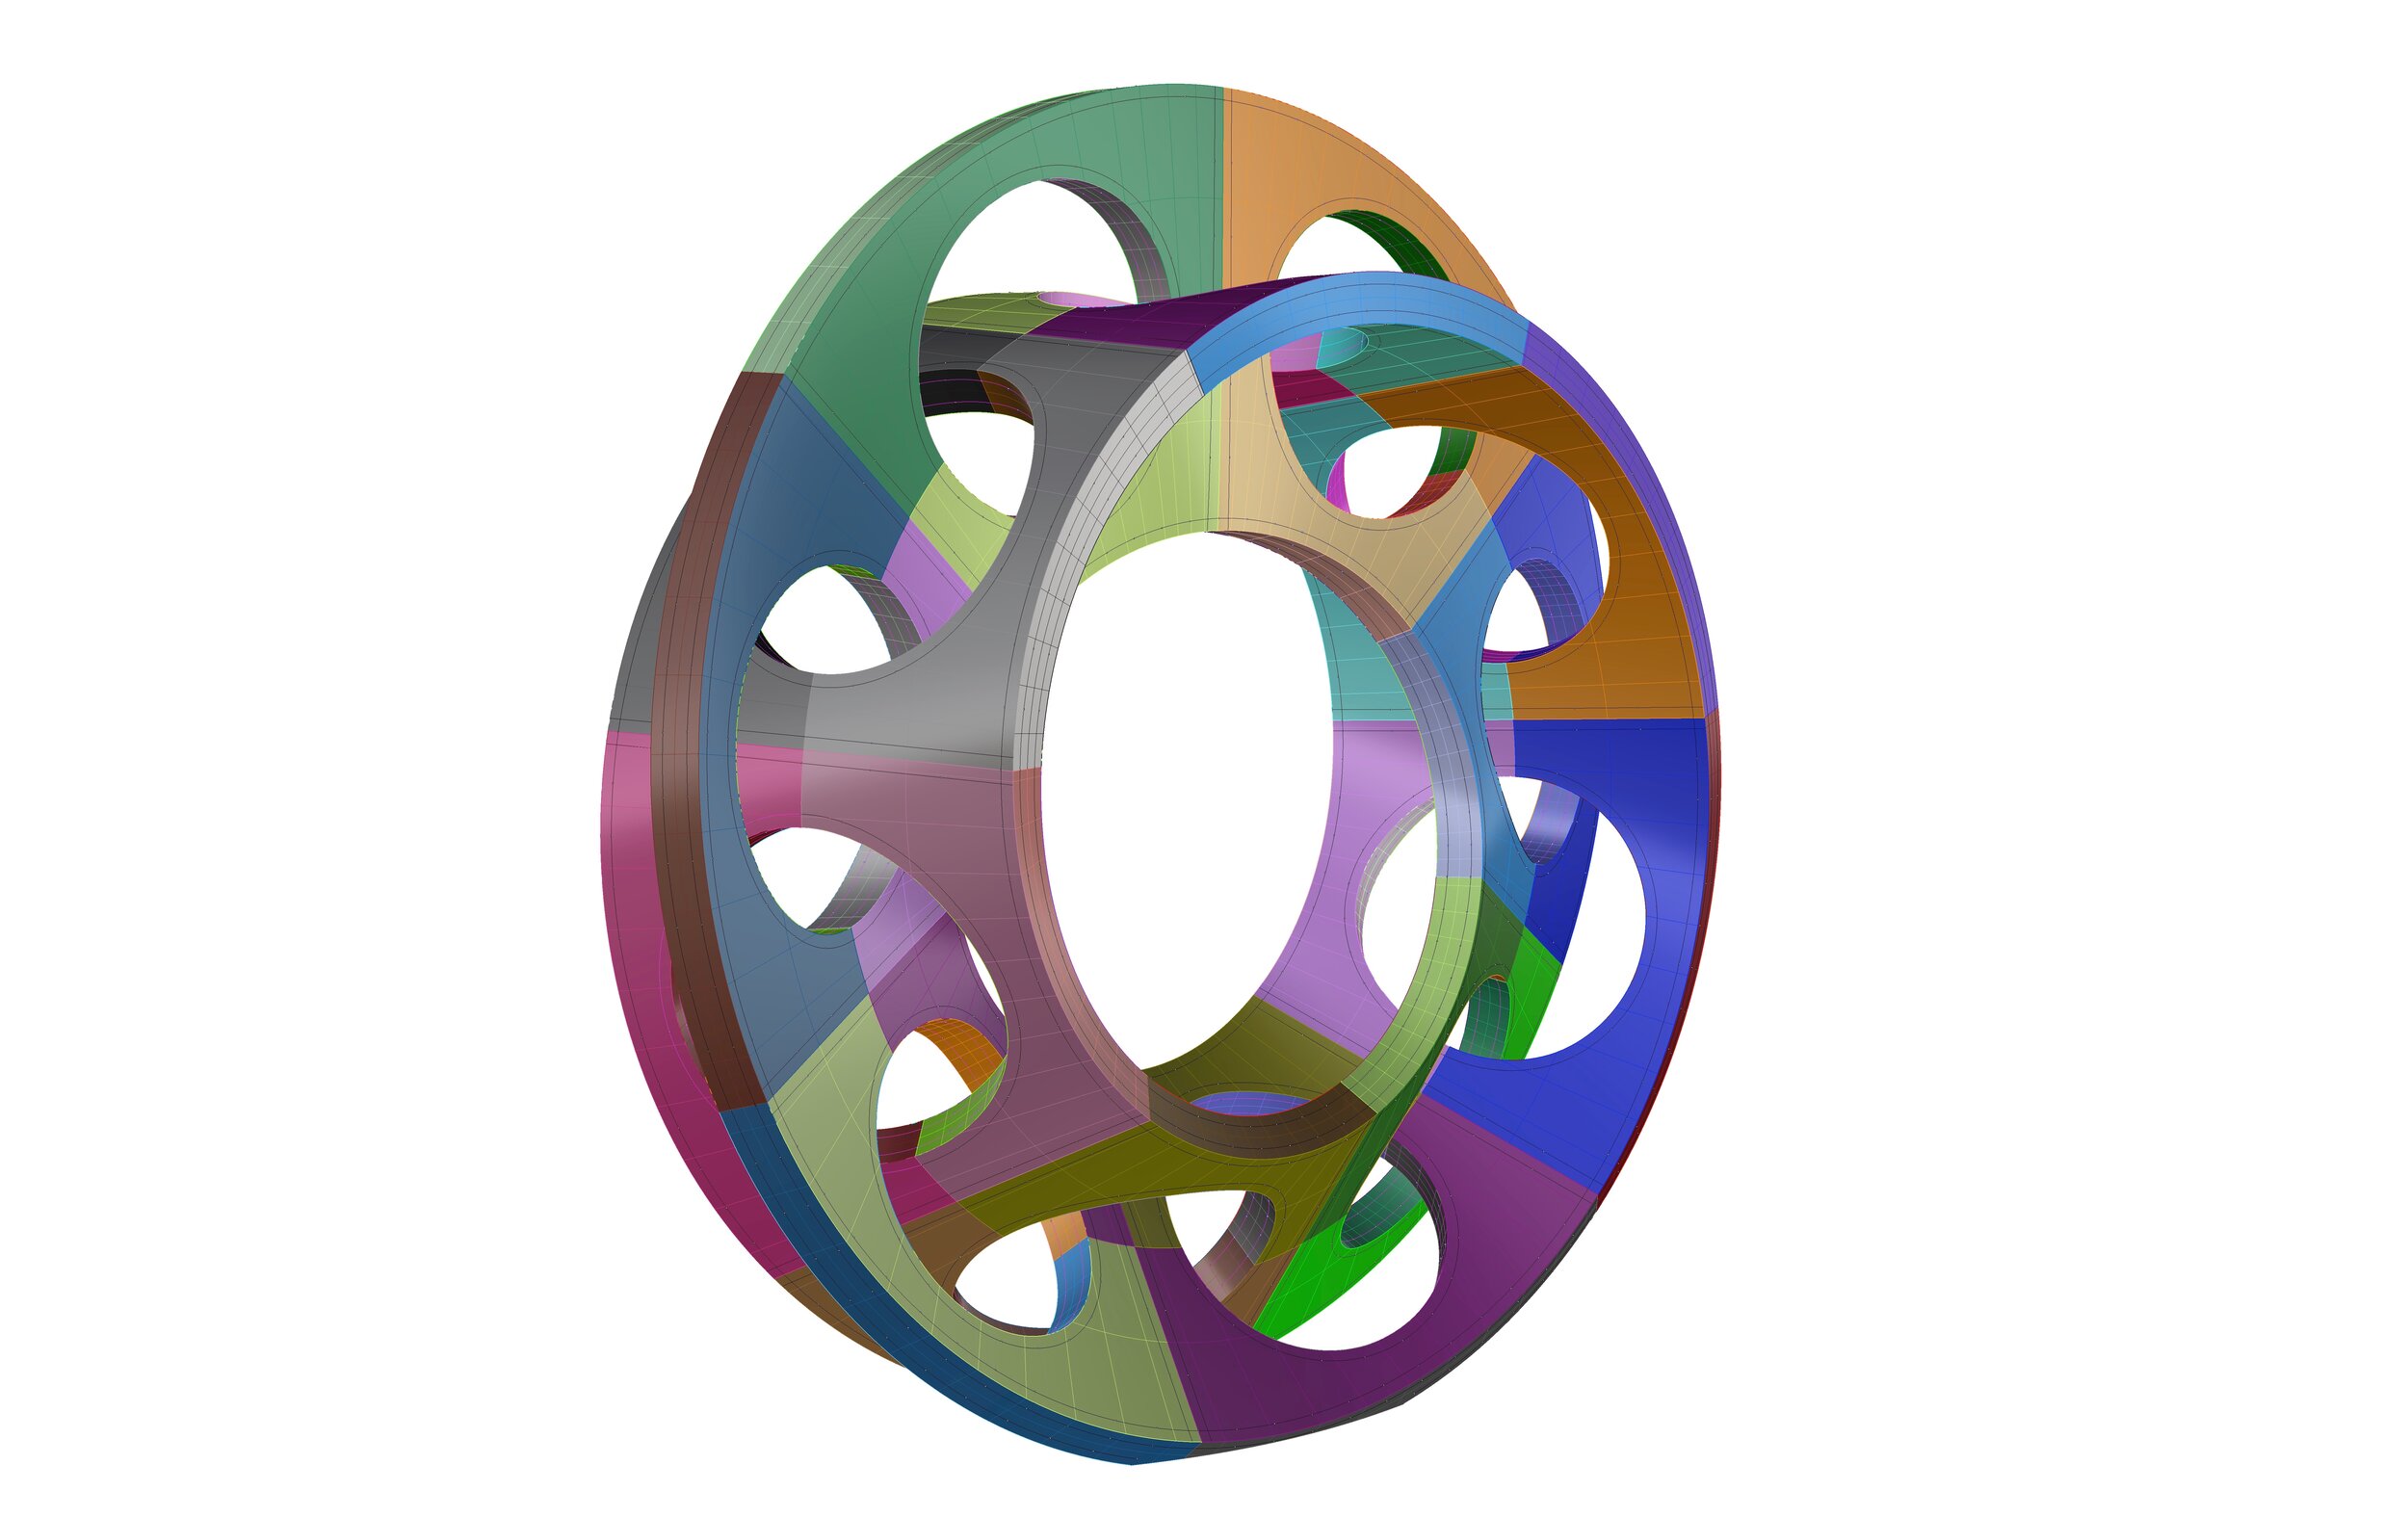
To insure a proper fit, I bolt the brackets into the fire basin and tack them together while there. Here, you can see how the ring of brackets pins the grill in place.

Once tack welded, the brackets are removed, clamped securely flat, and the final welds added. Oh - about that work surface: I was massively frustrated with how my fixturing and clamping setup worked on the prototype, so I broke down and bought a fancy German fabrication table. I really only spend money on things that make making better.
That’s the first half of the assembly for version 2. I’m really pleased at how the design is working out, and the new welding table not only makes things easier, but insures that the quality of my parts is top notch.