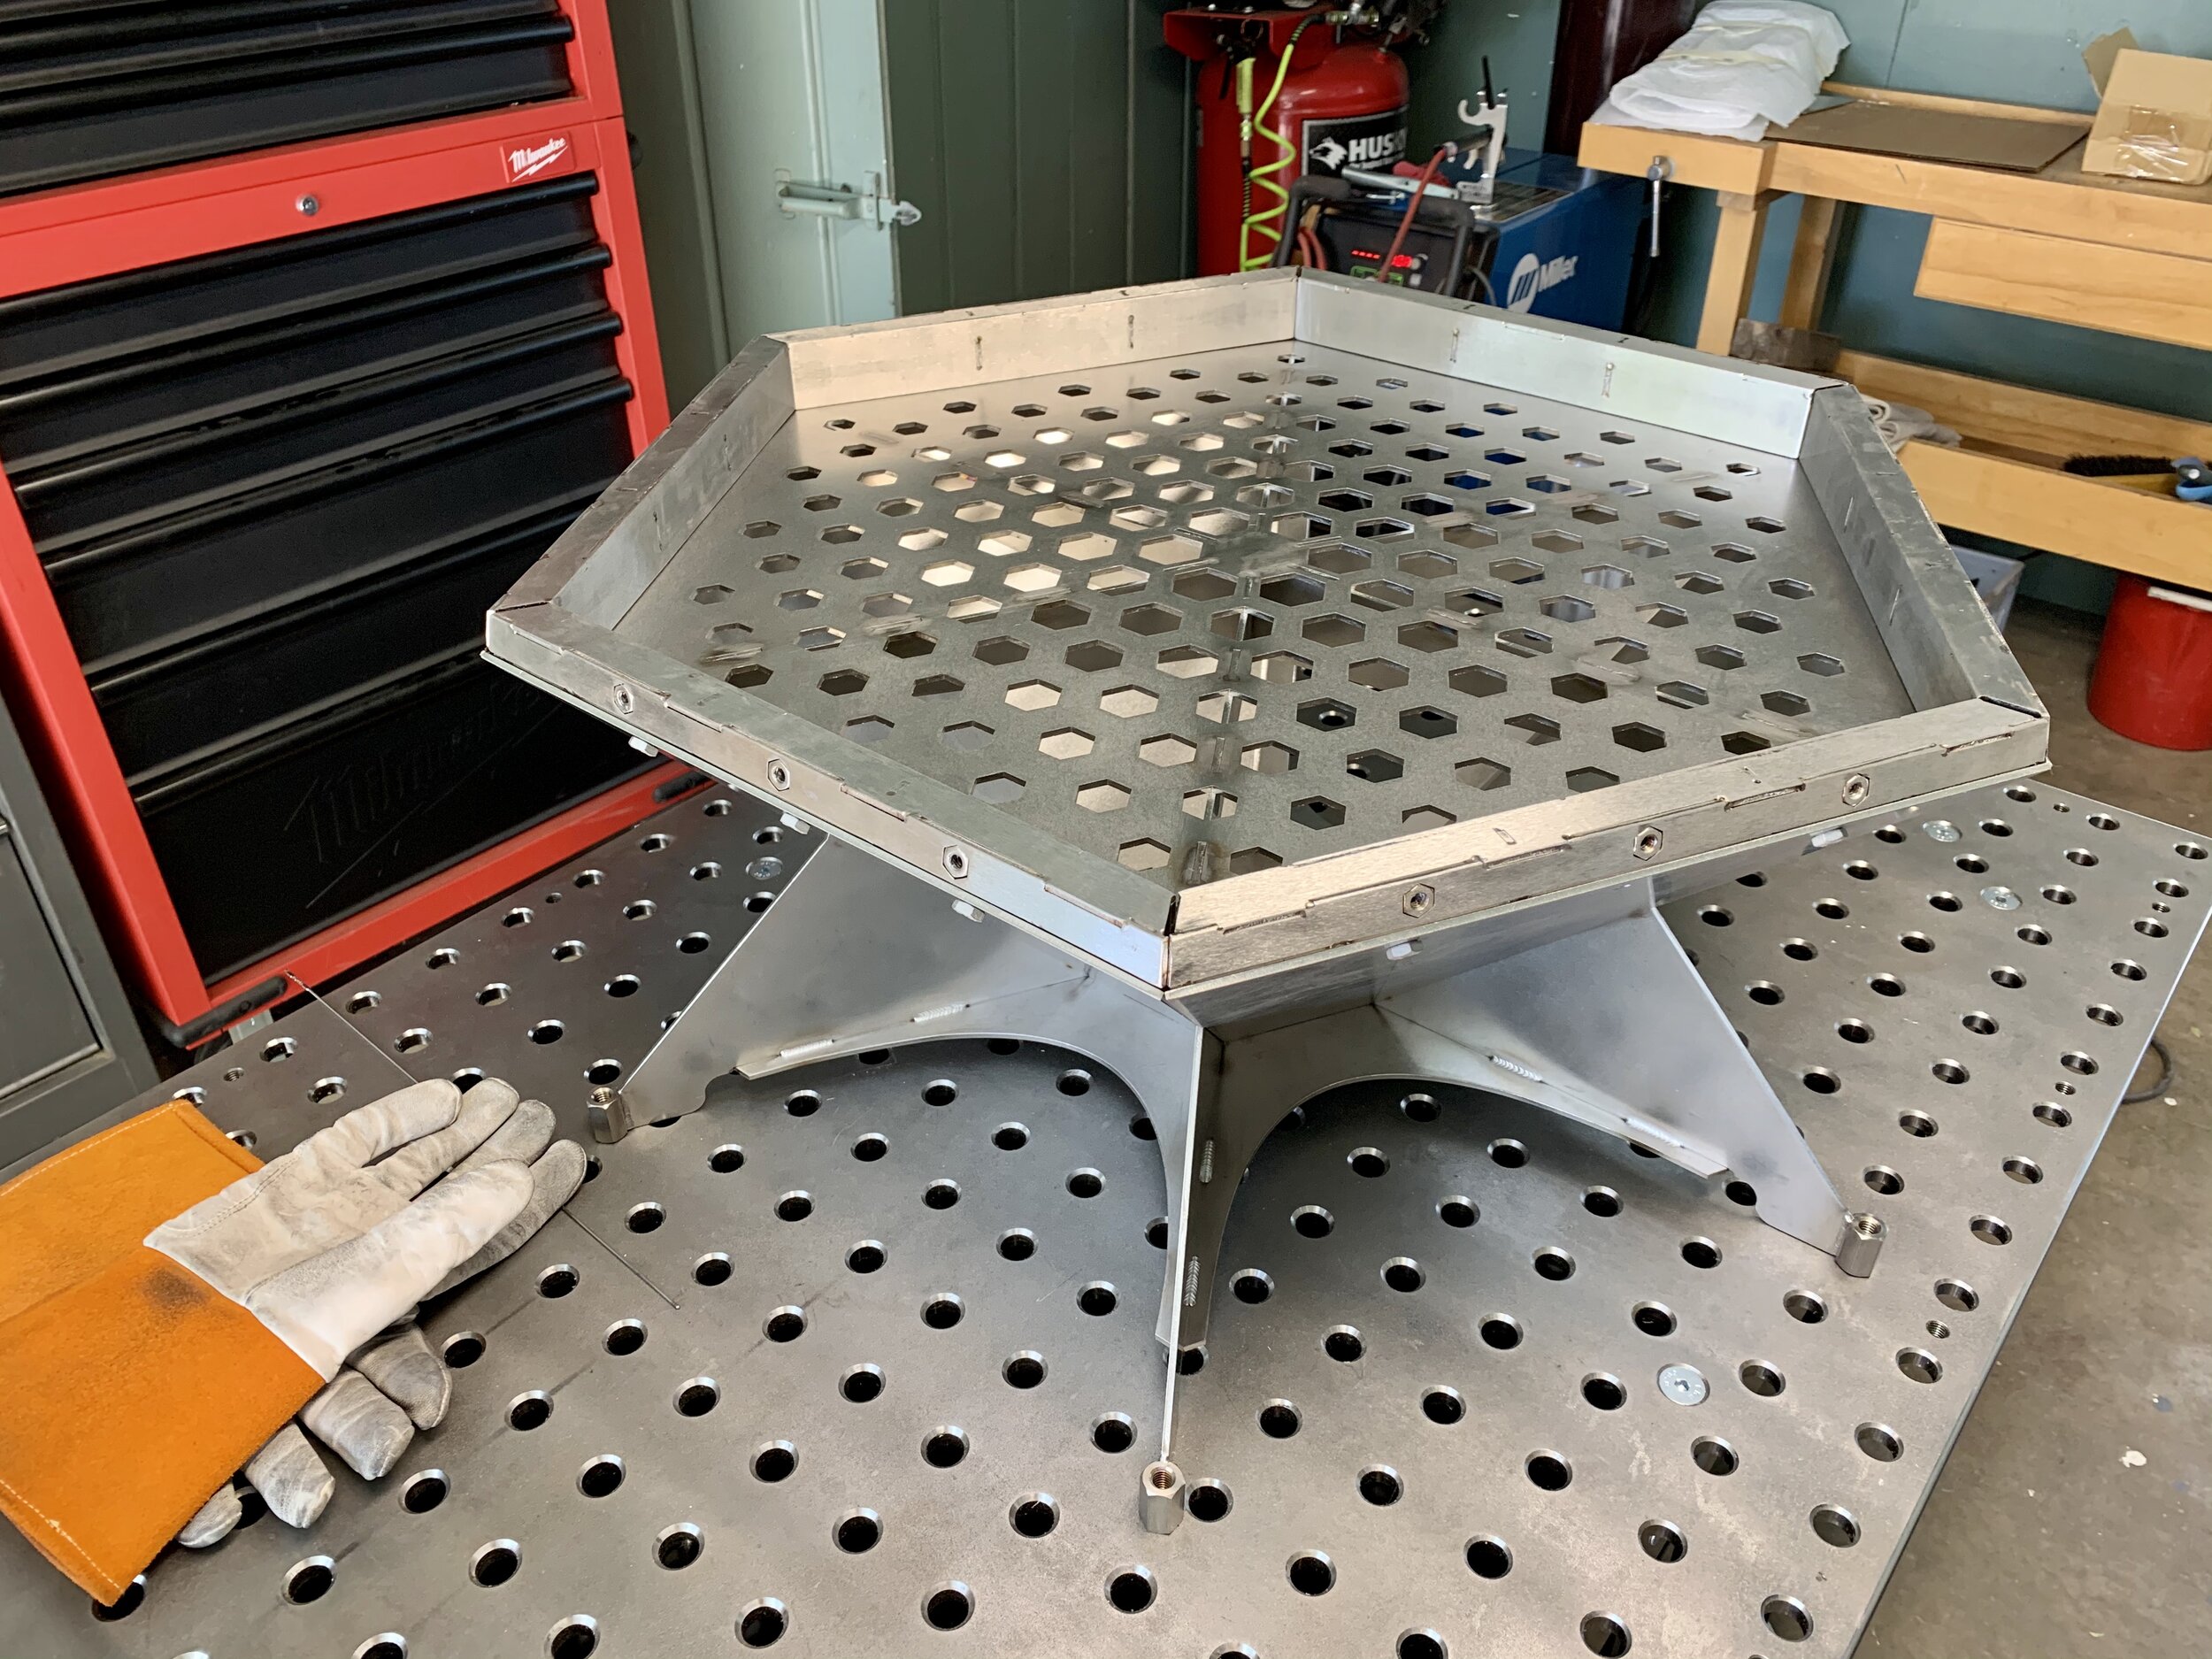
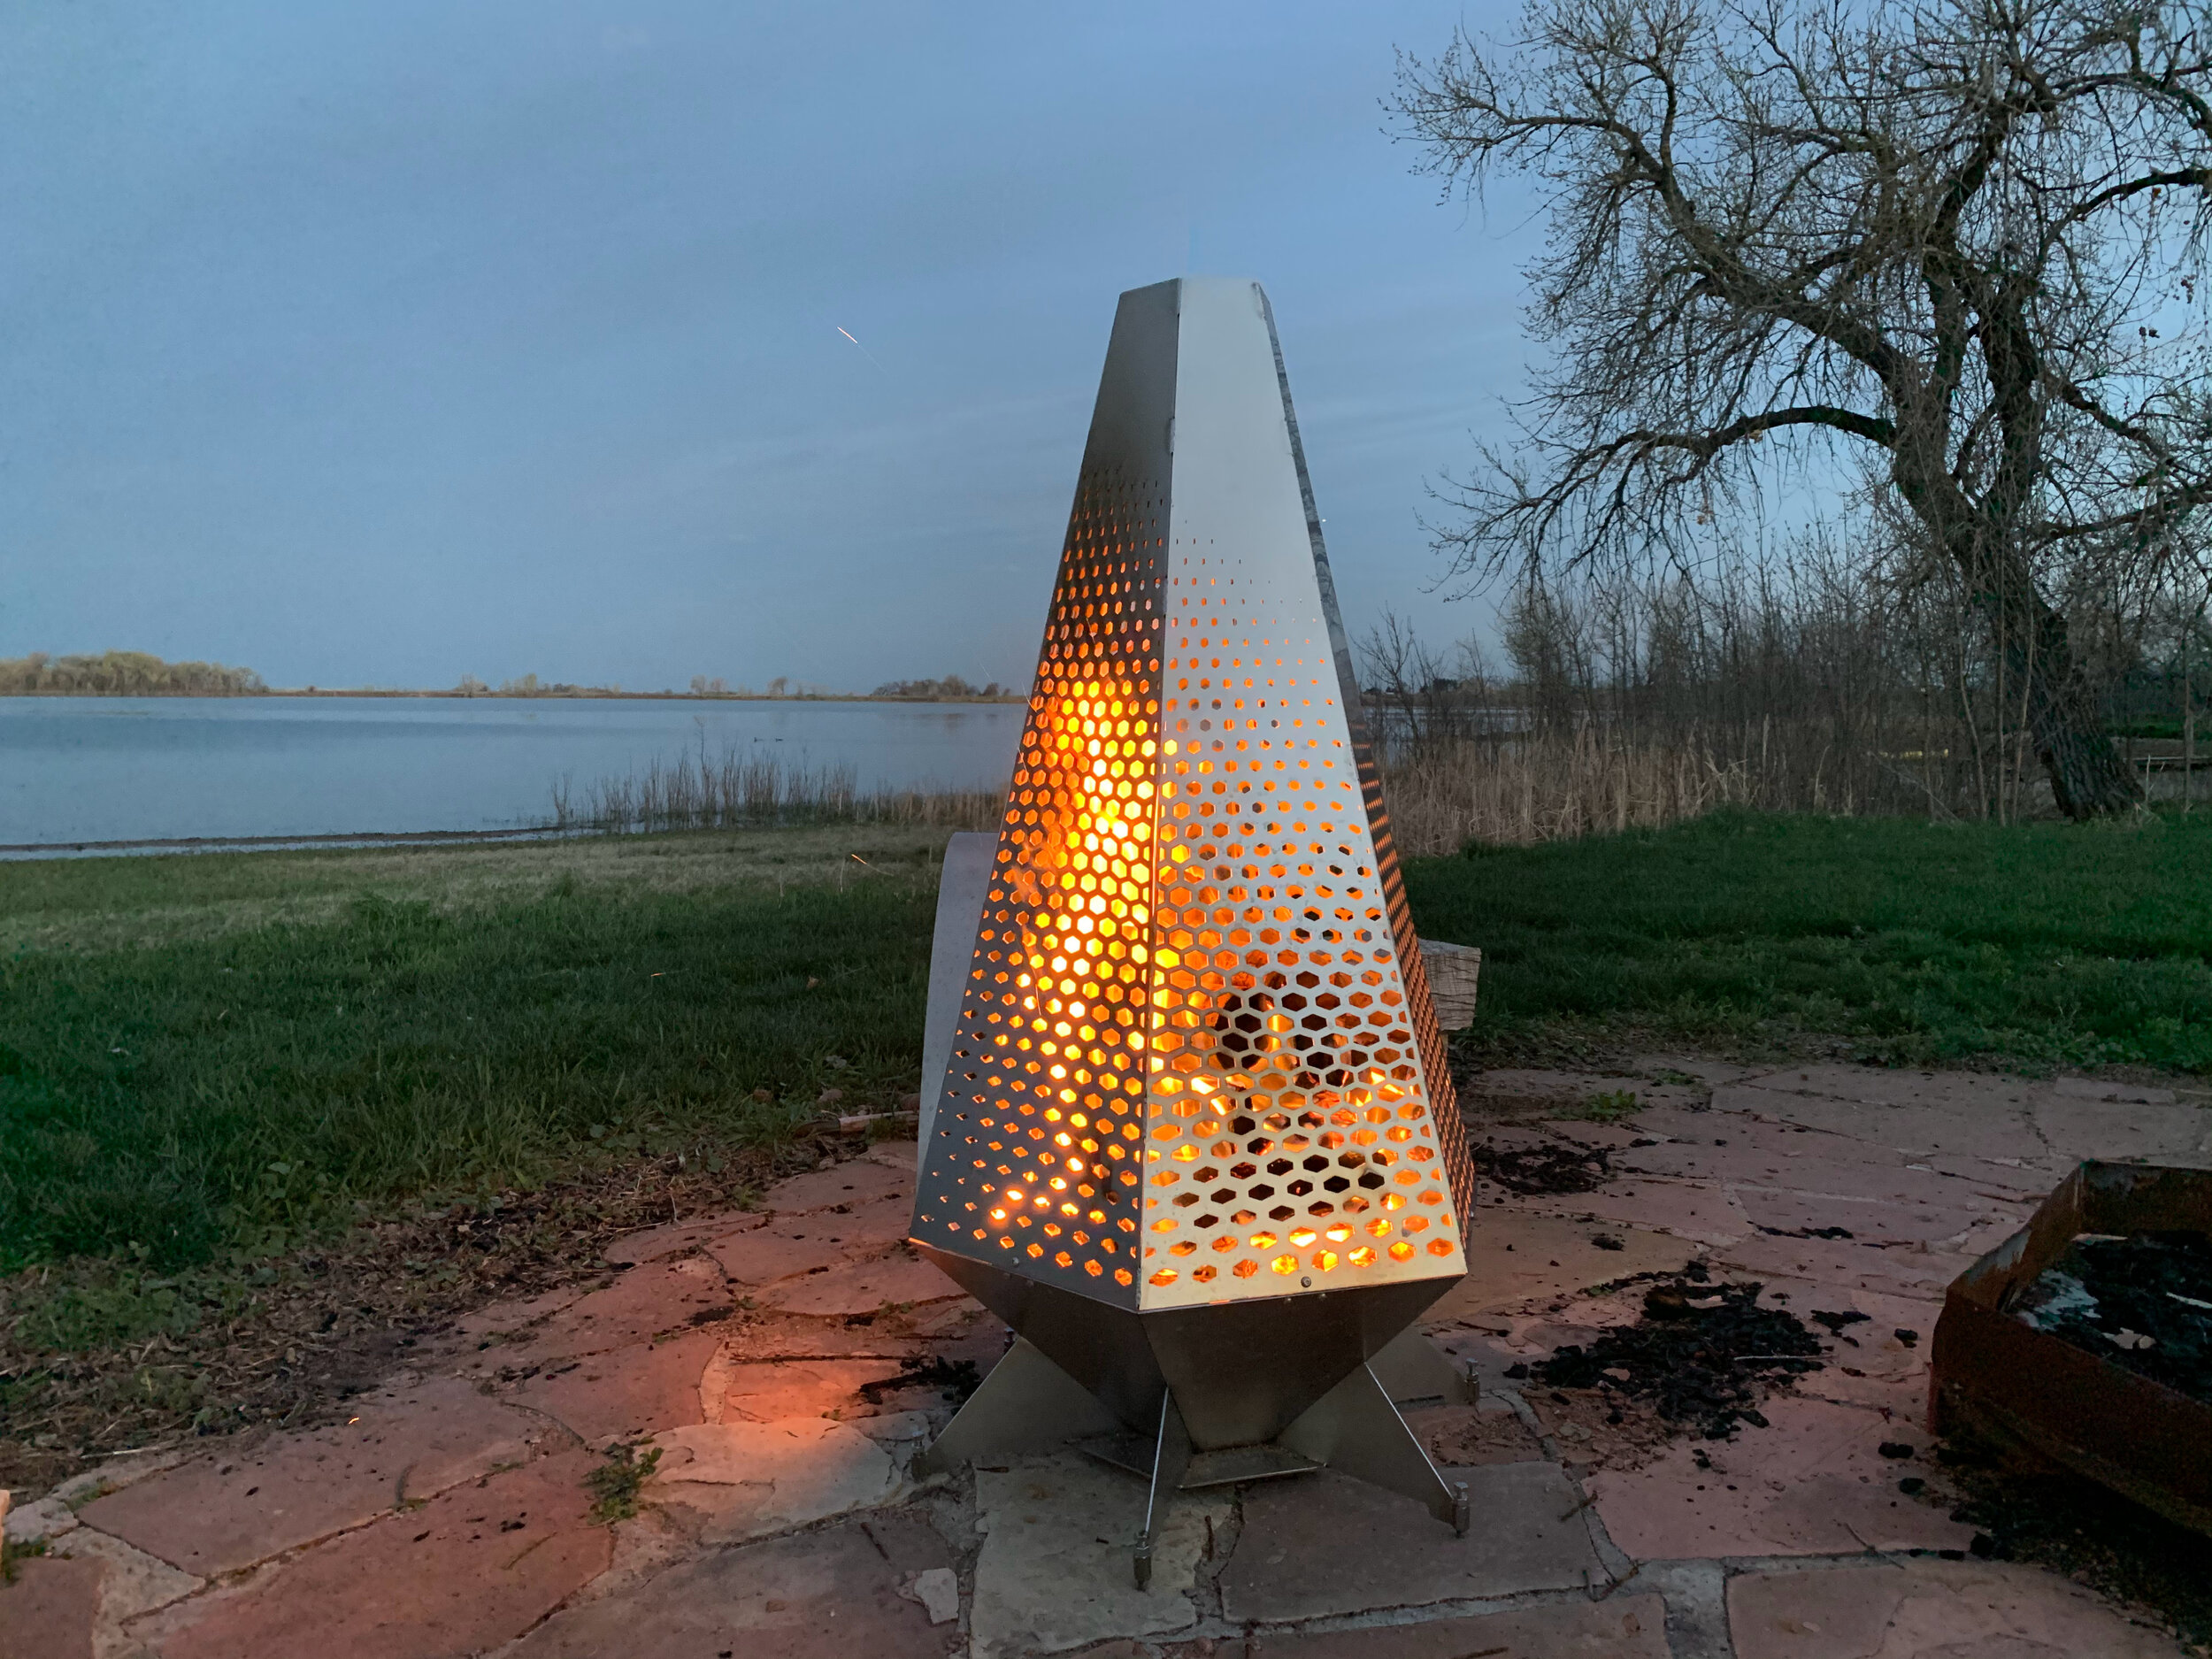
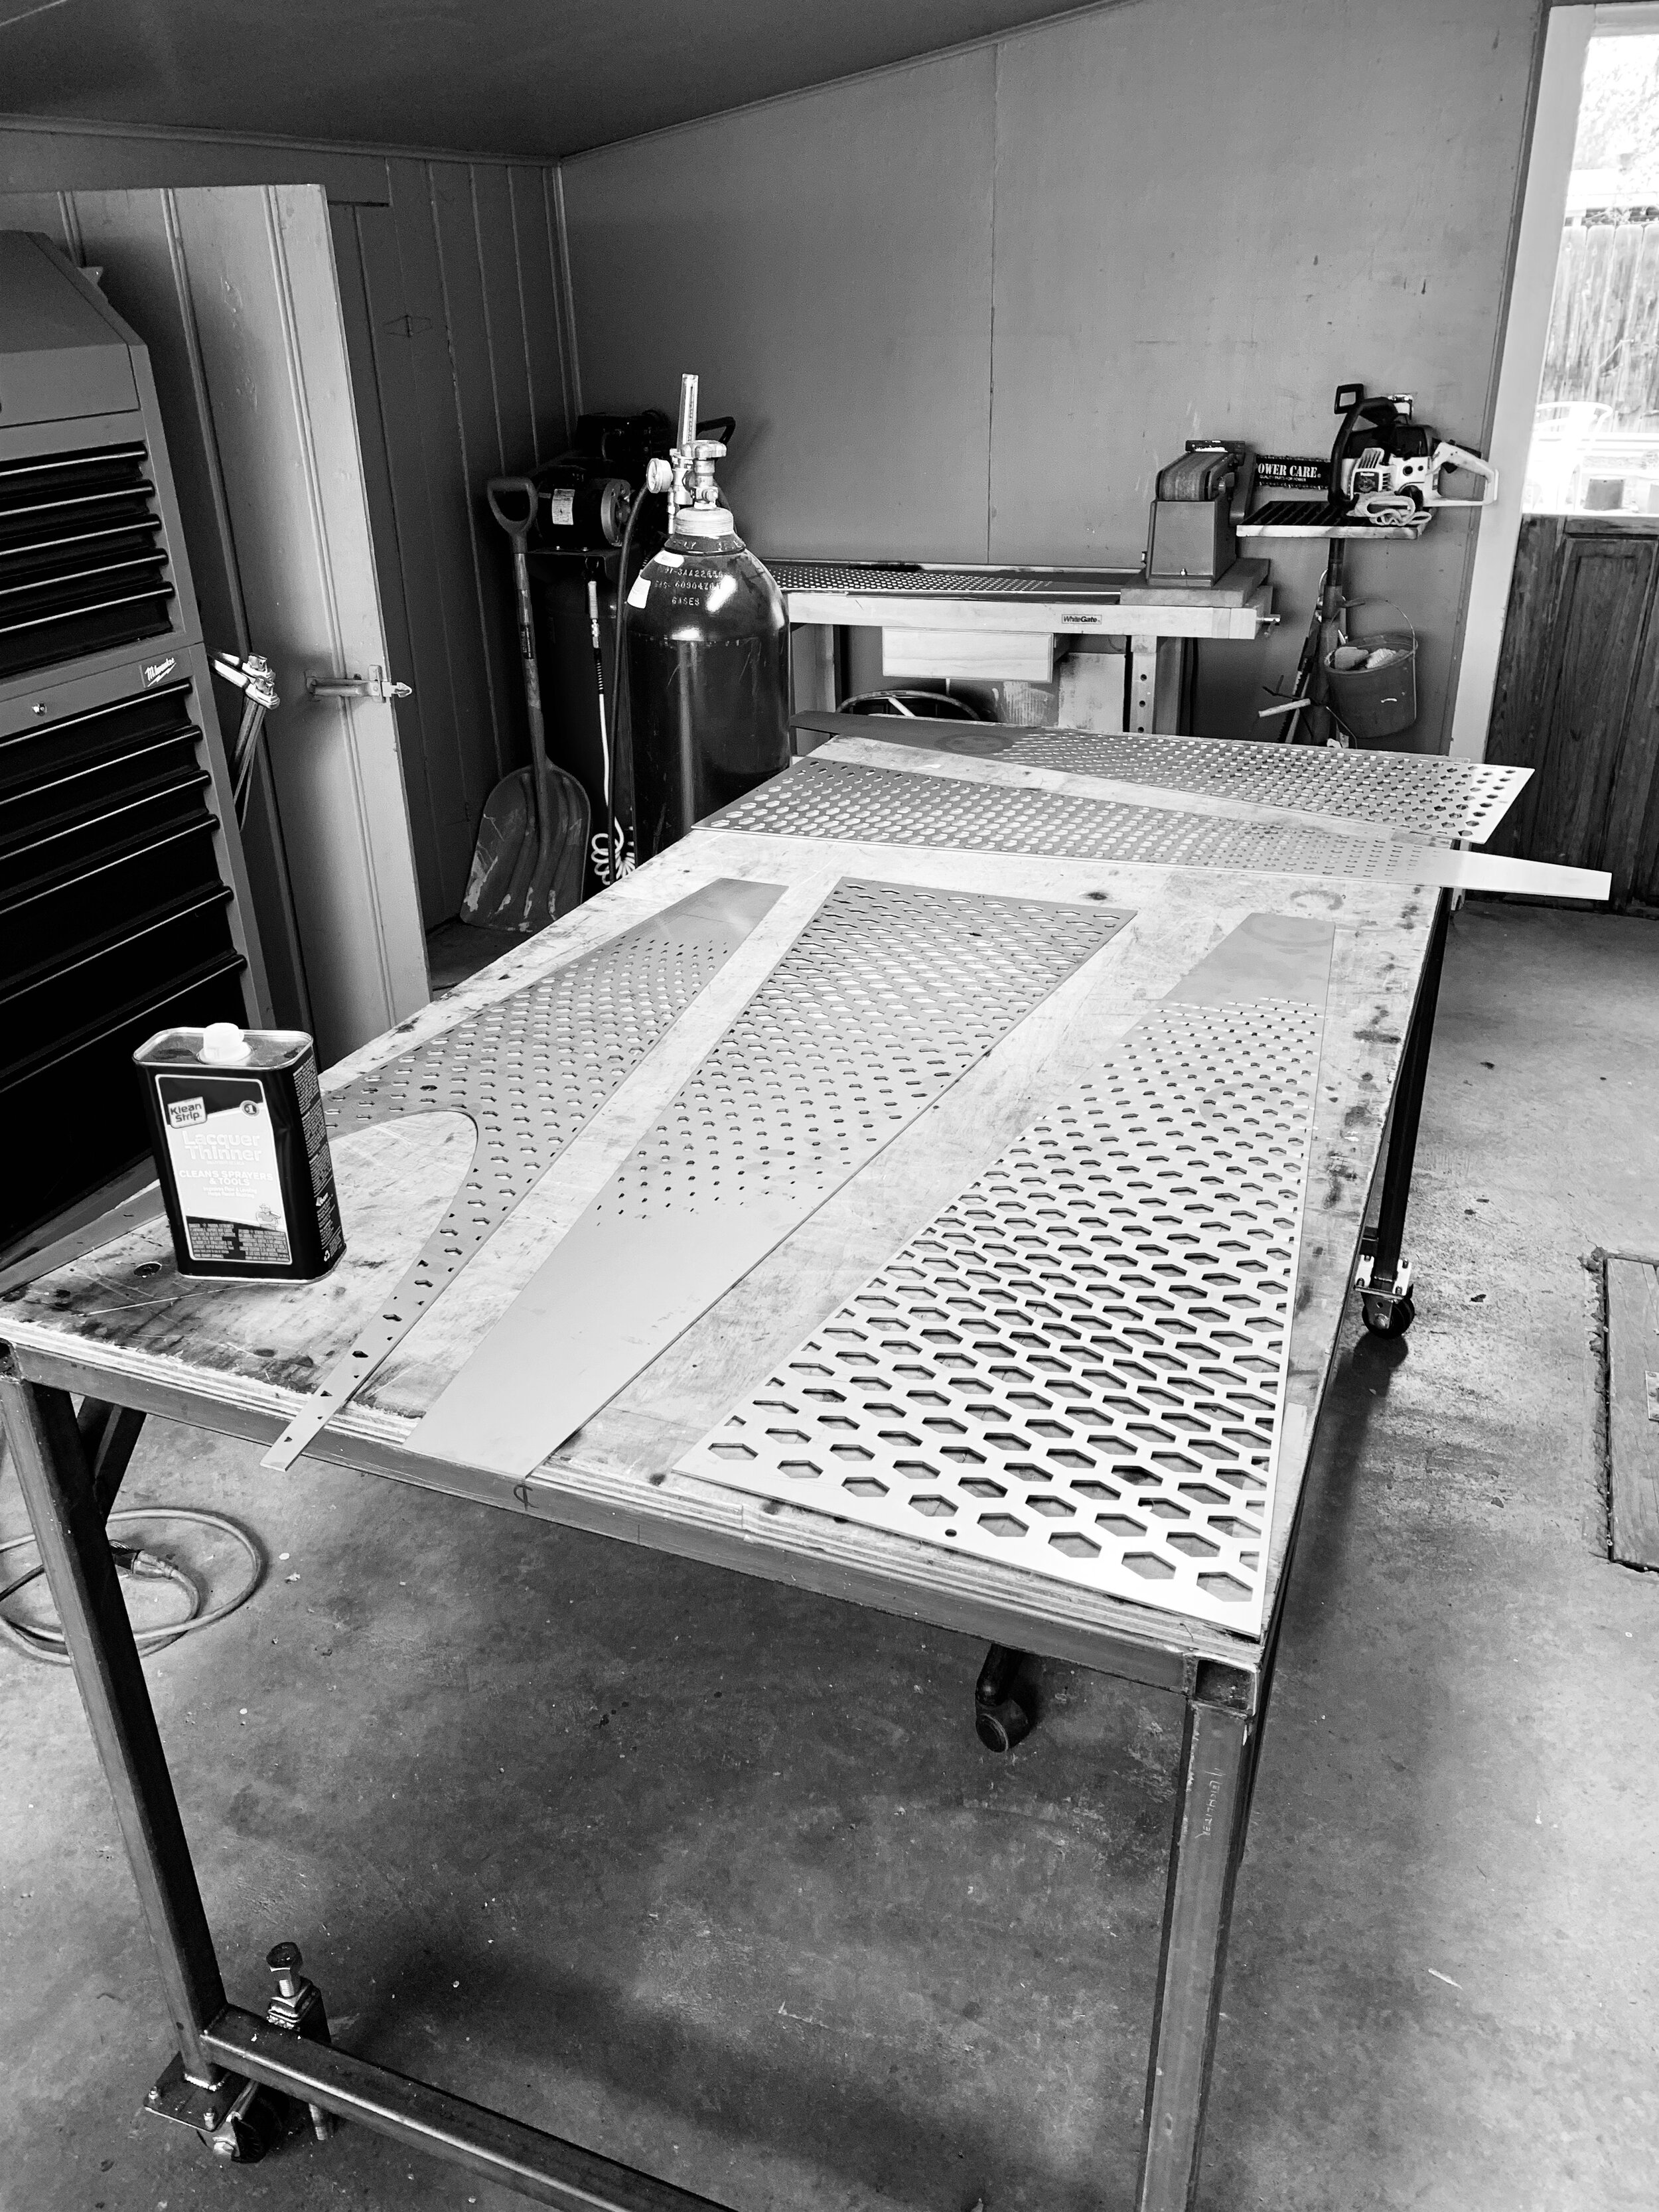
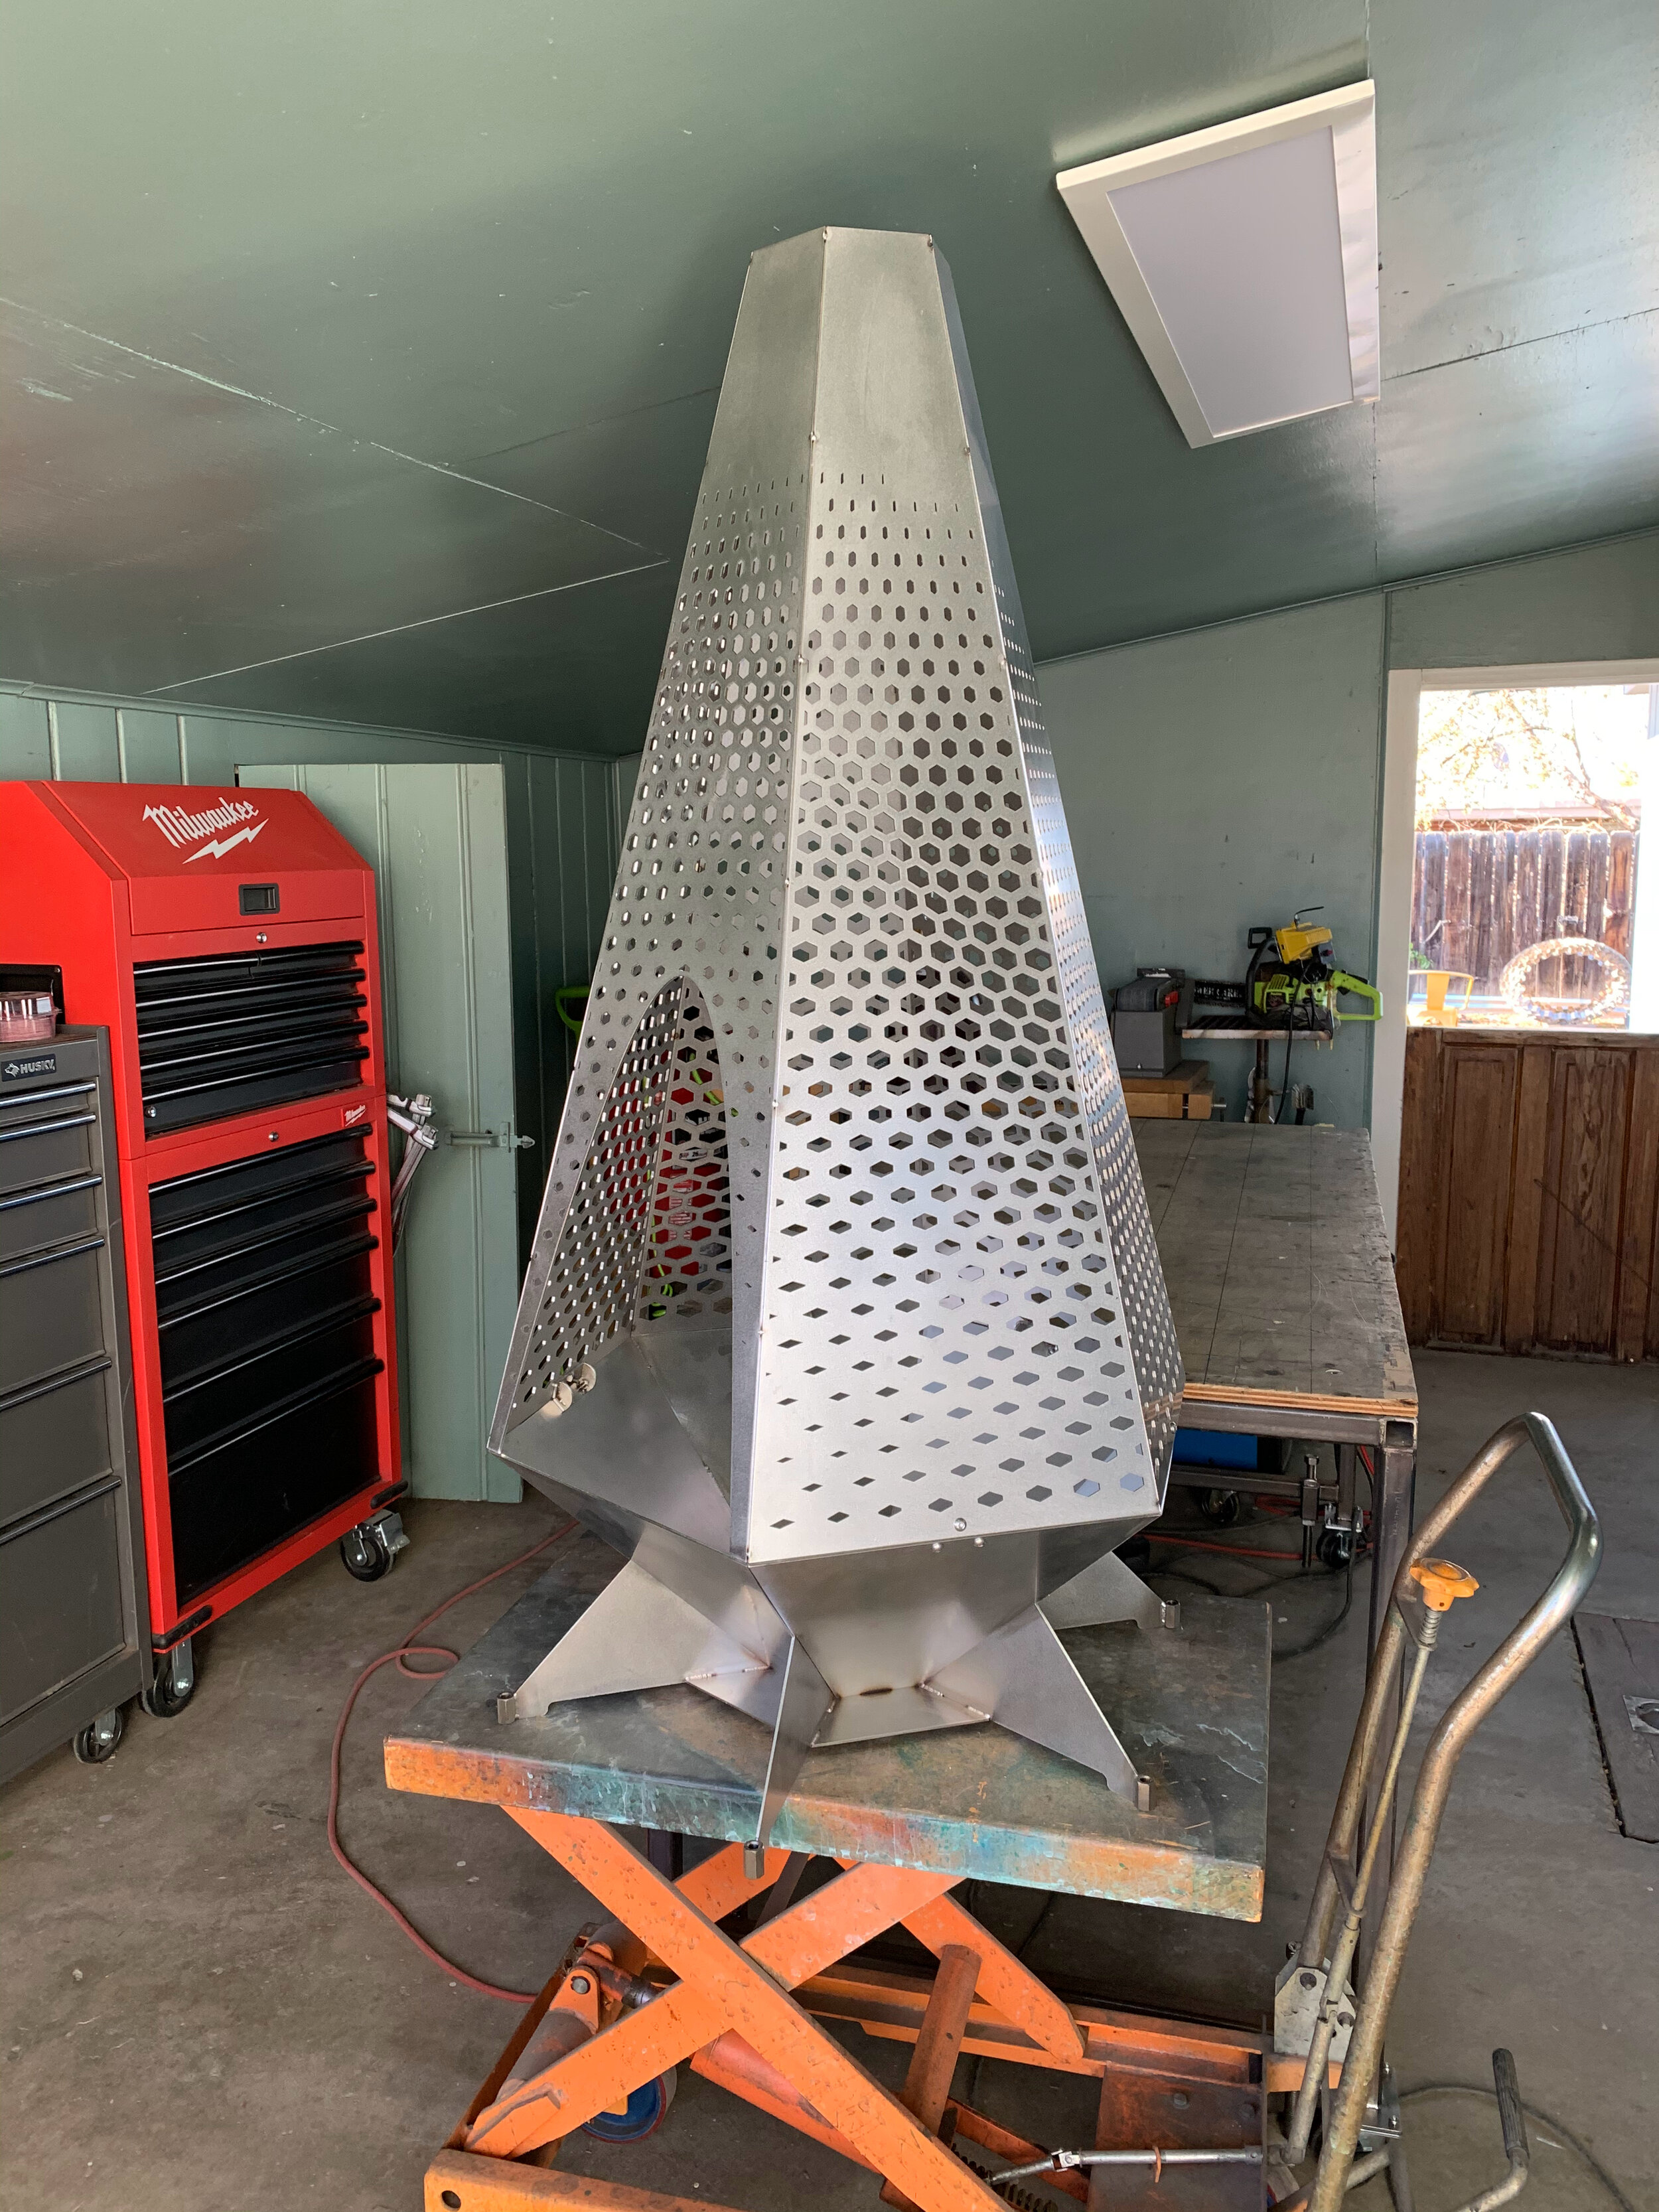
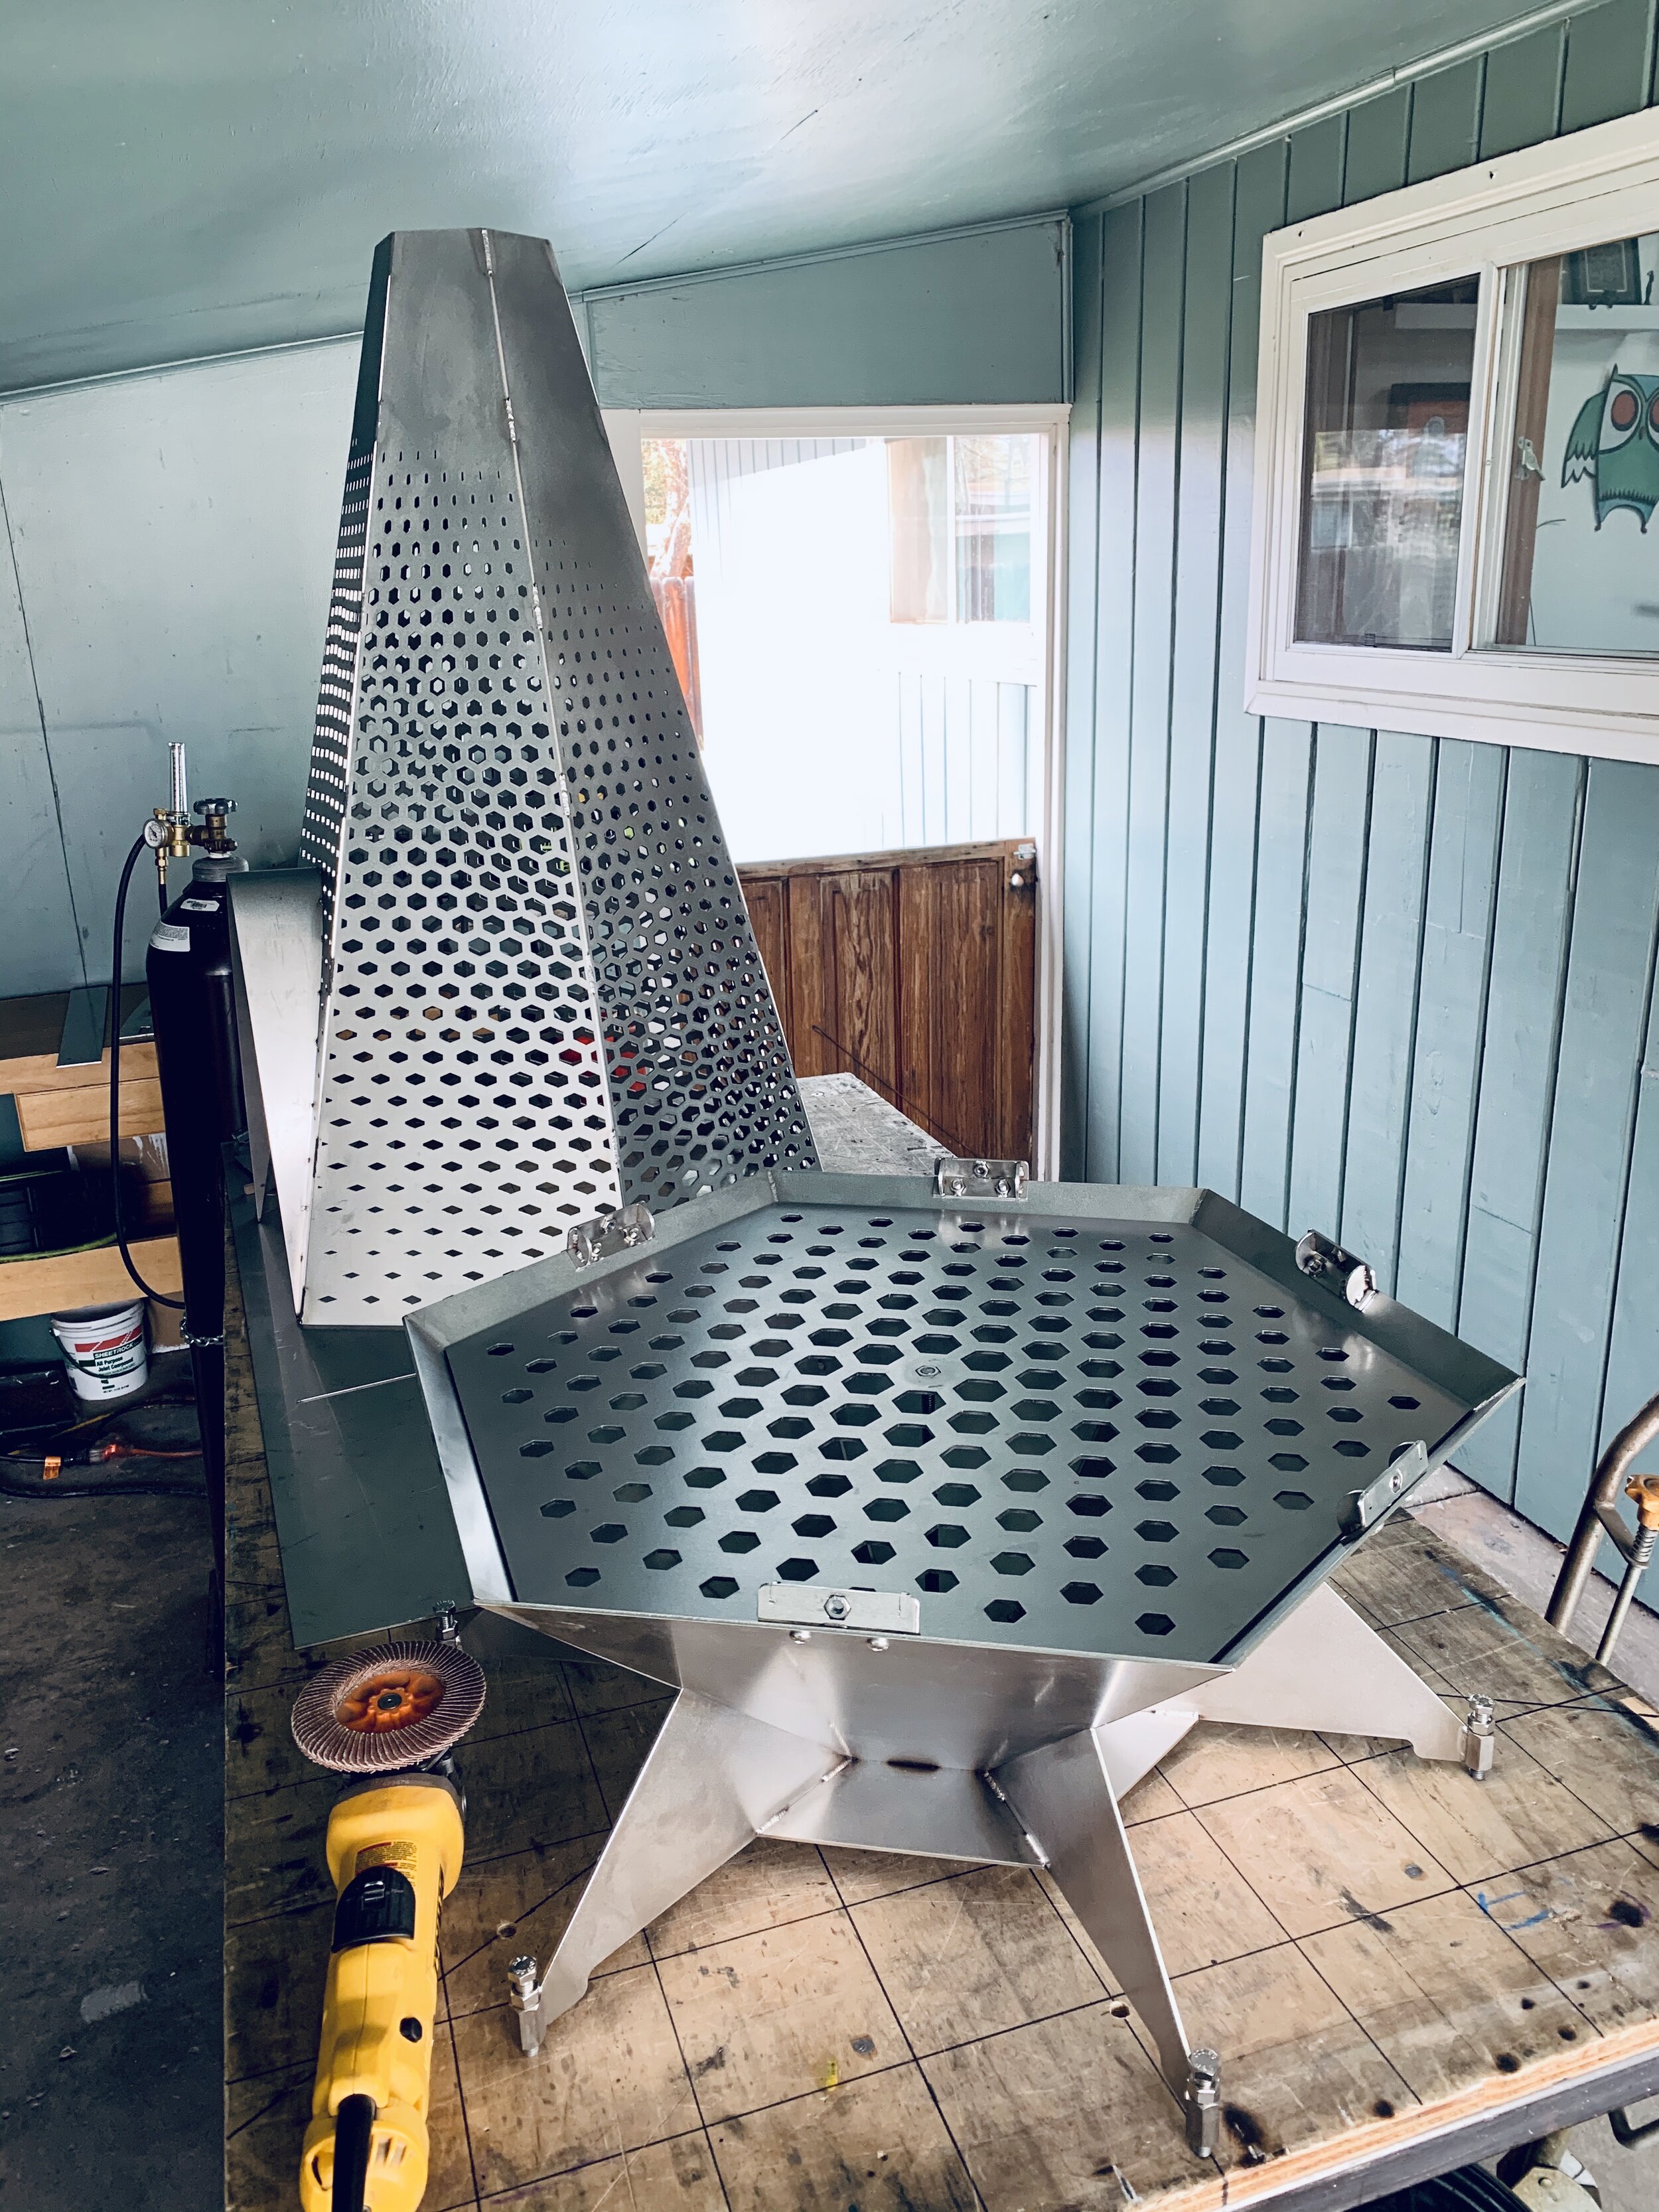
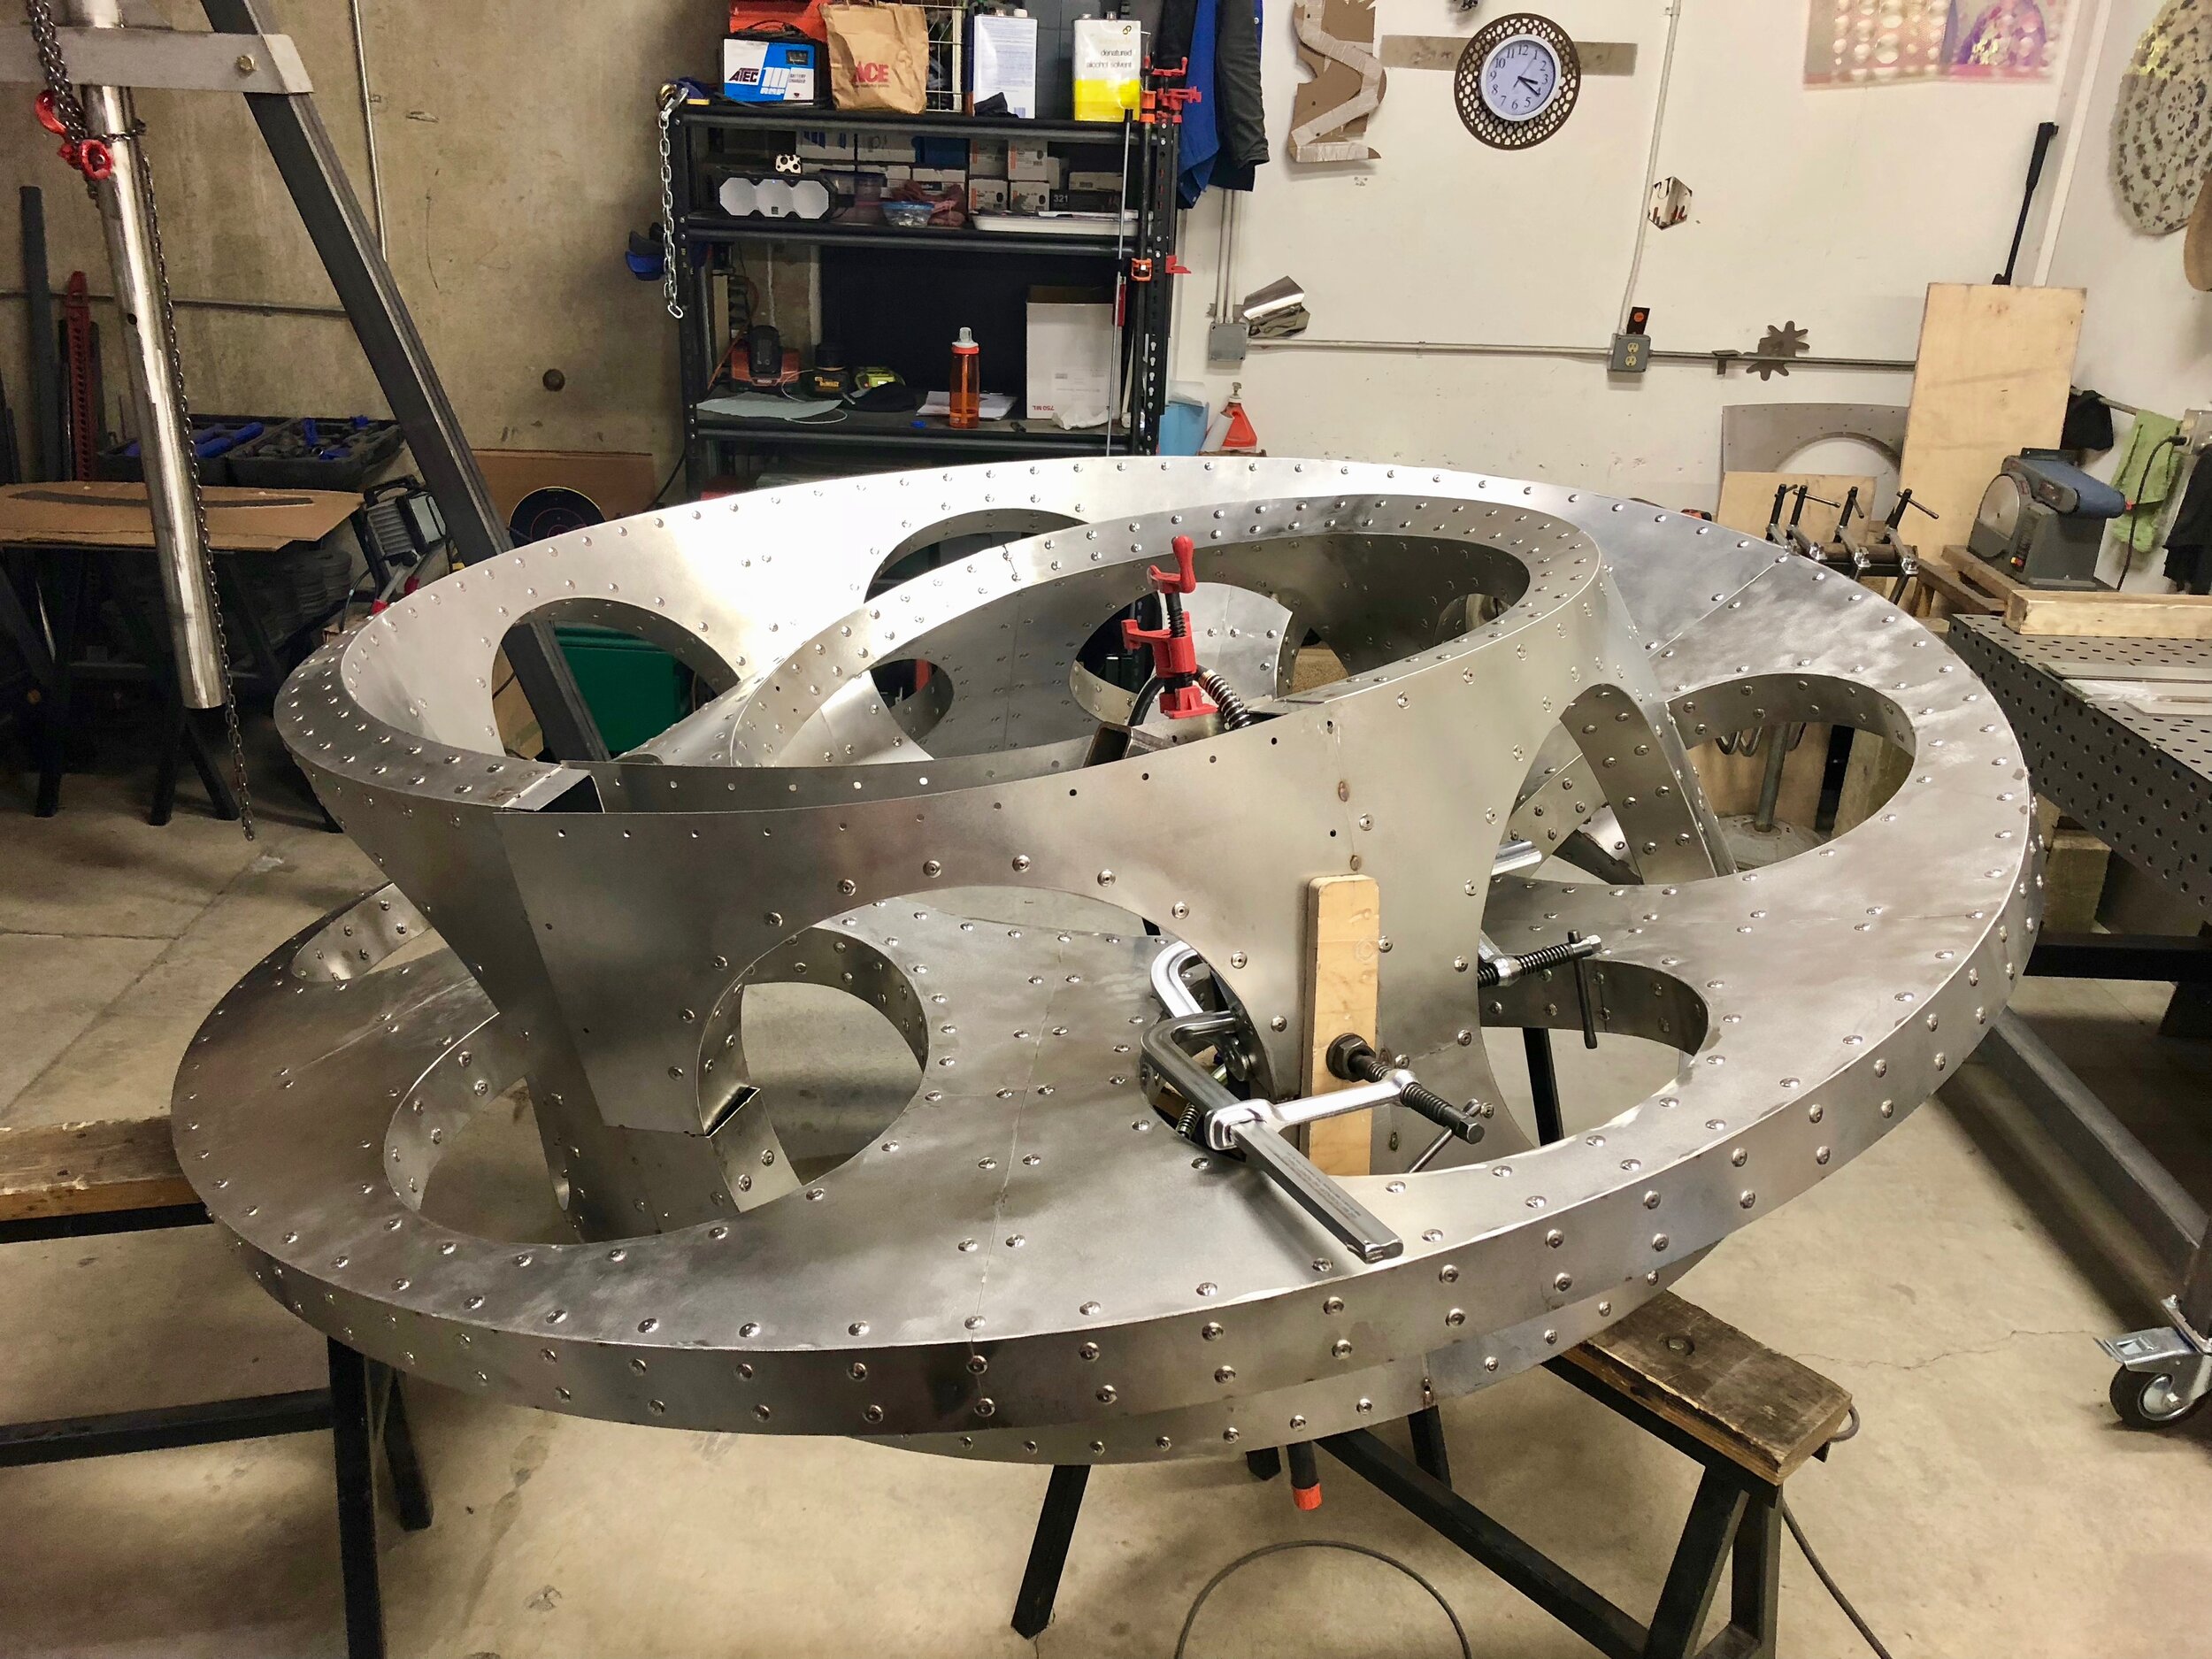
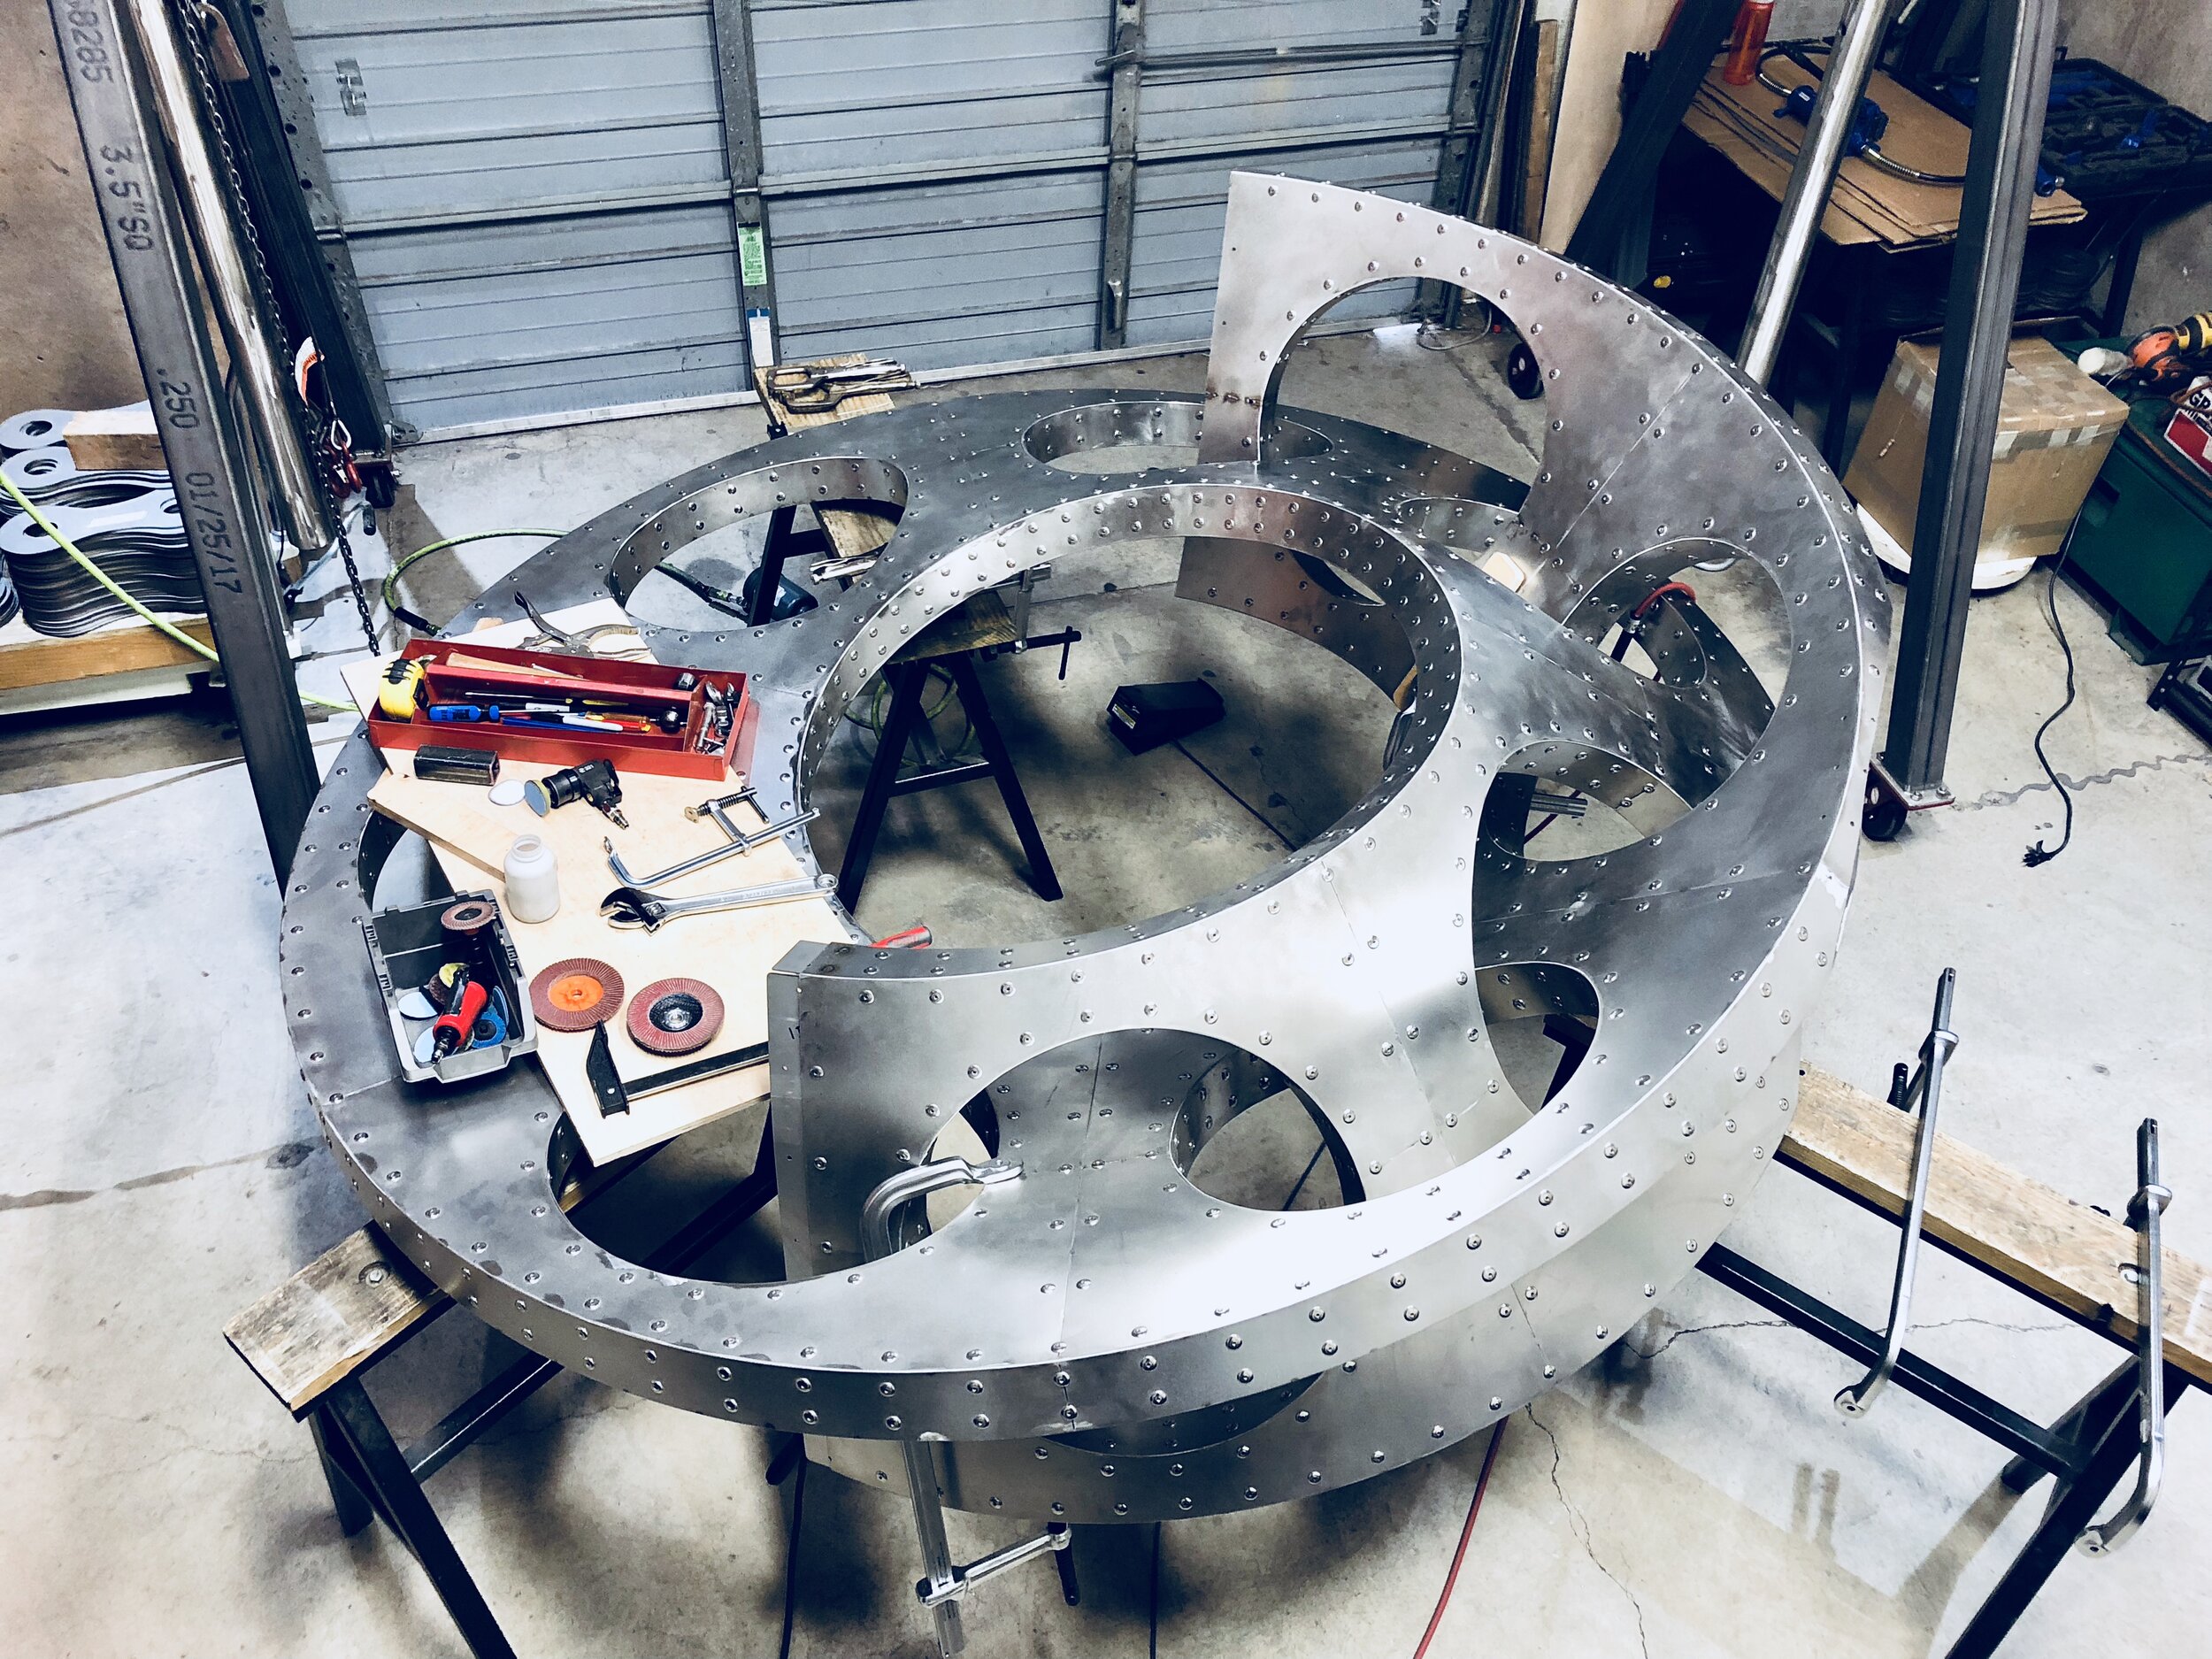
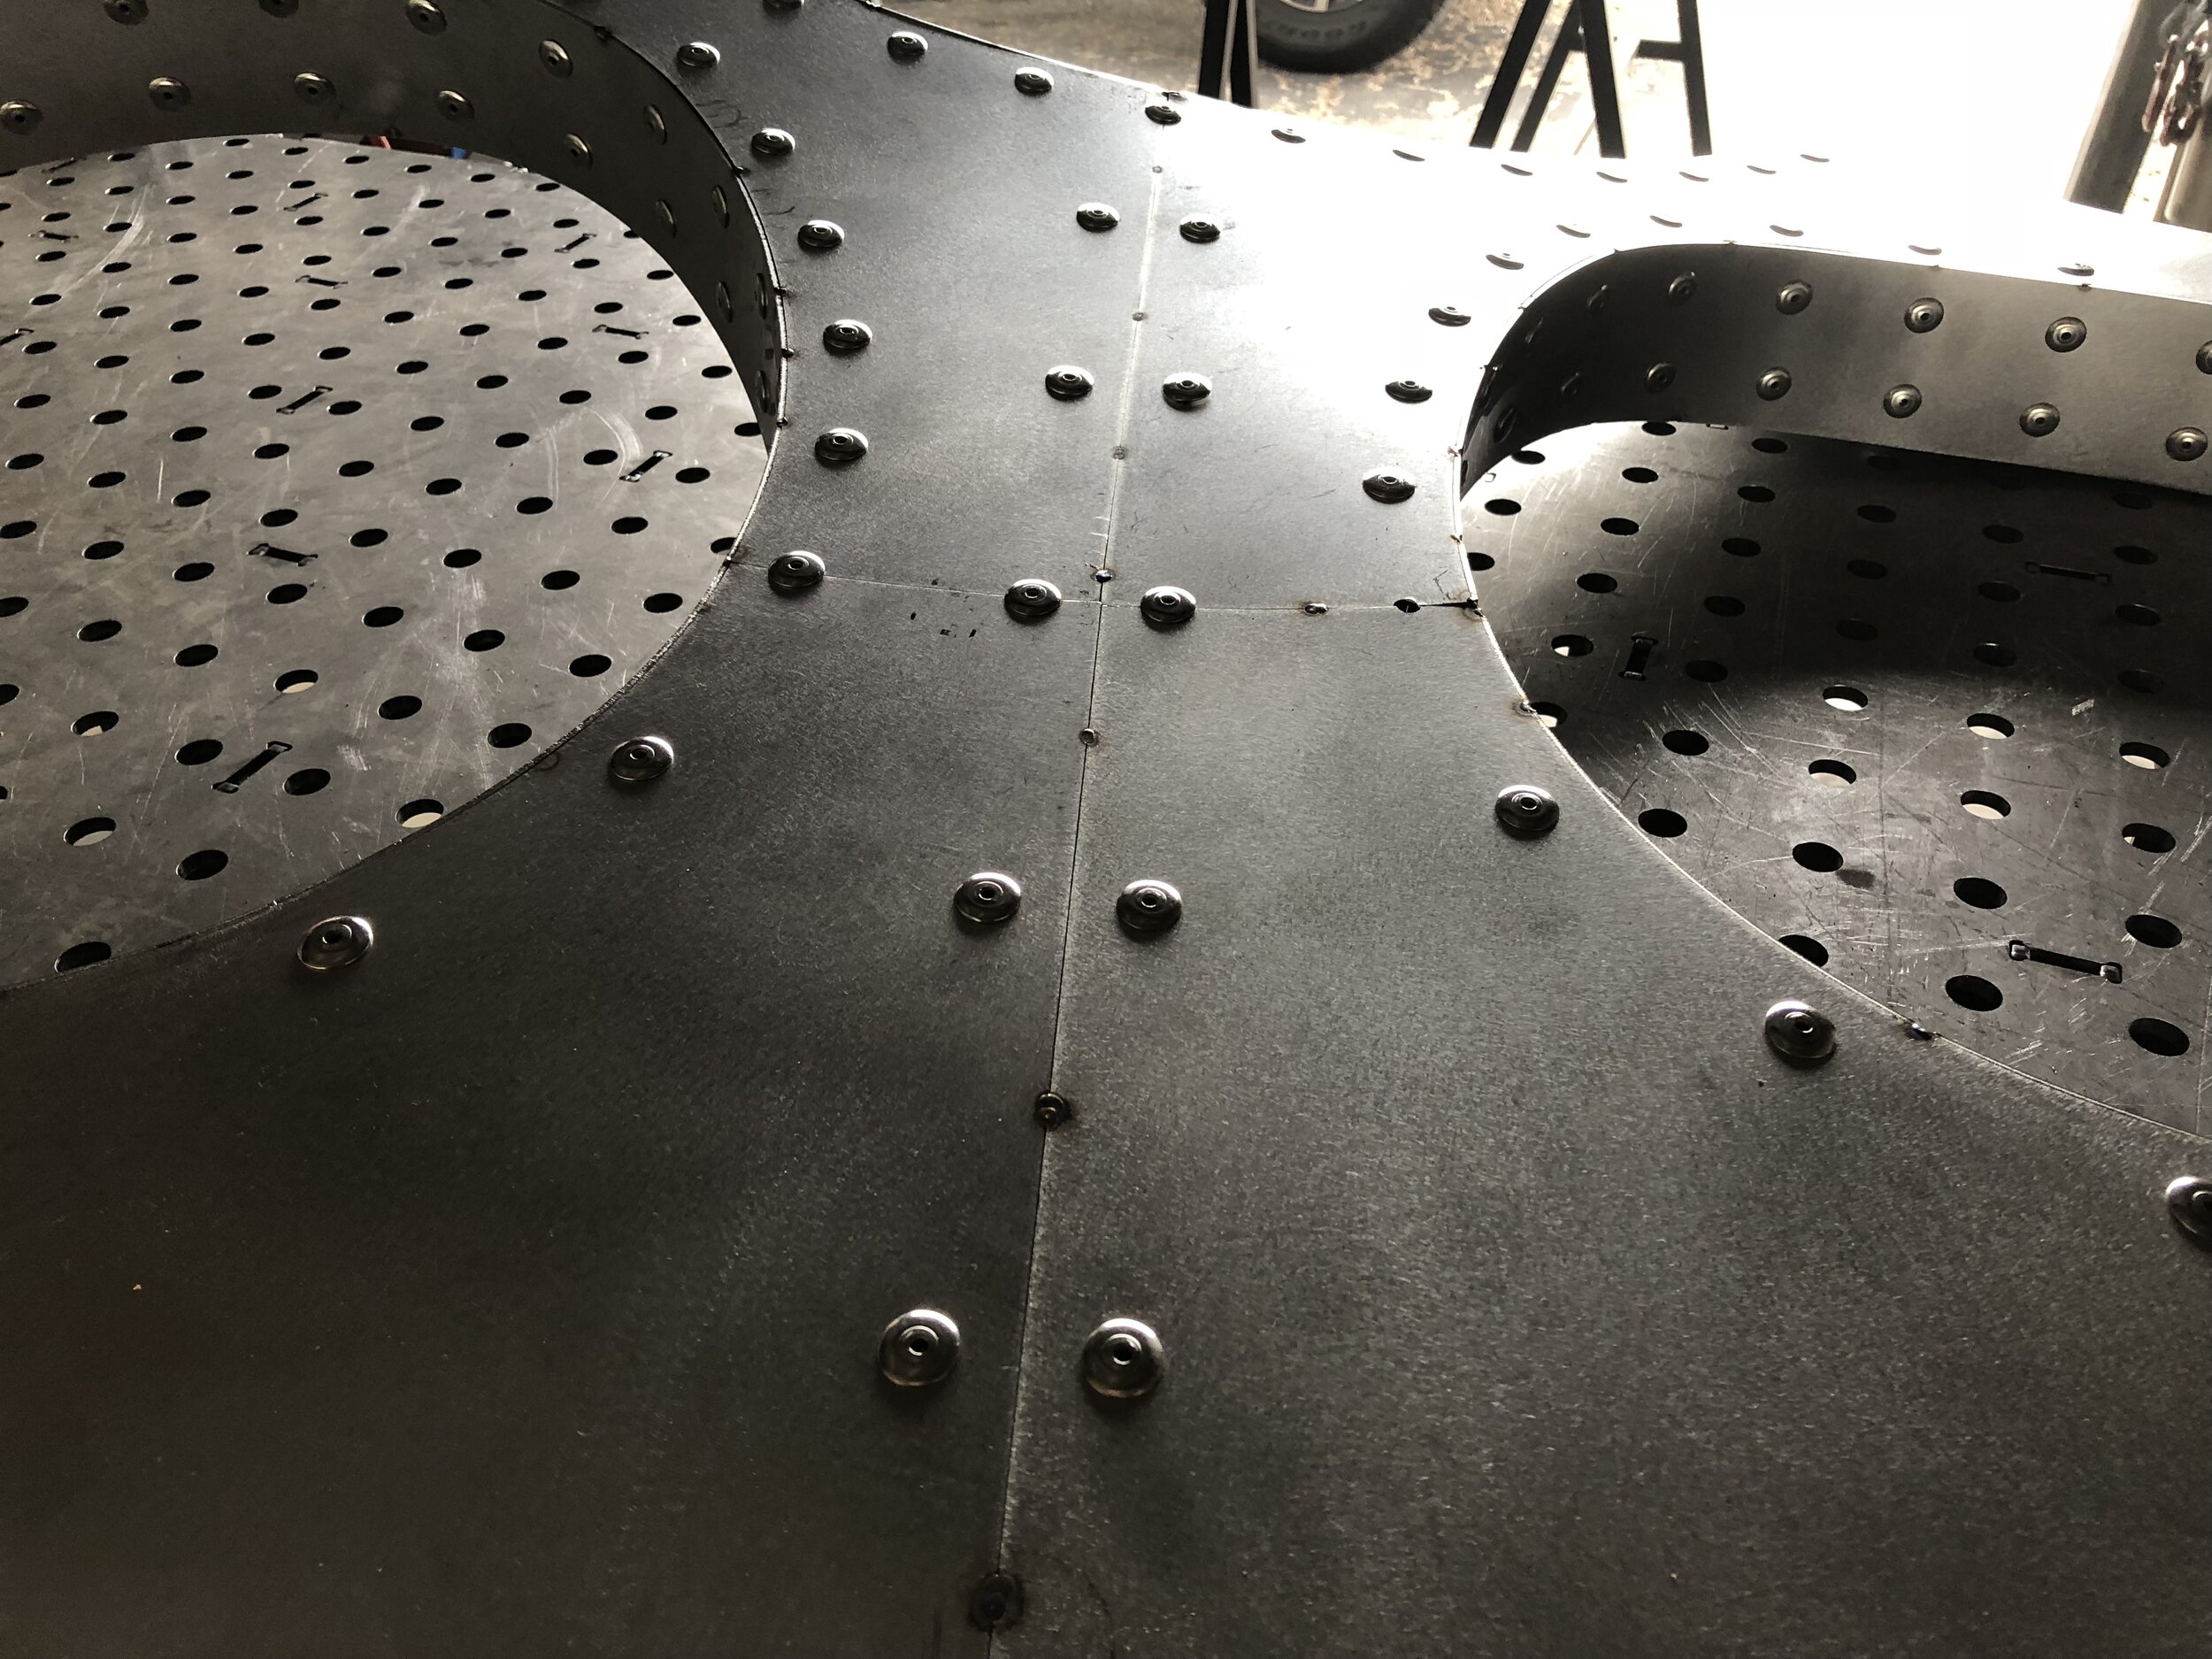
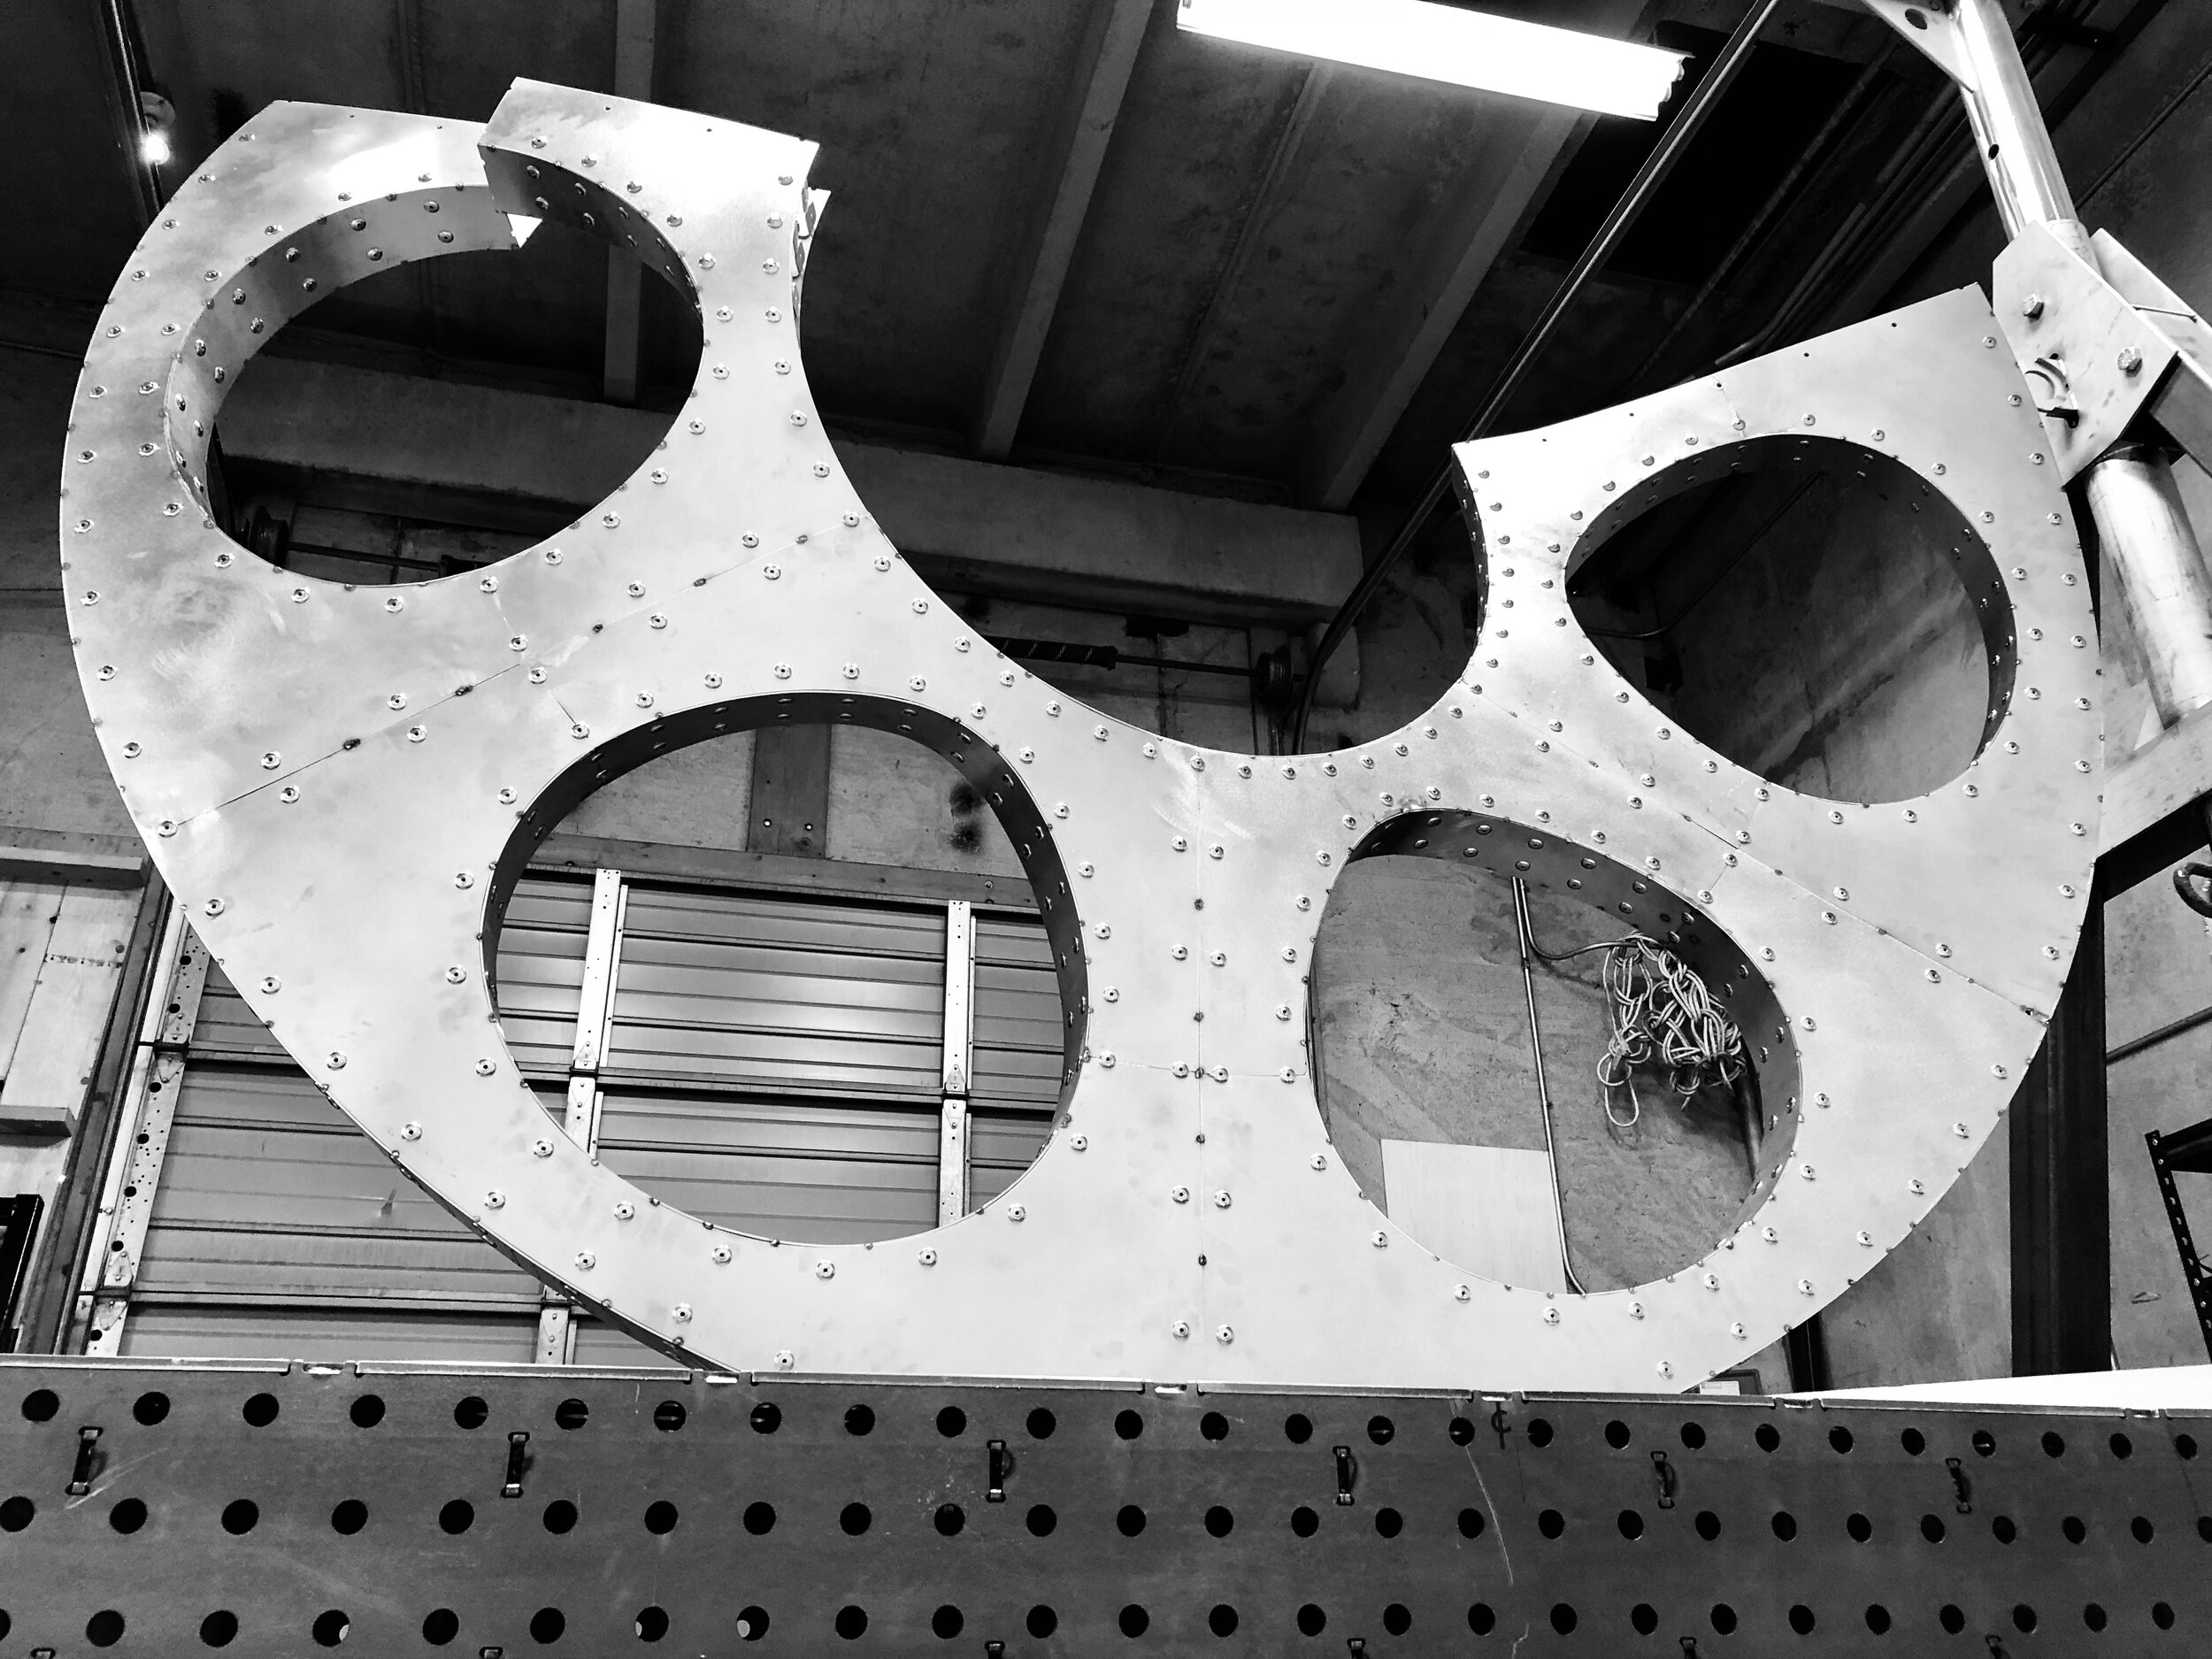
With the fire basin pretty much finished, time to tackle the upper section - the place where all the magic happens. These faces are where the cutouts reveal the fire through a pattern of flowing, distorted hexagons - giving CinderCone its unique look.

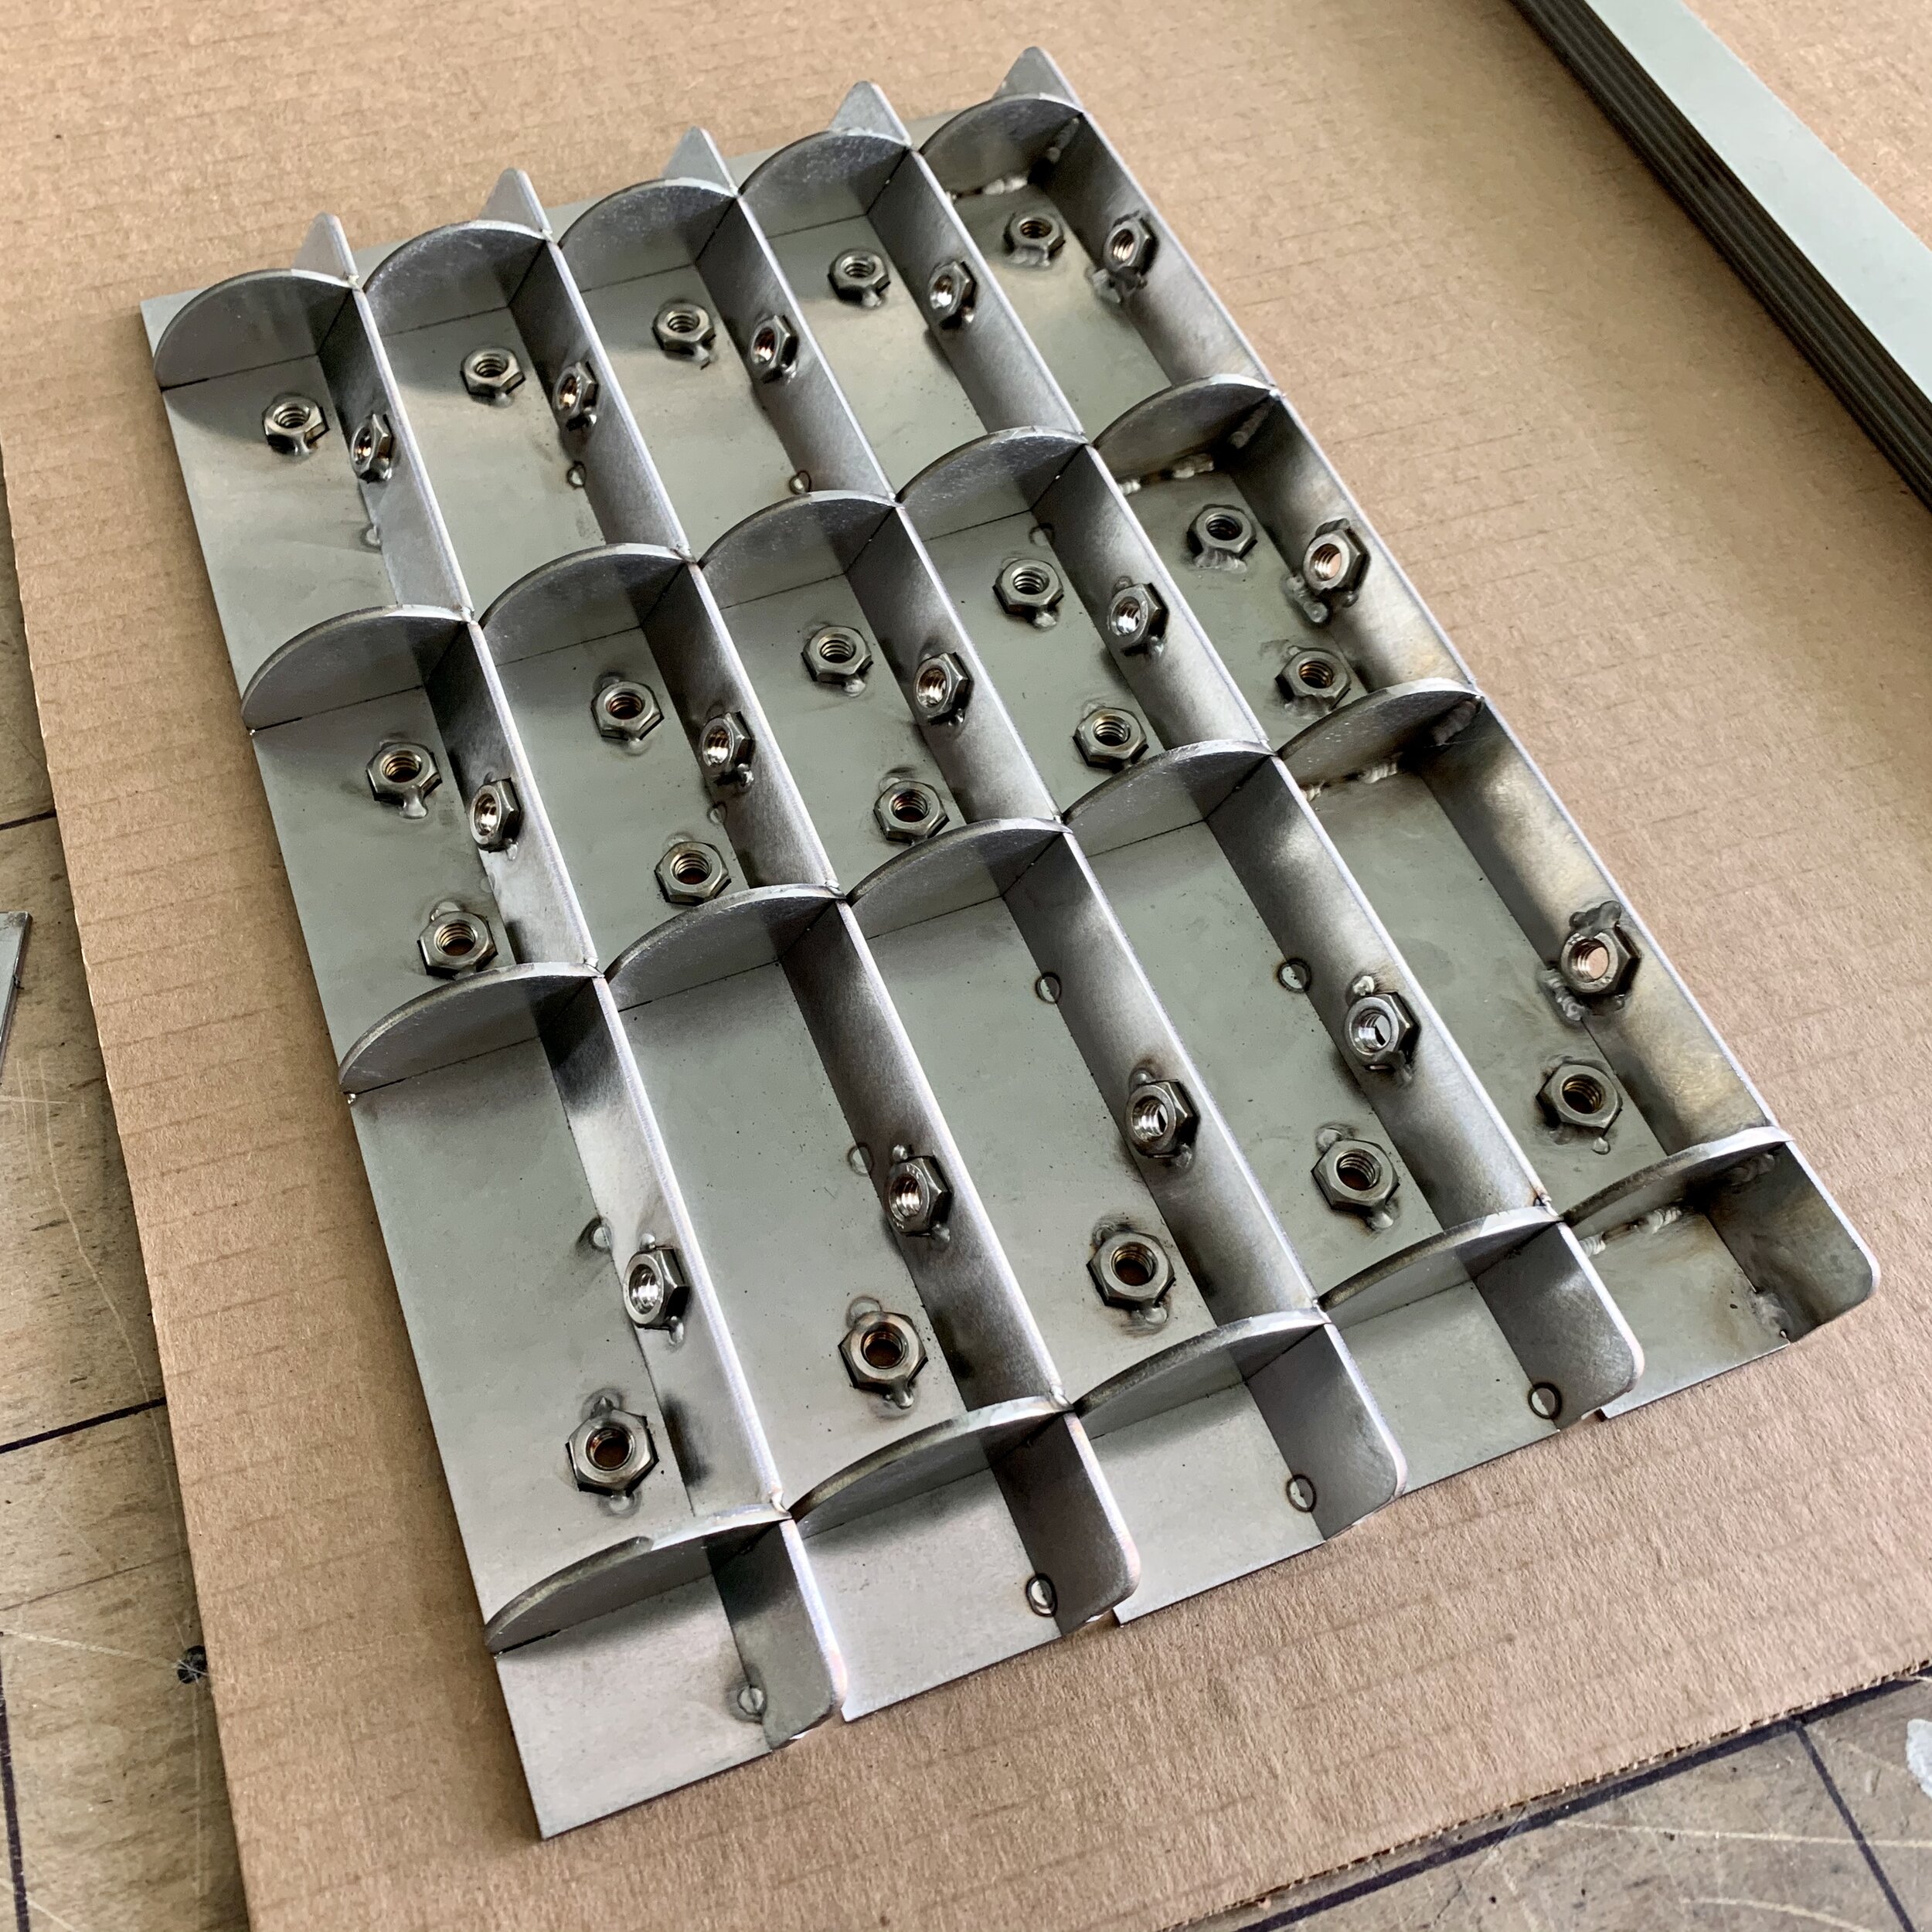
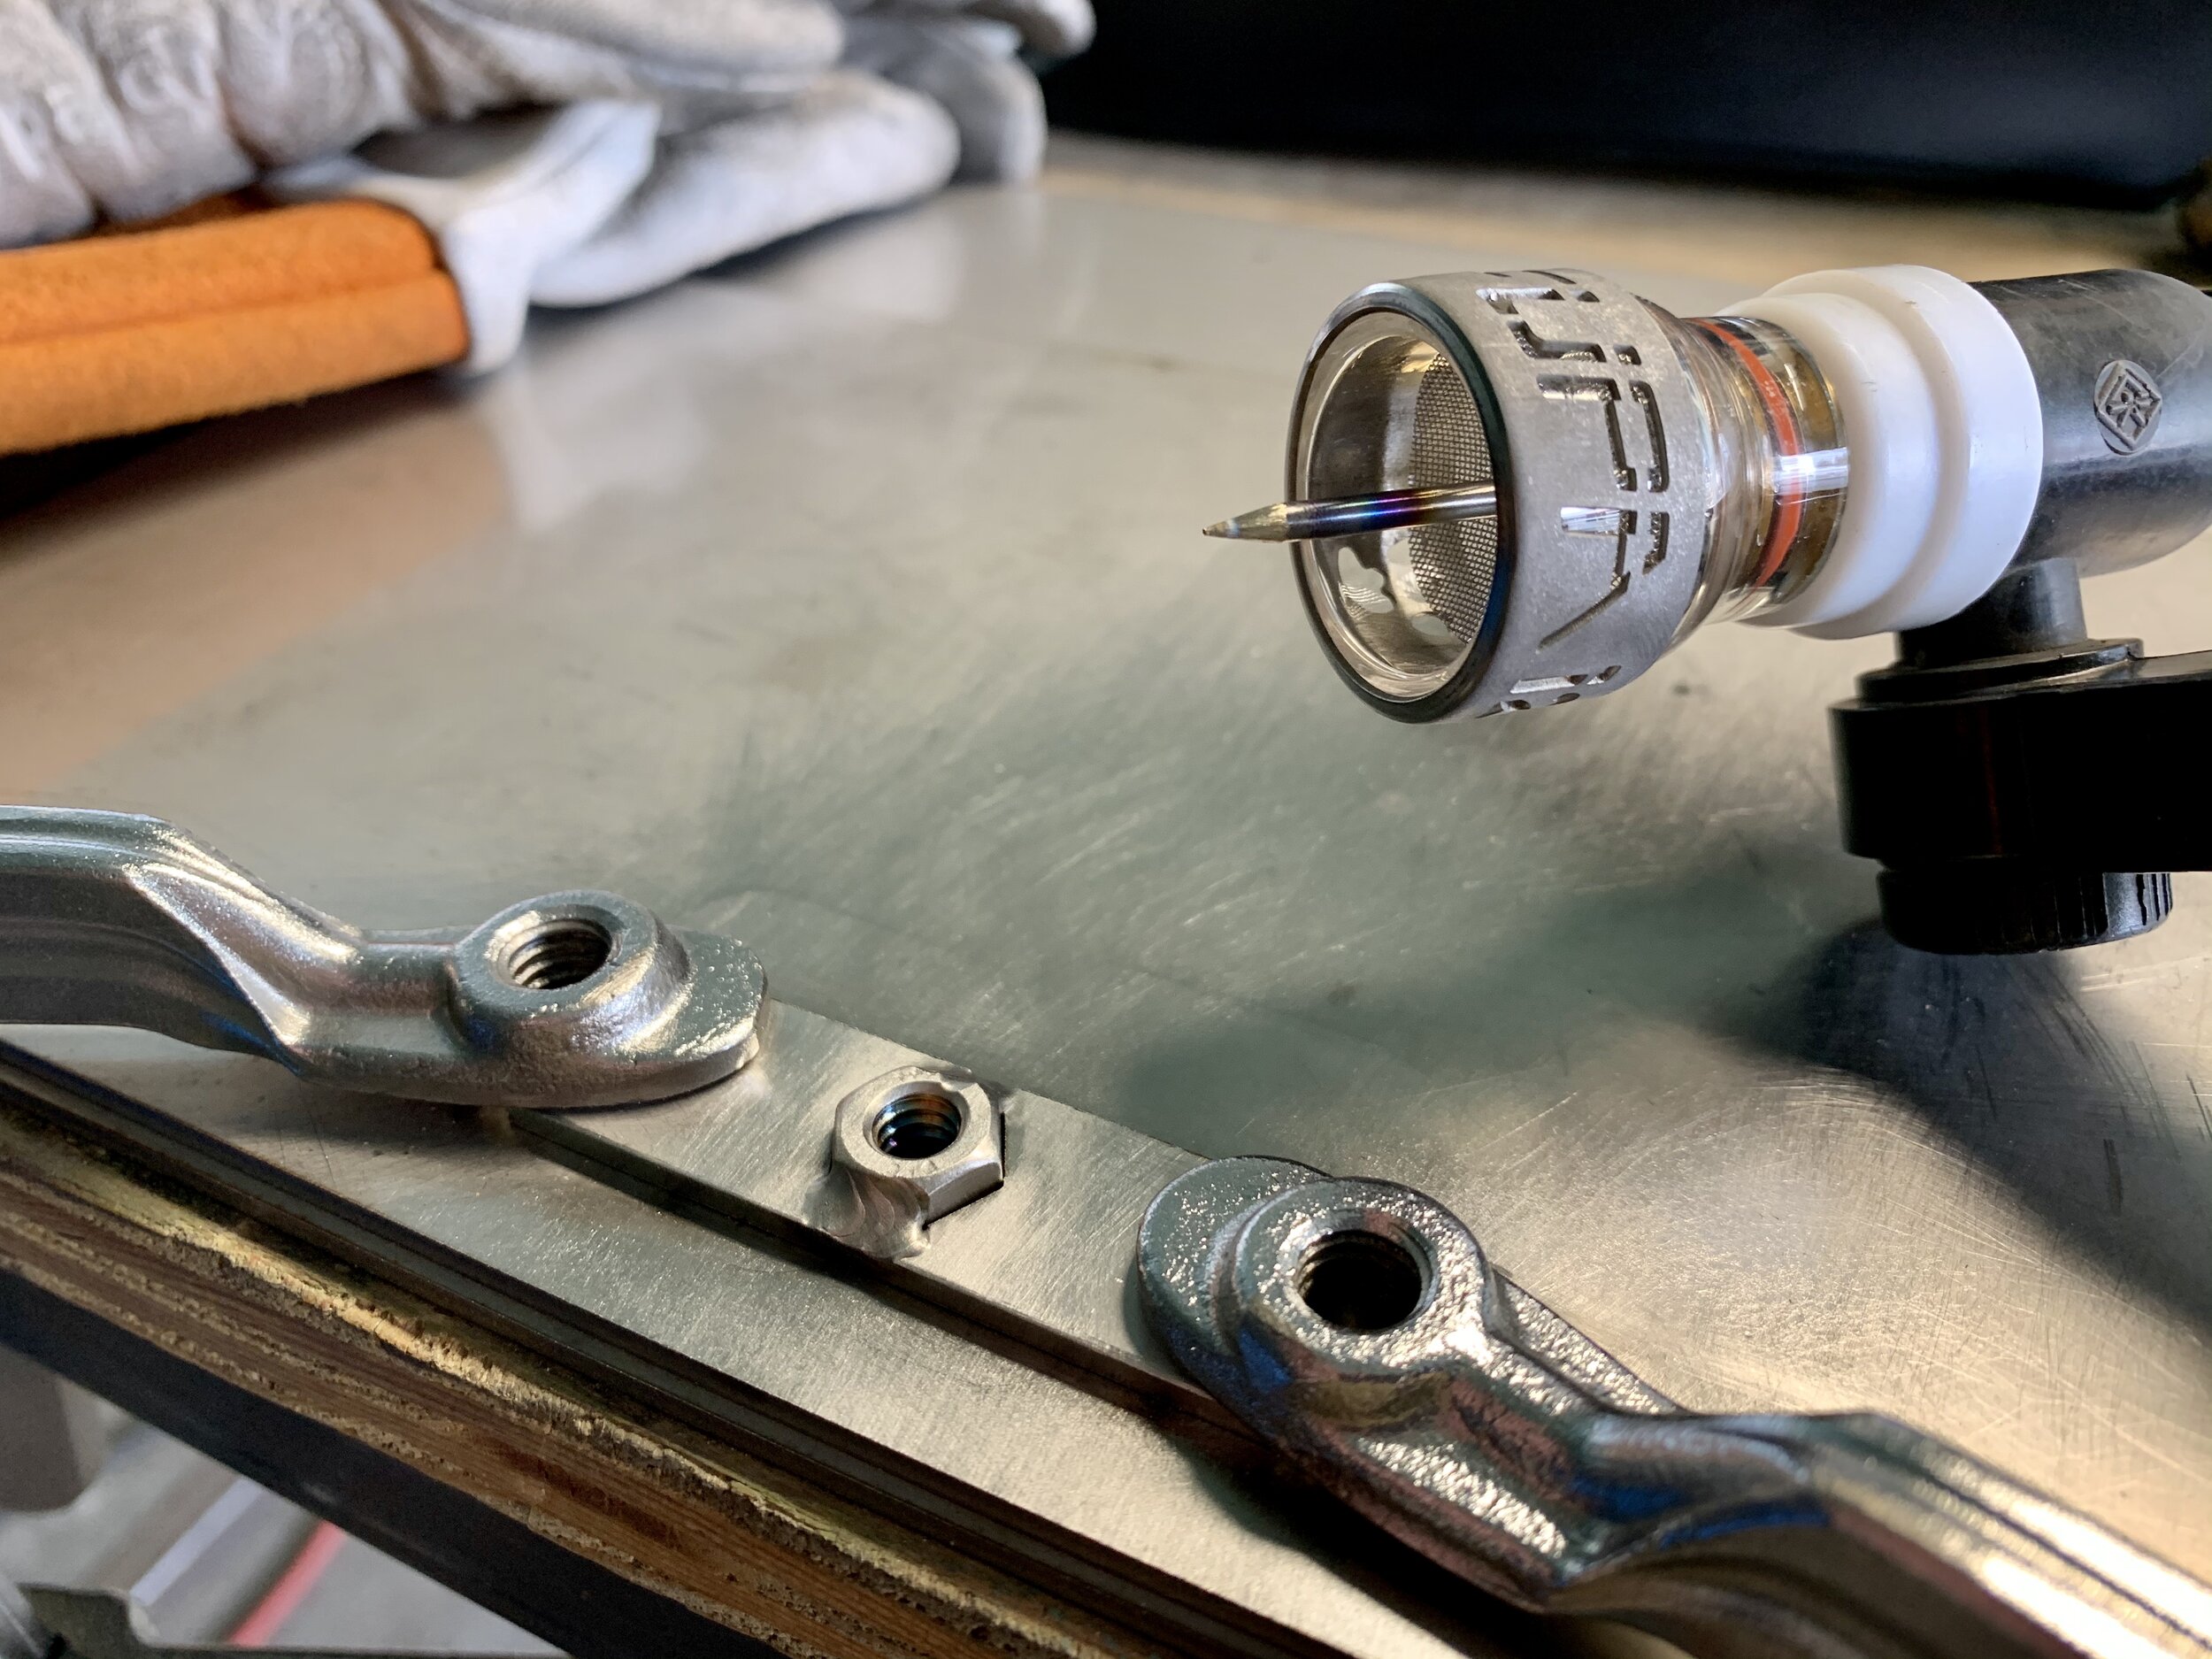
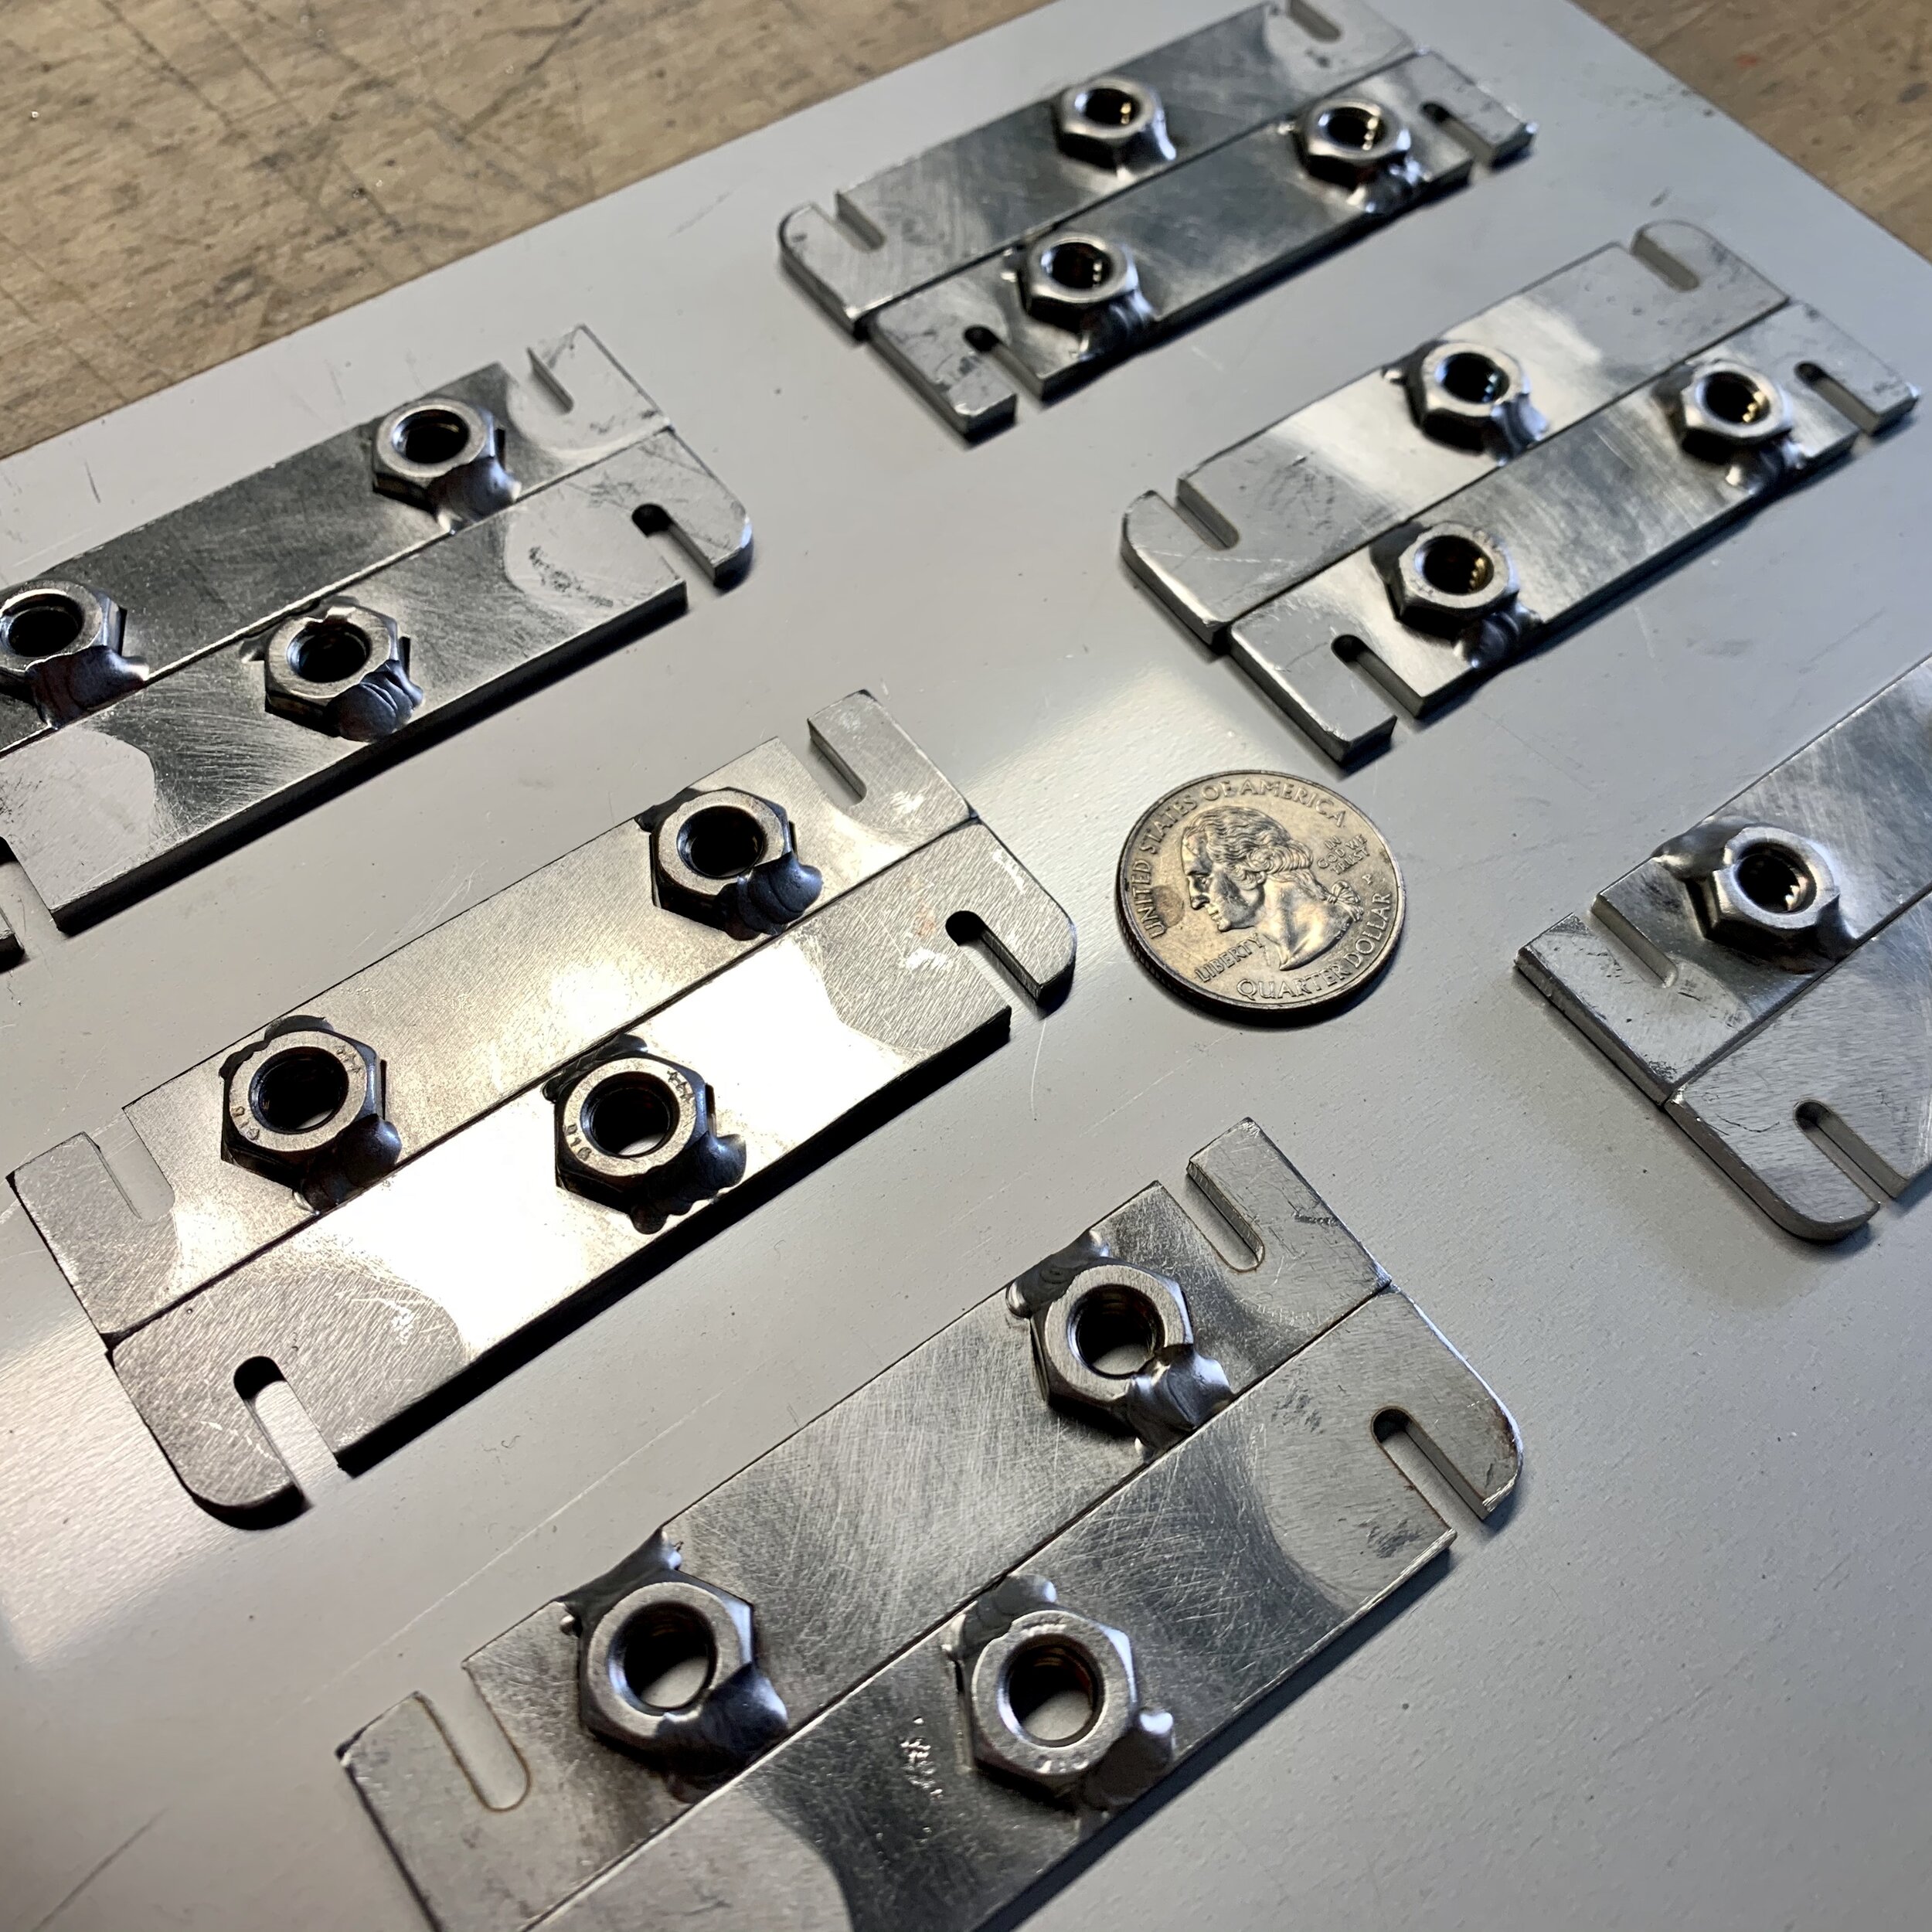
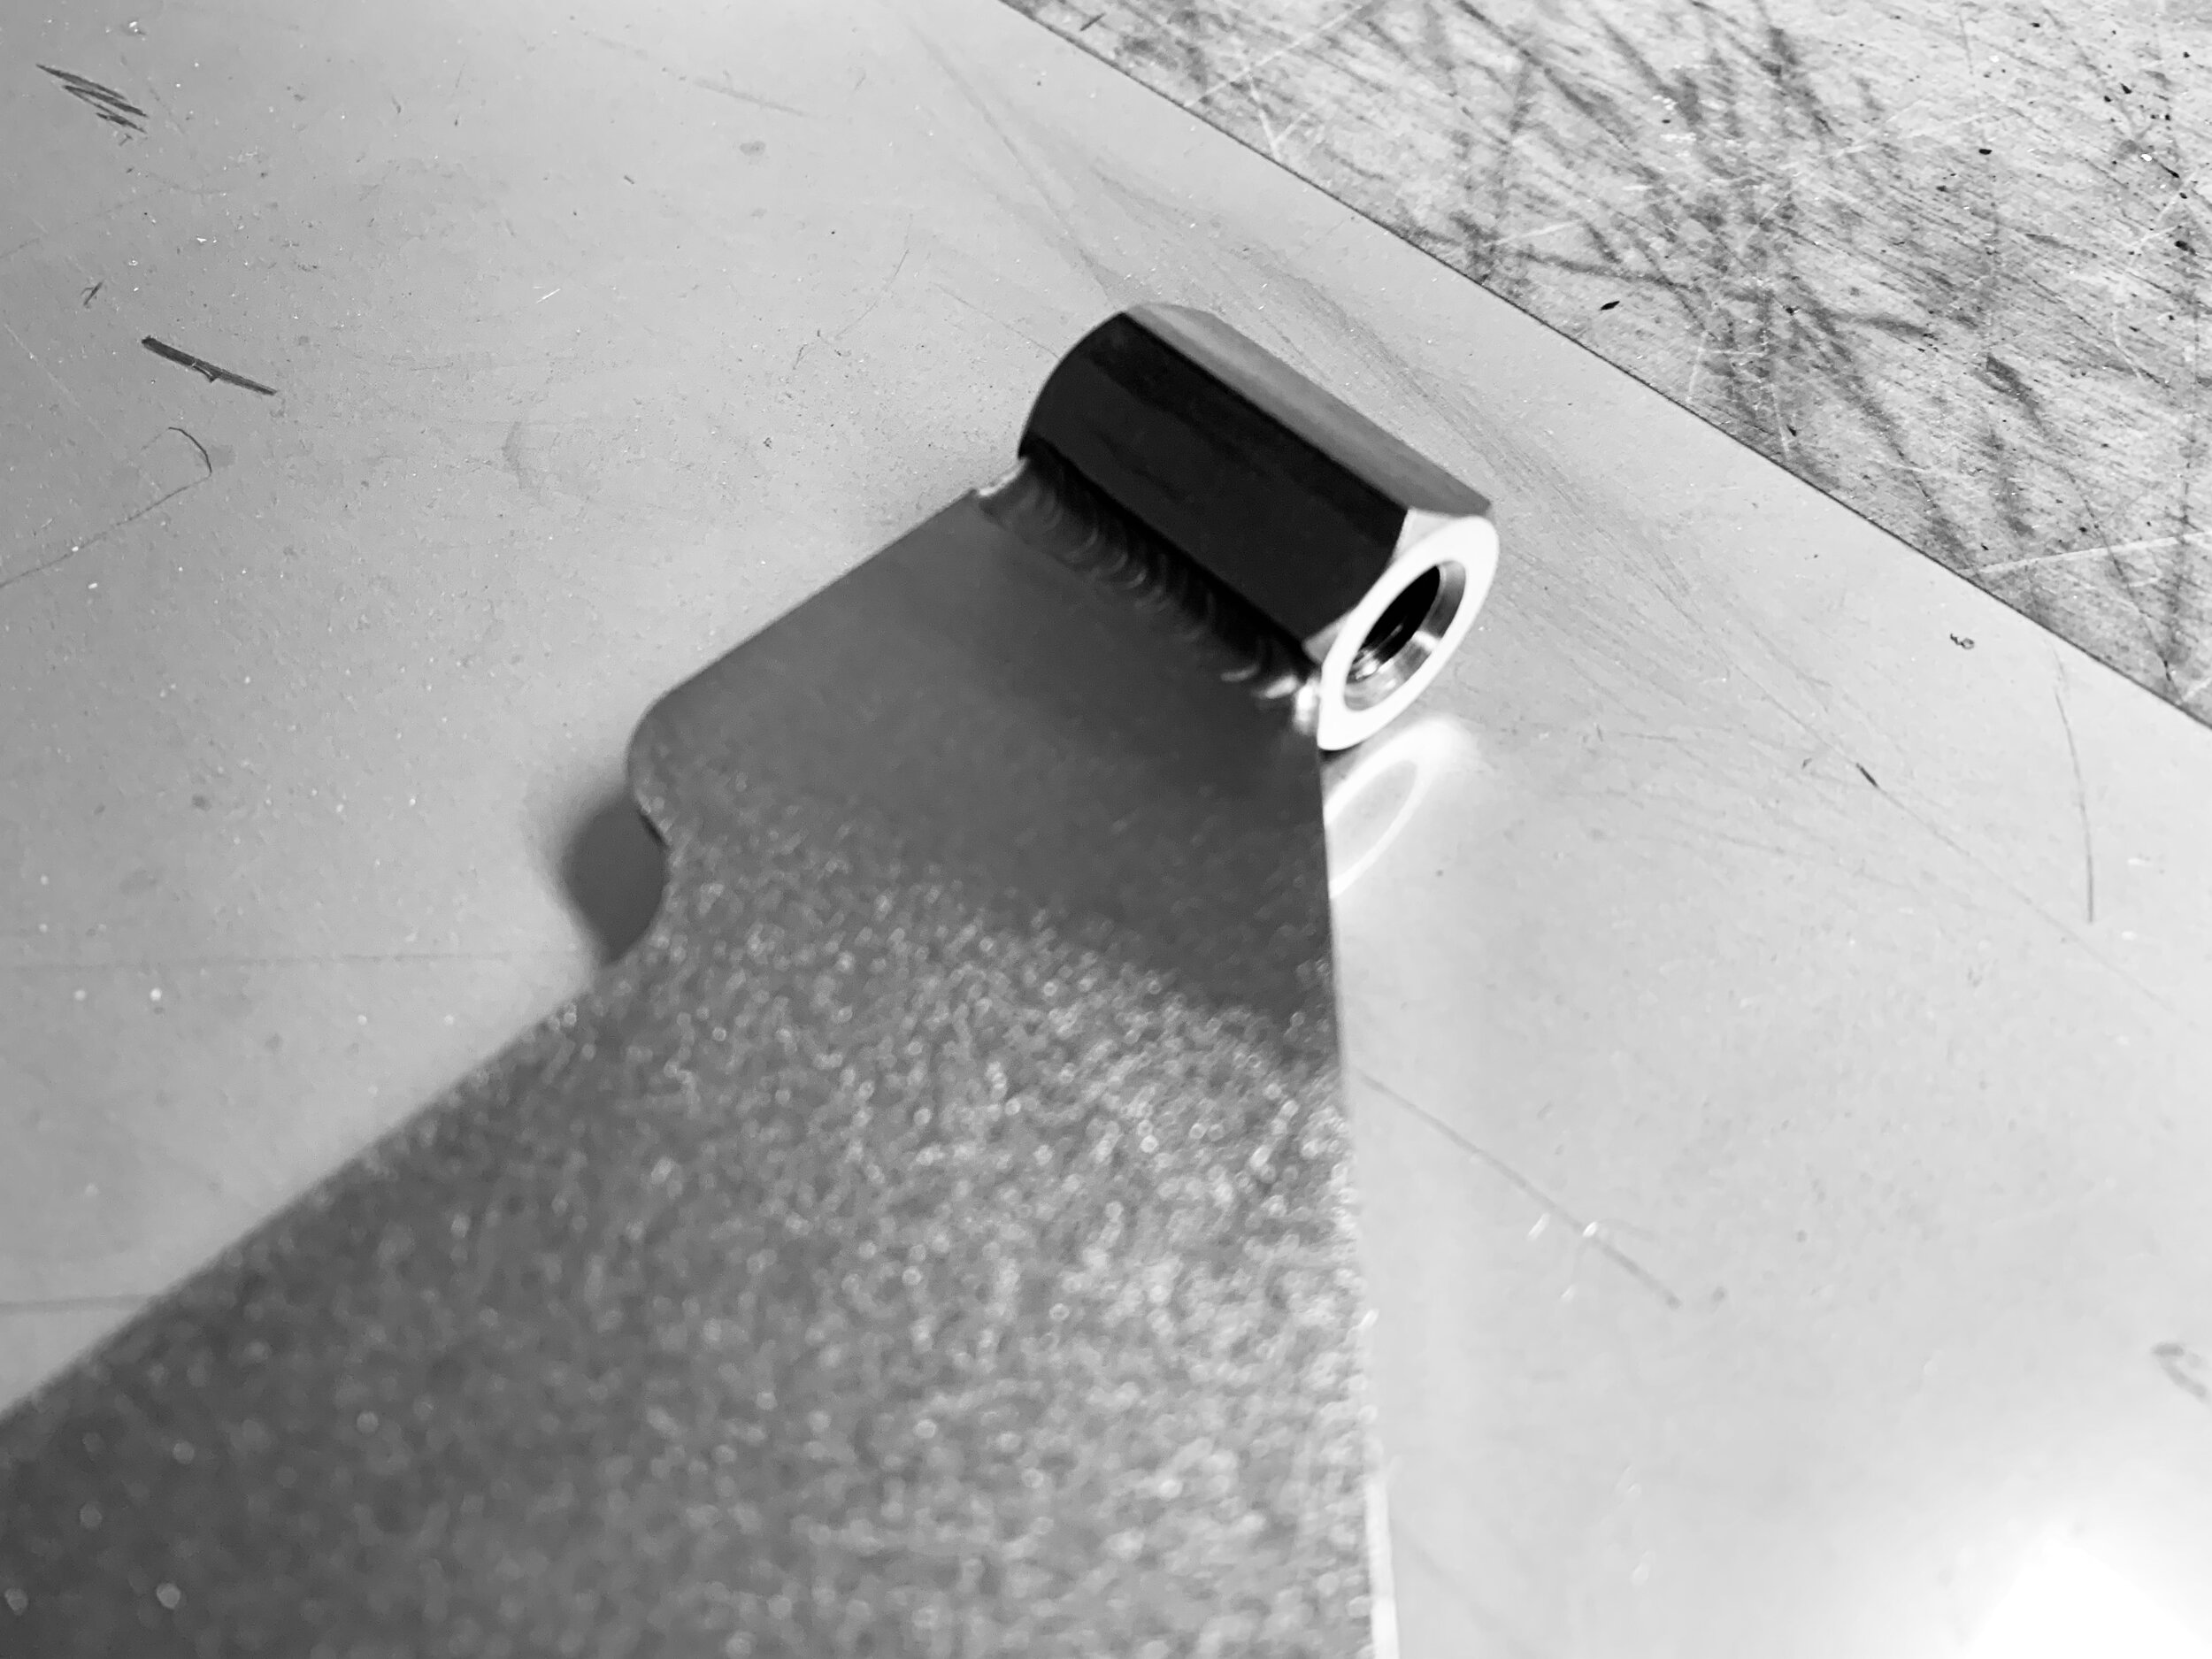
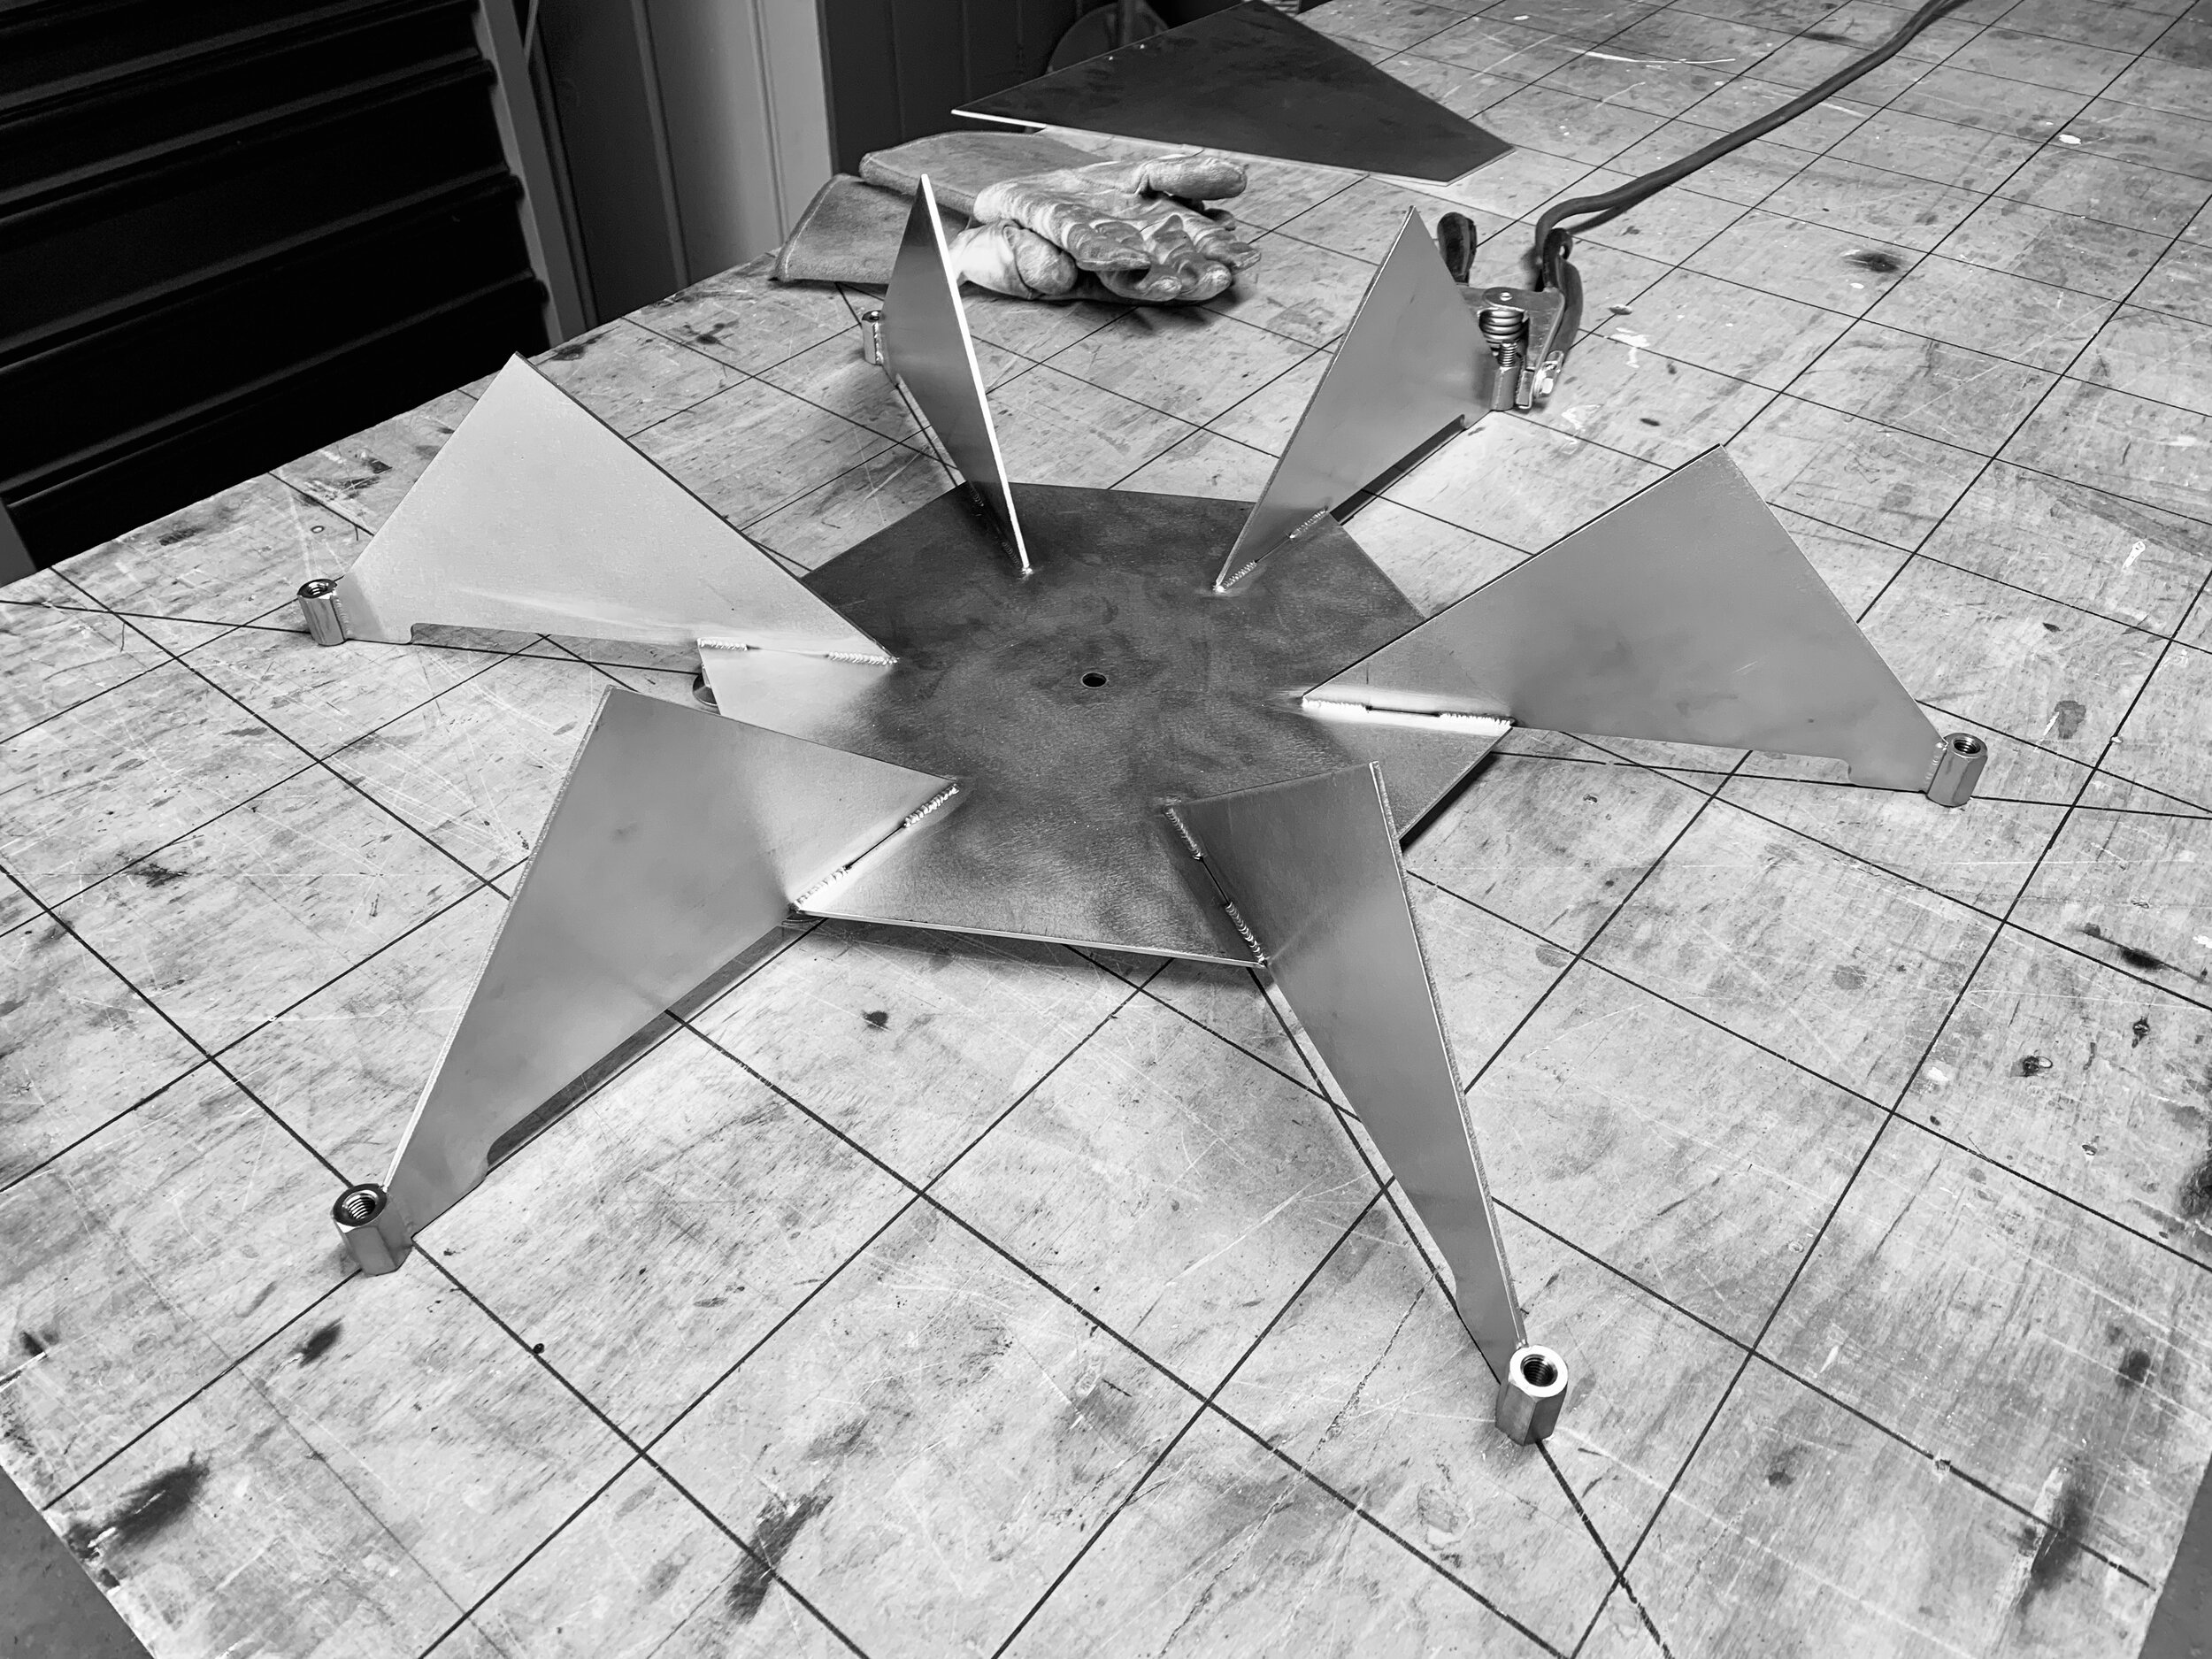
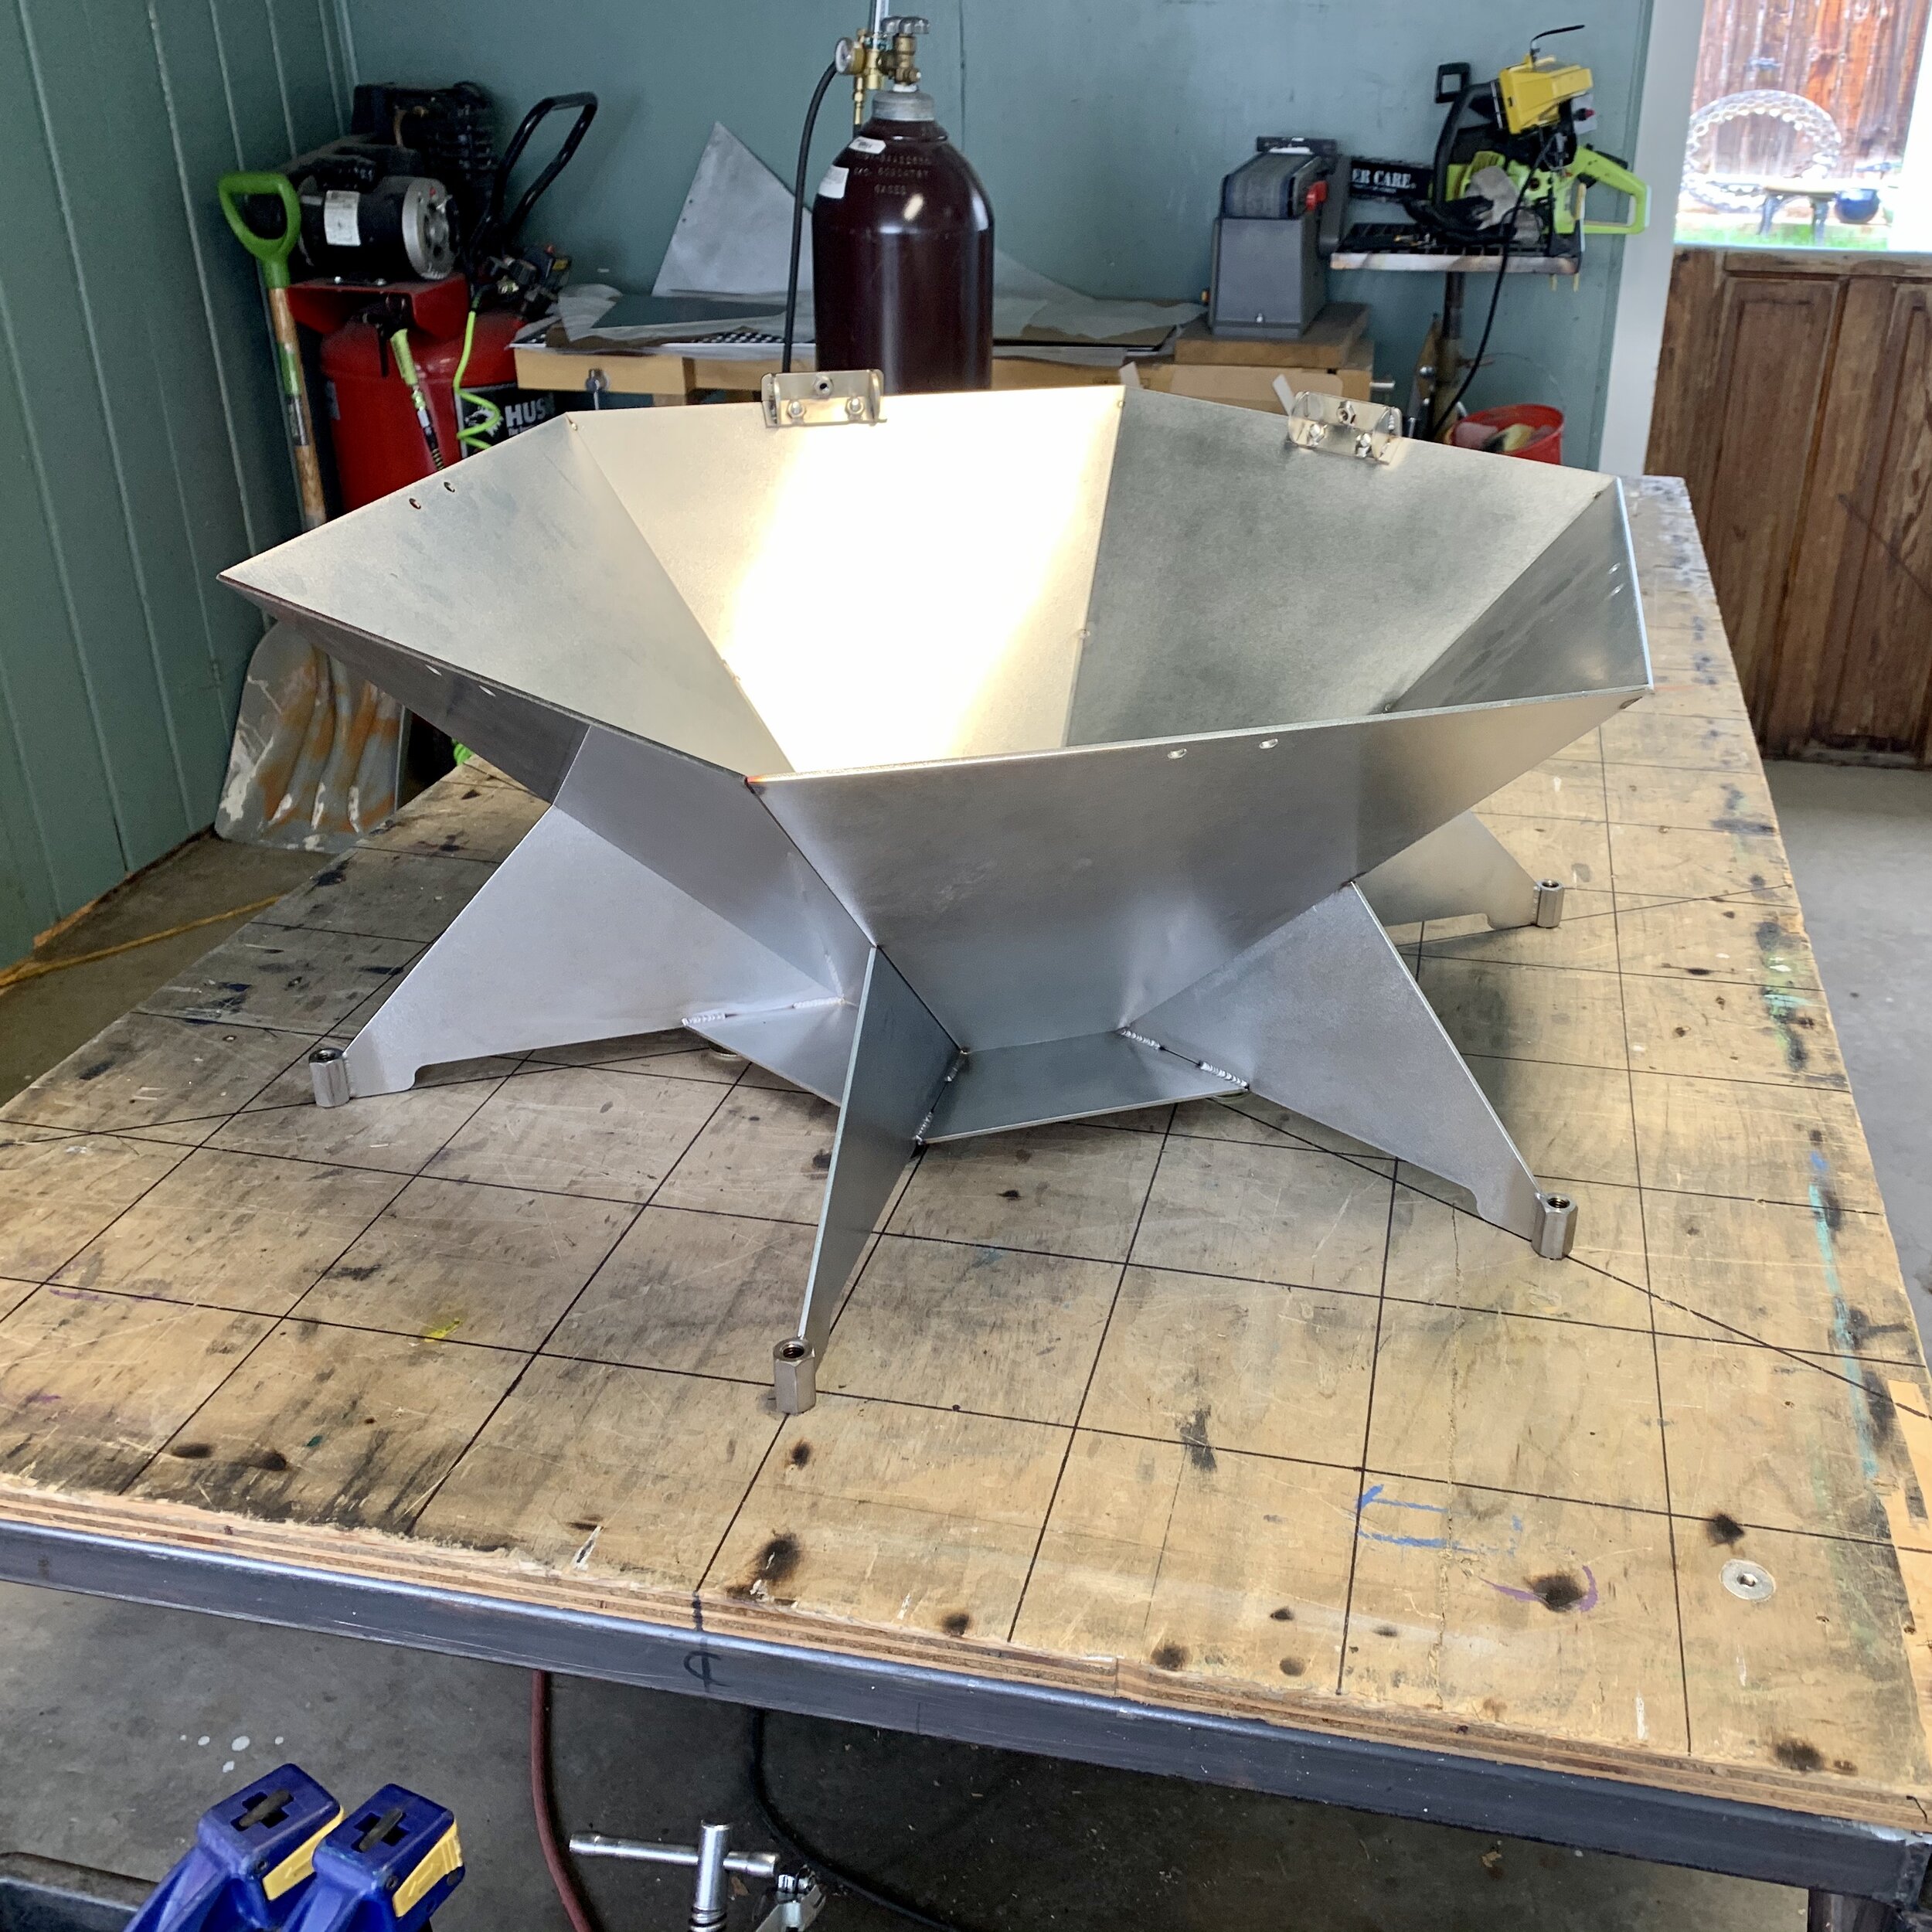
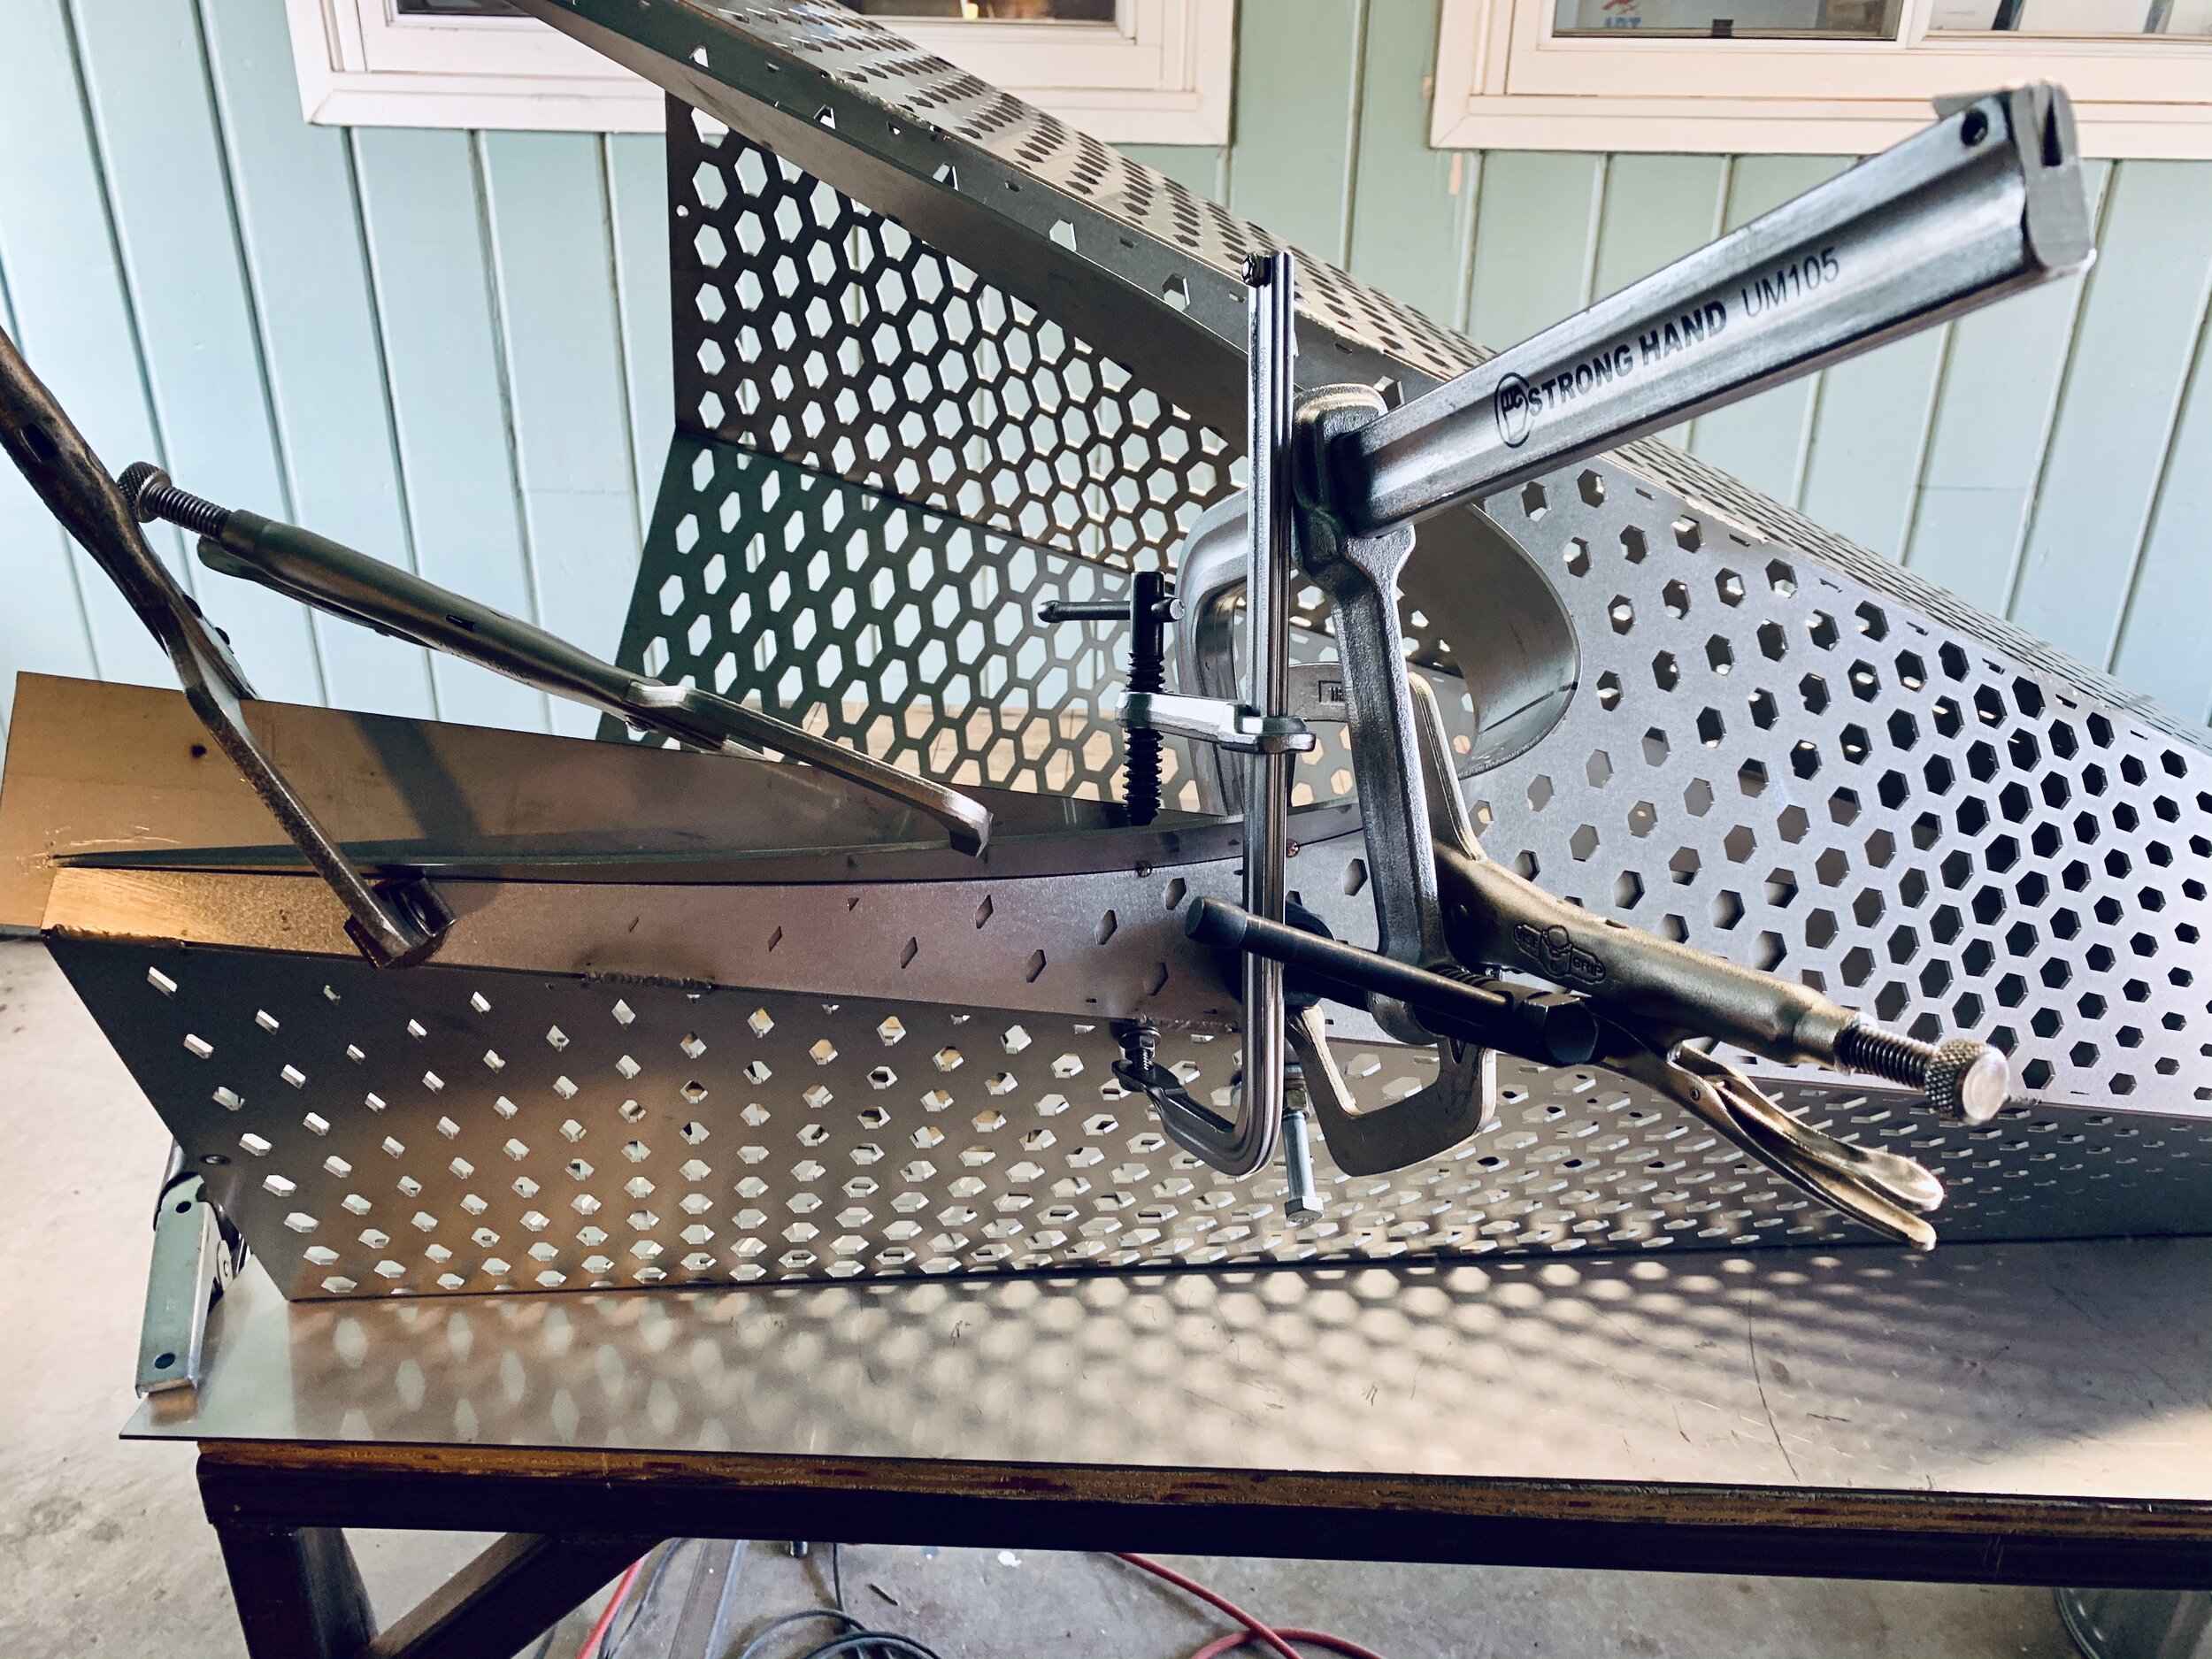
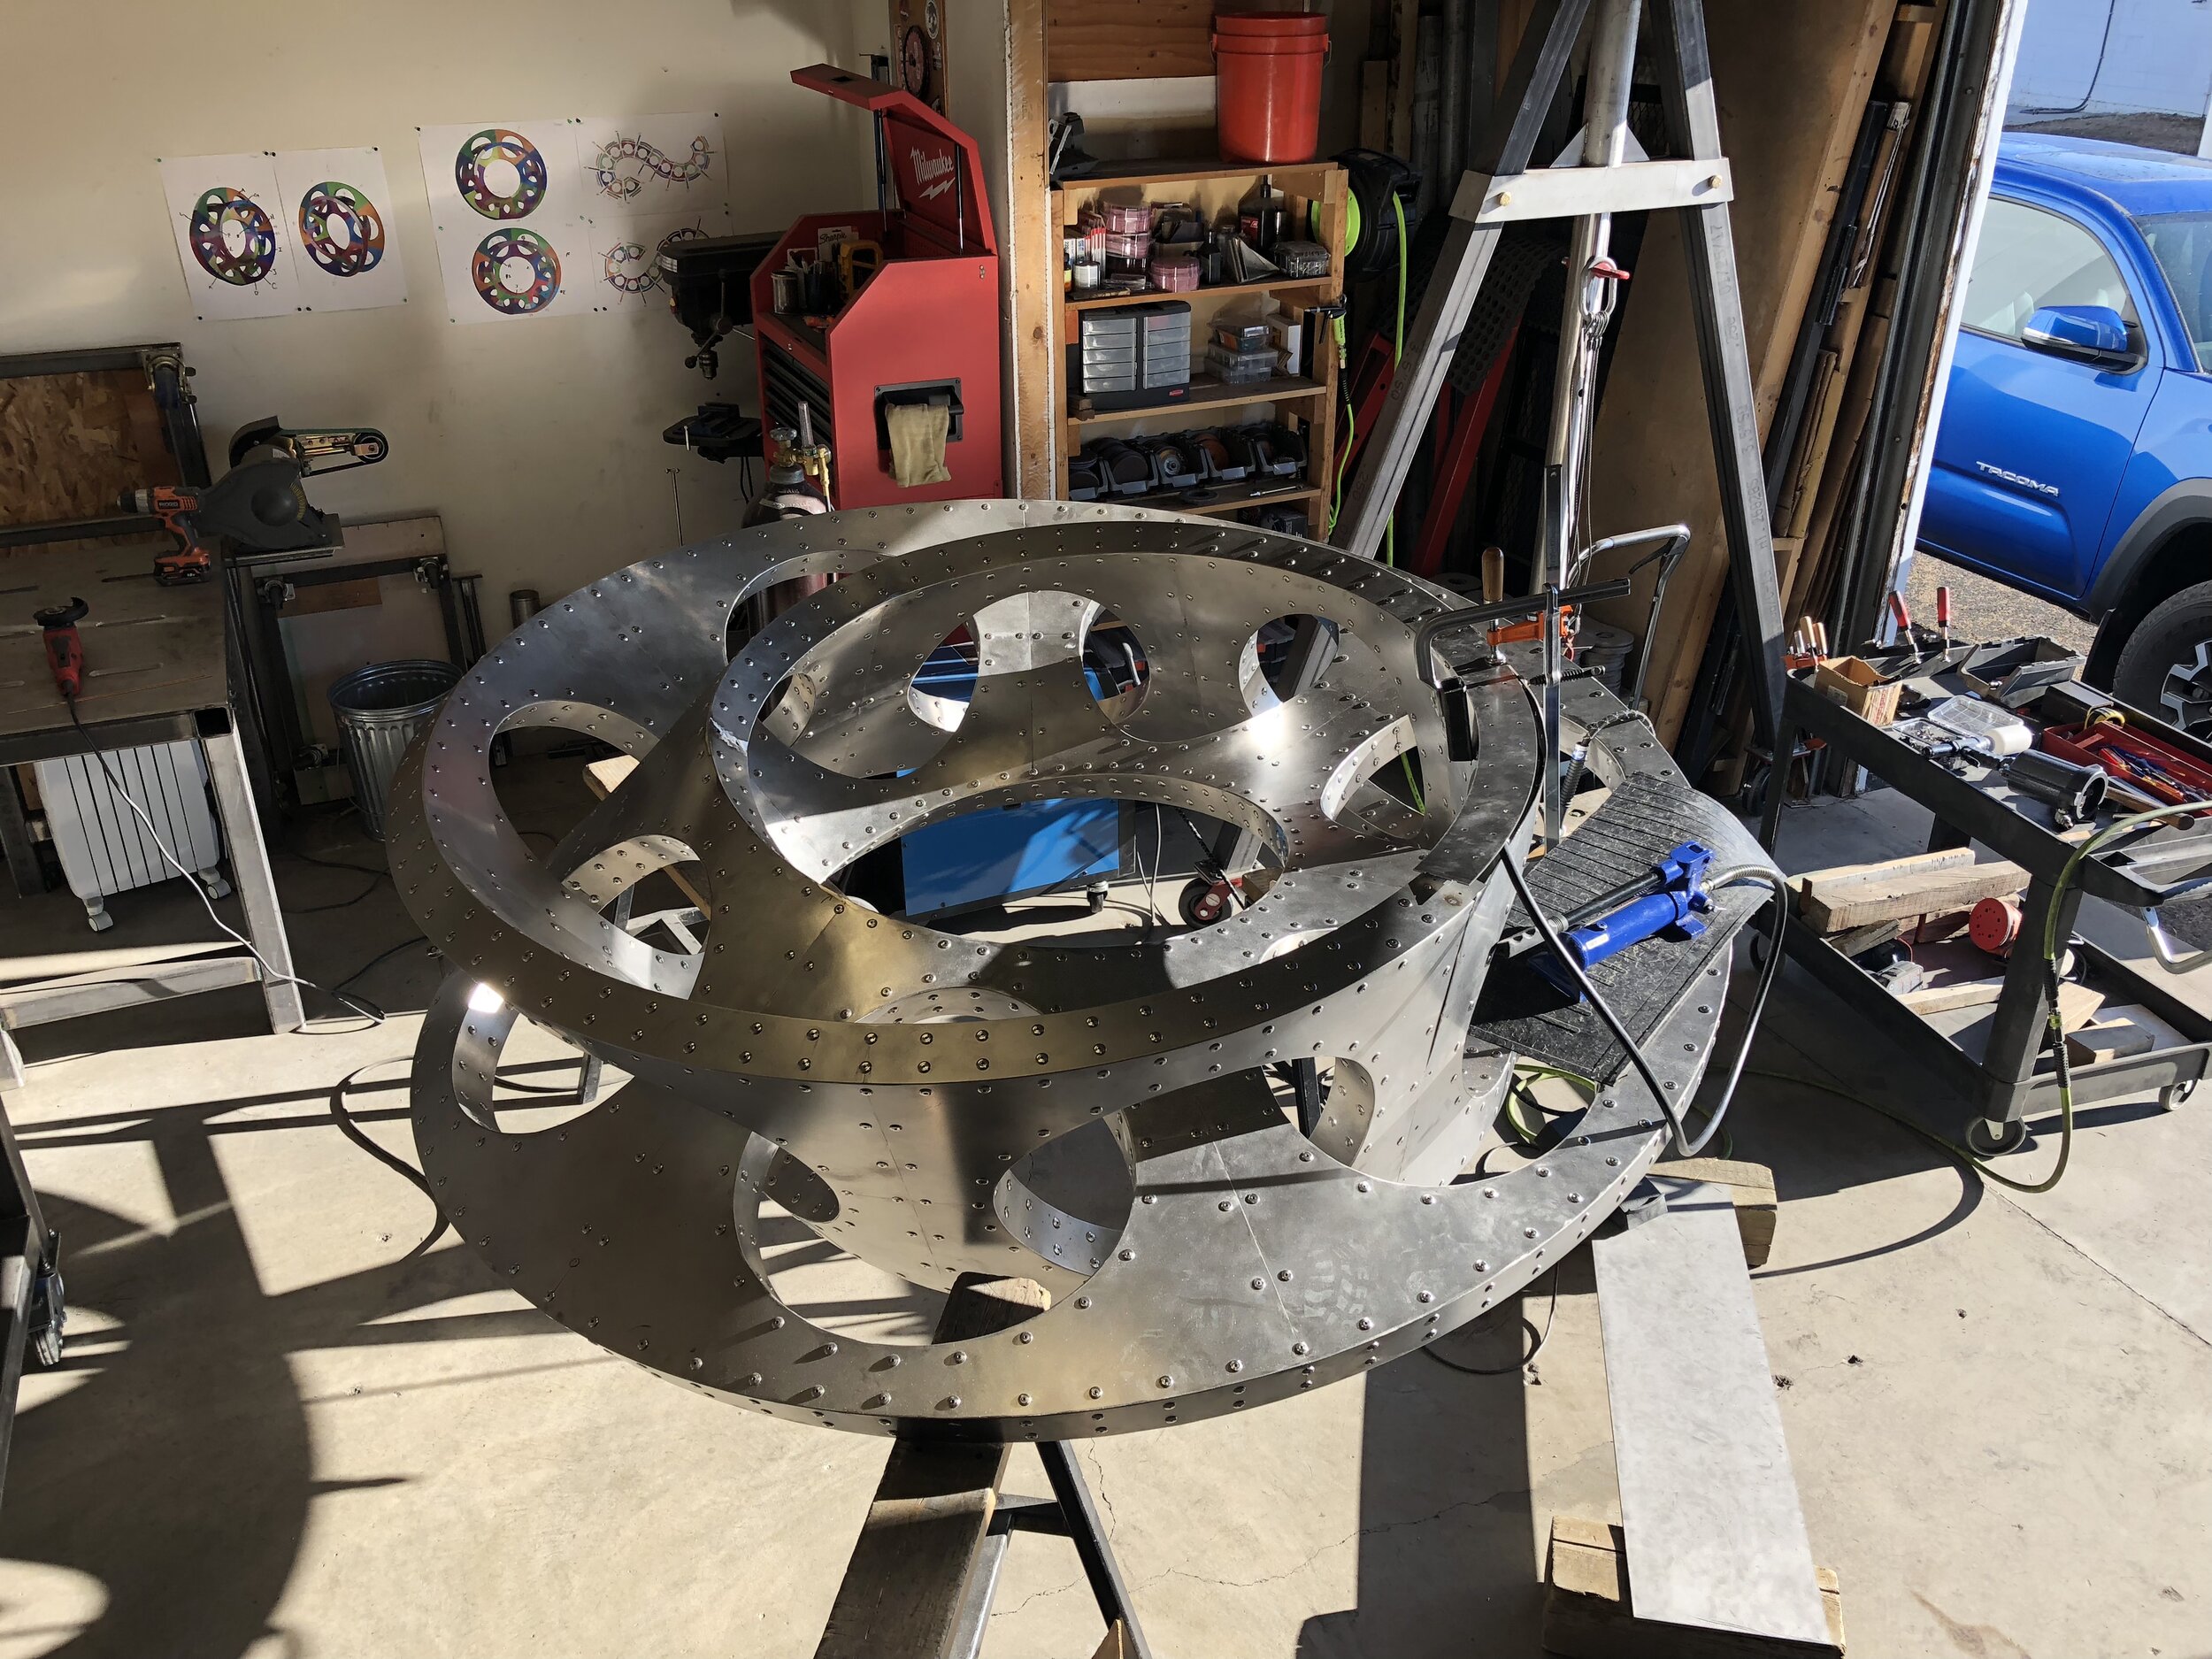
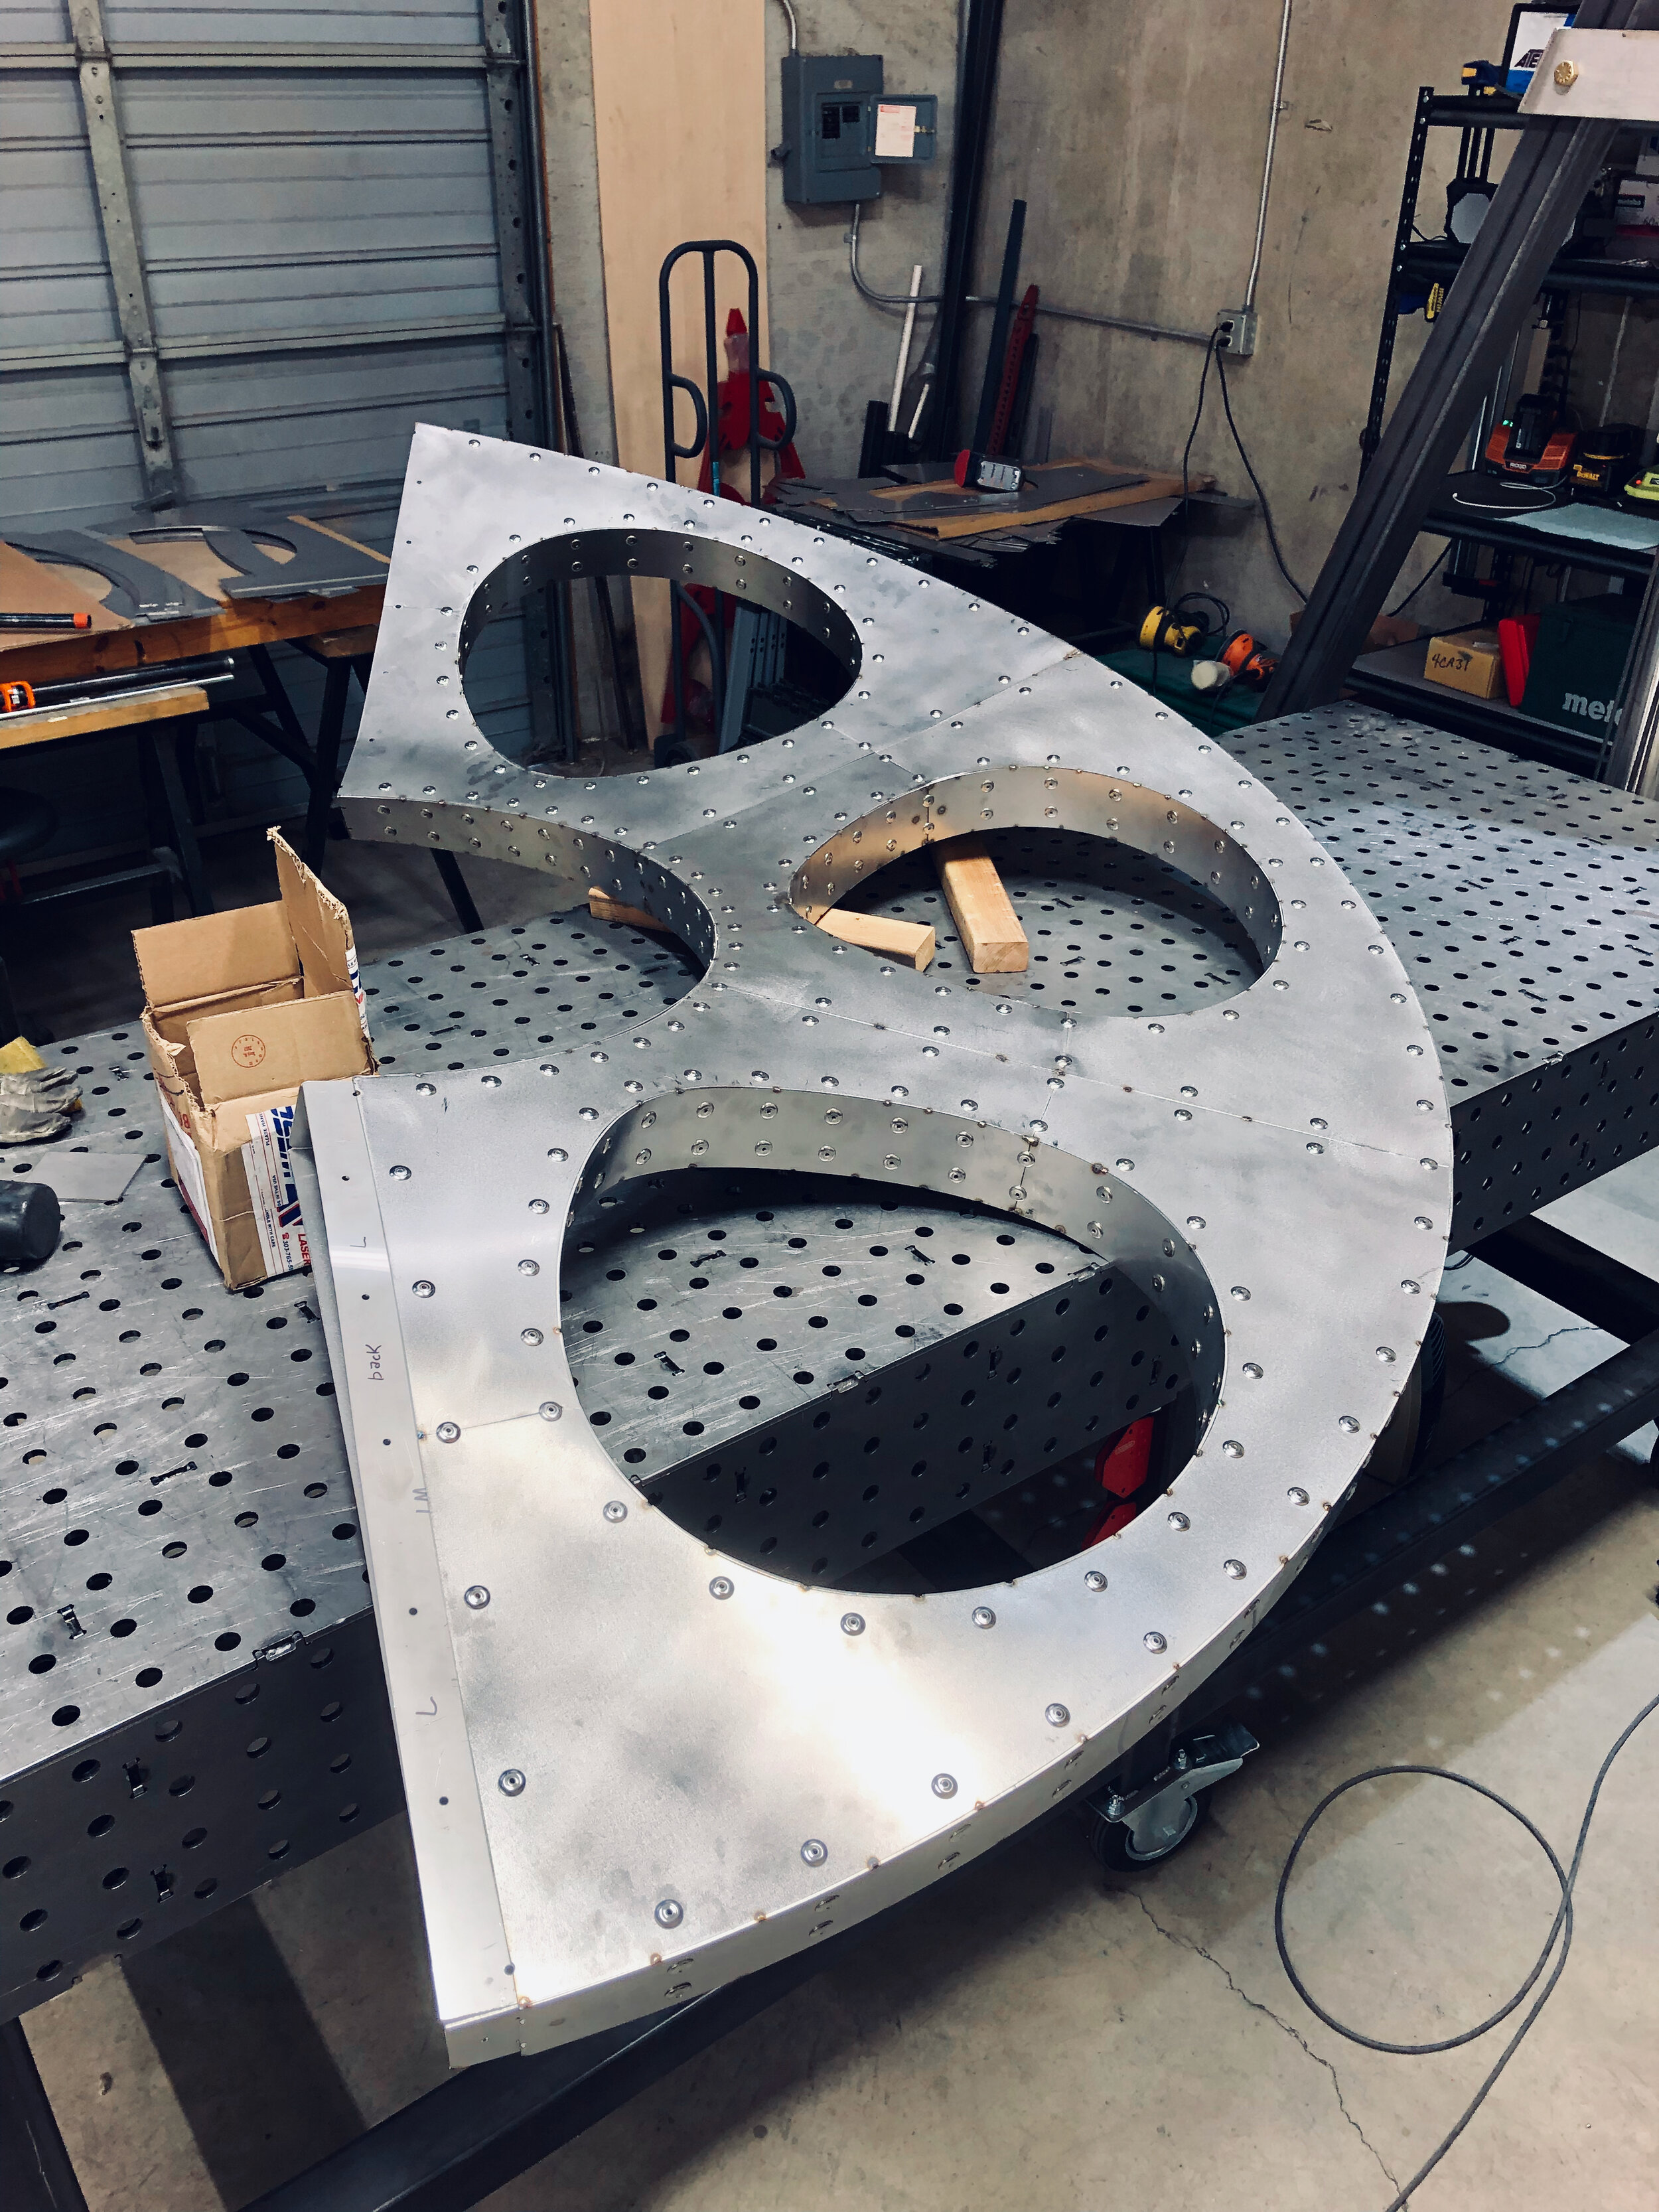
With the “belt line” brackets all welded together into a rigid ring, they can serve as a jig for aligning the patterned faces. I built a fancy fixture to hold adjacent faces while tacking their tops.

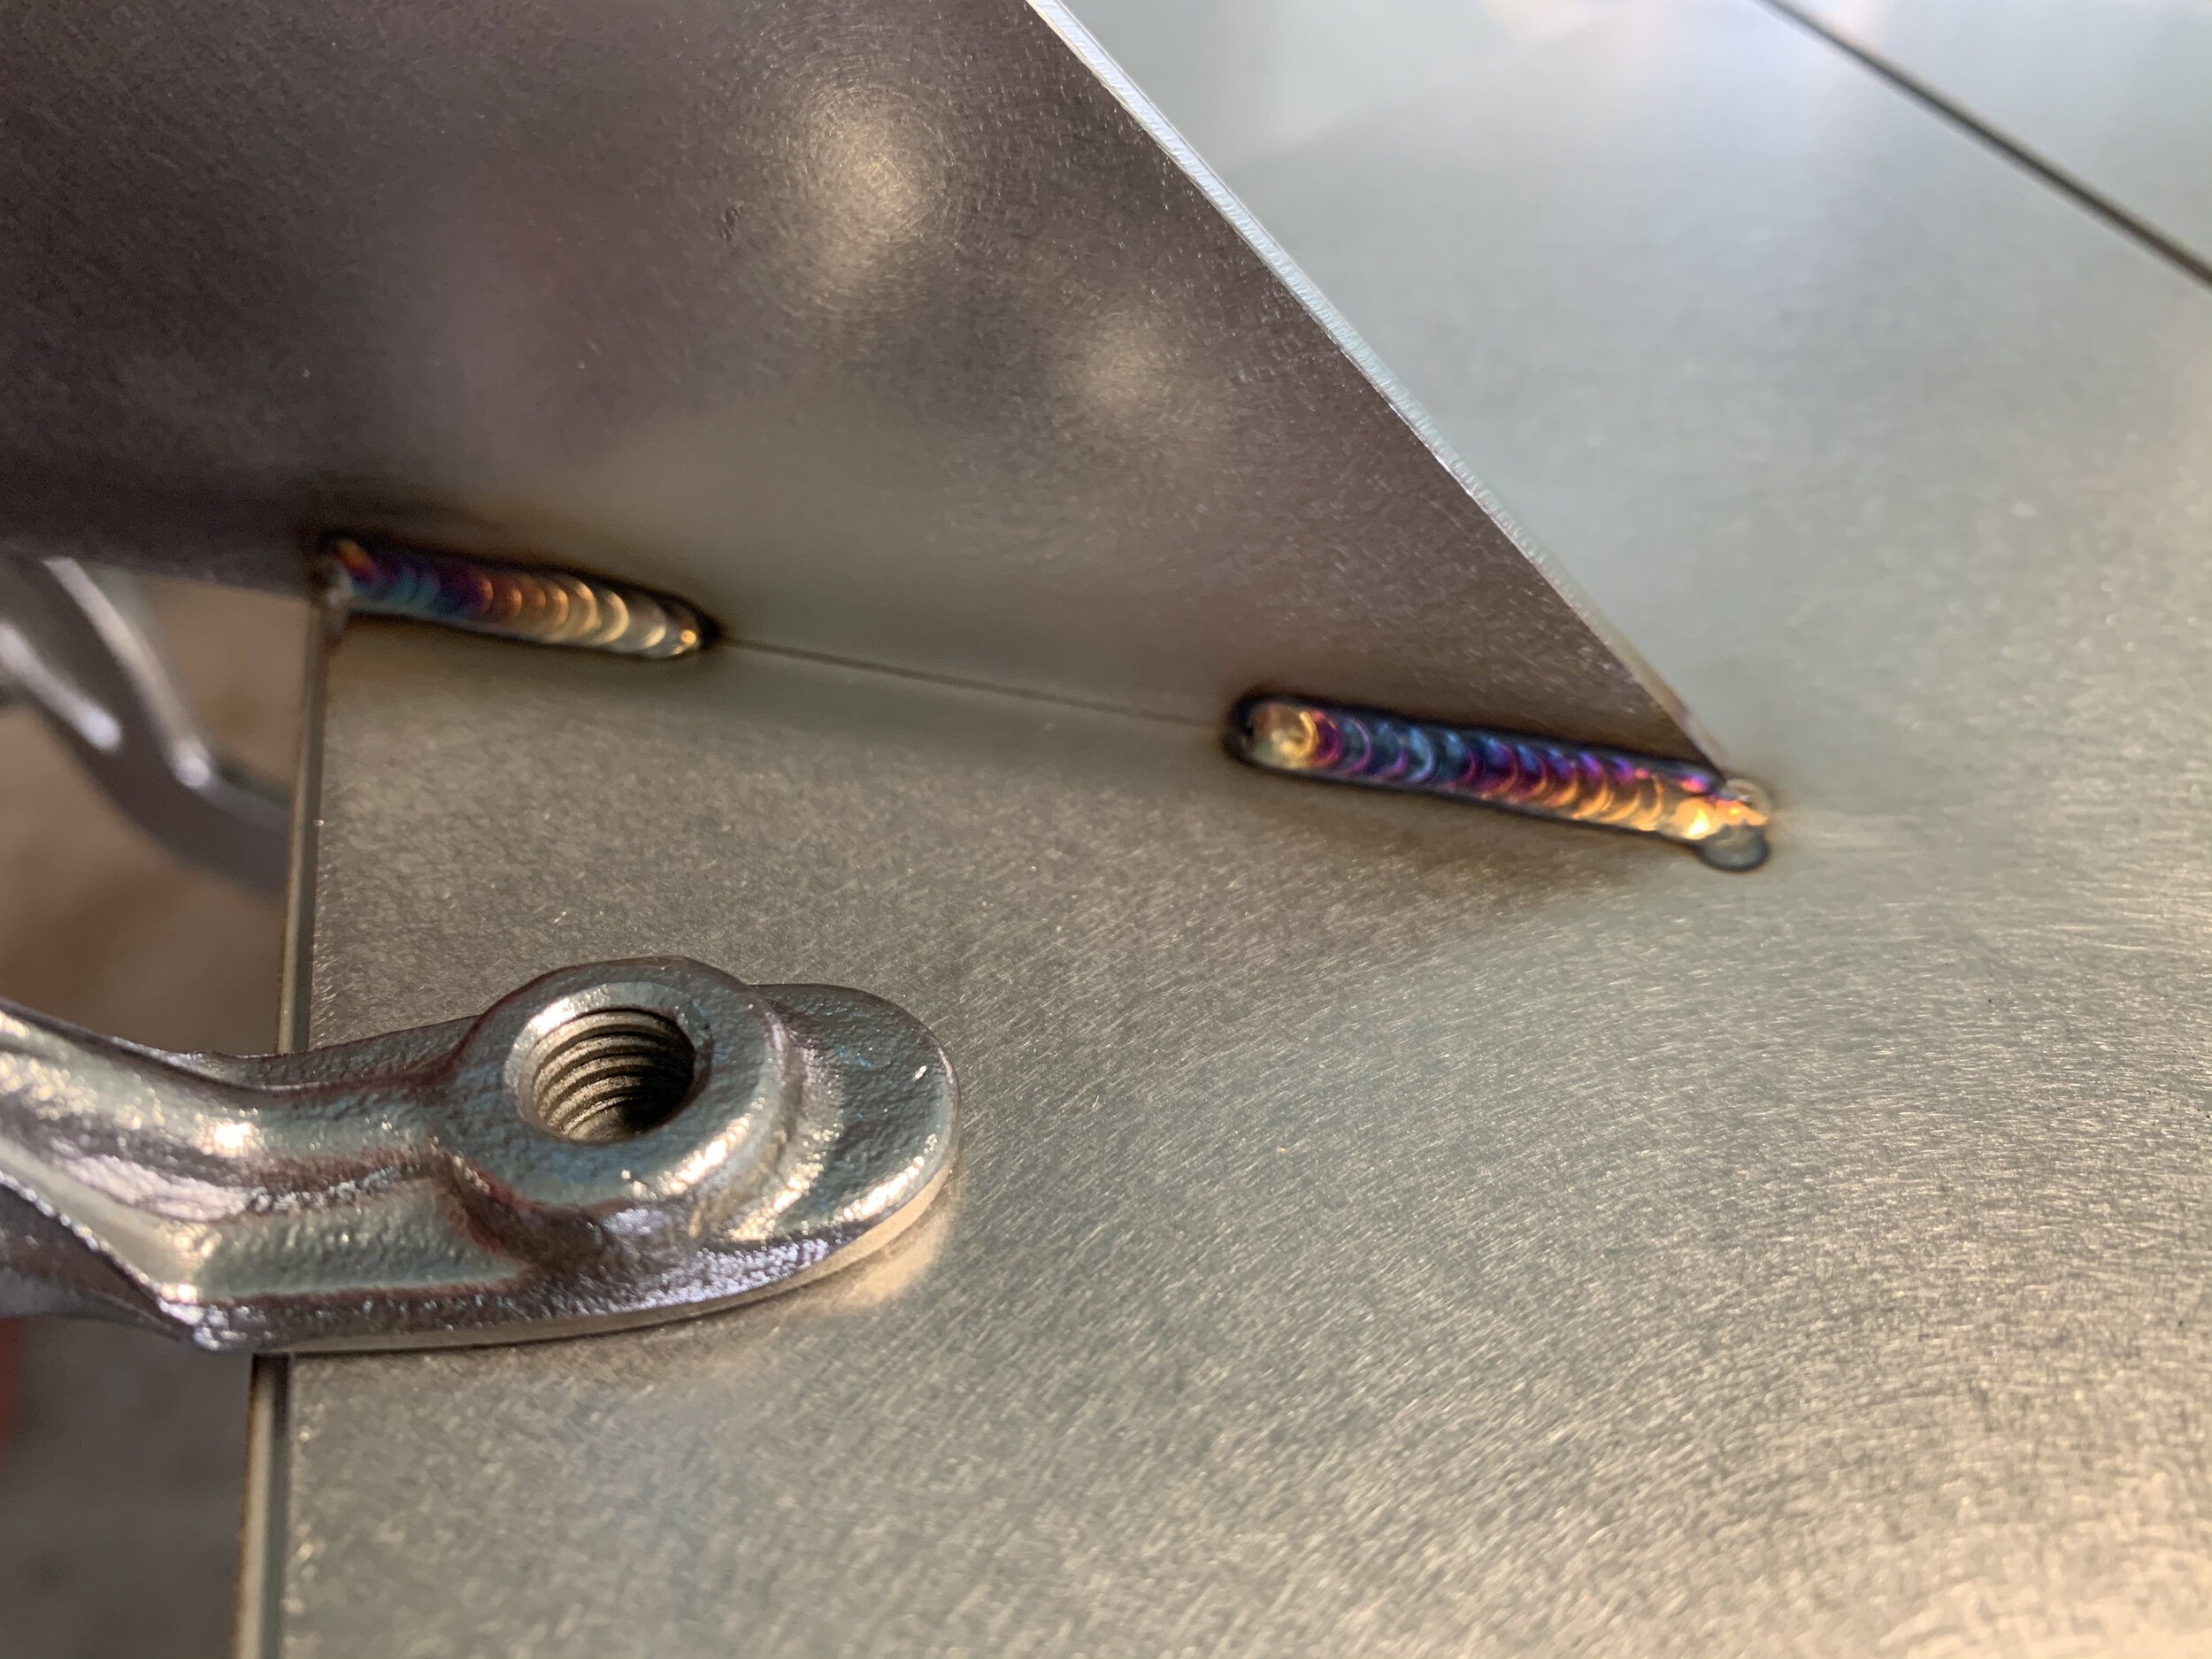
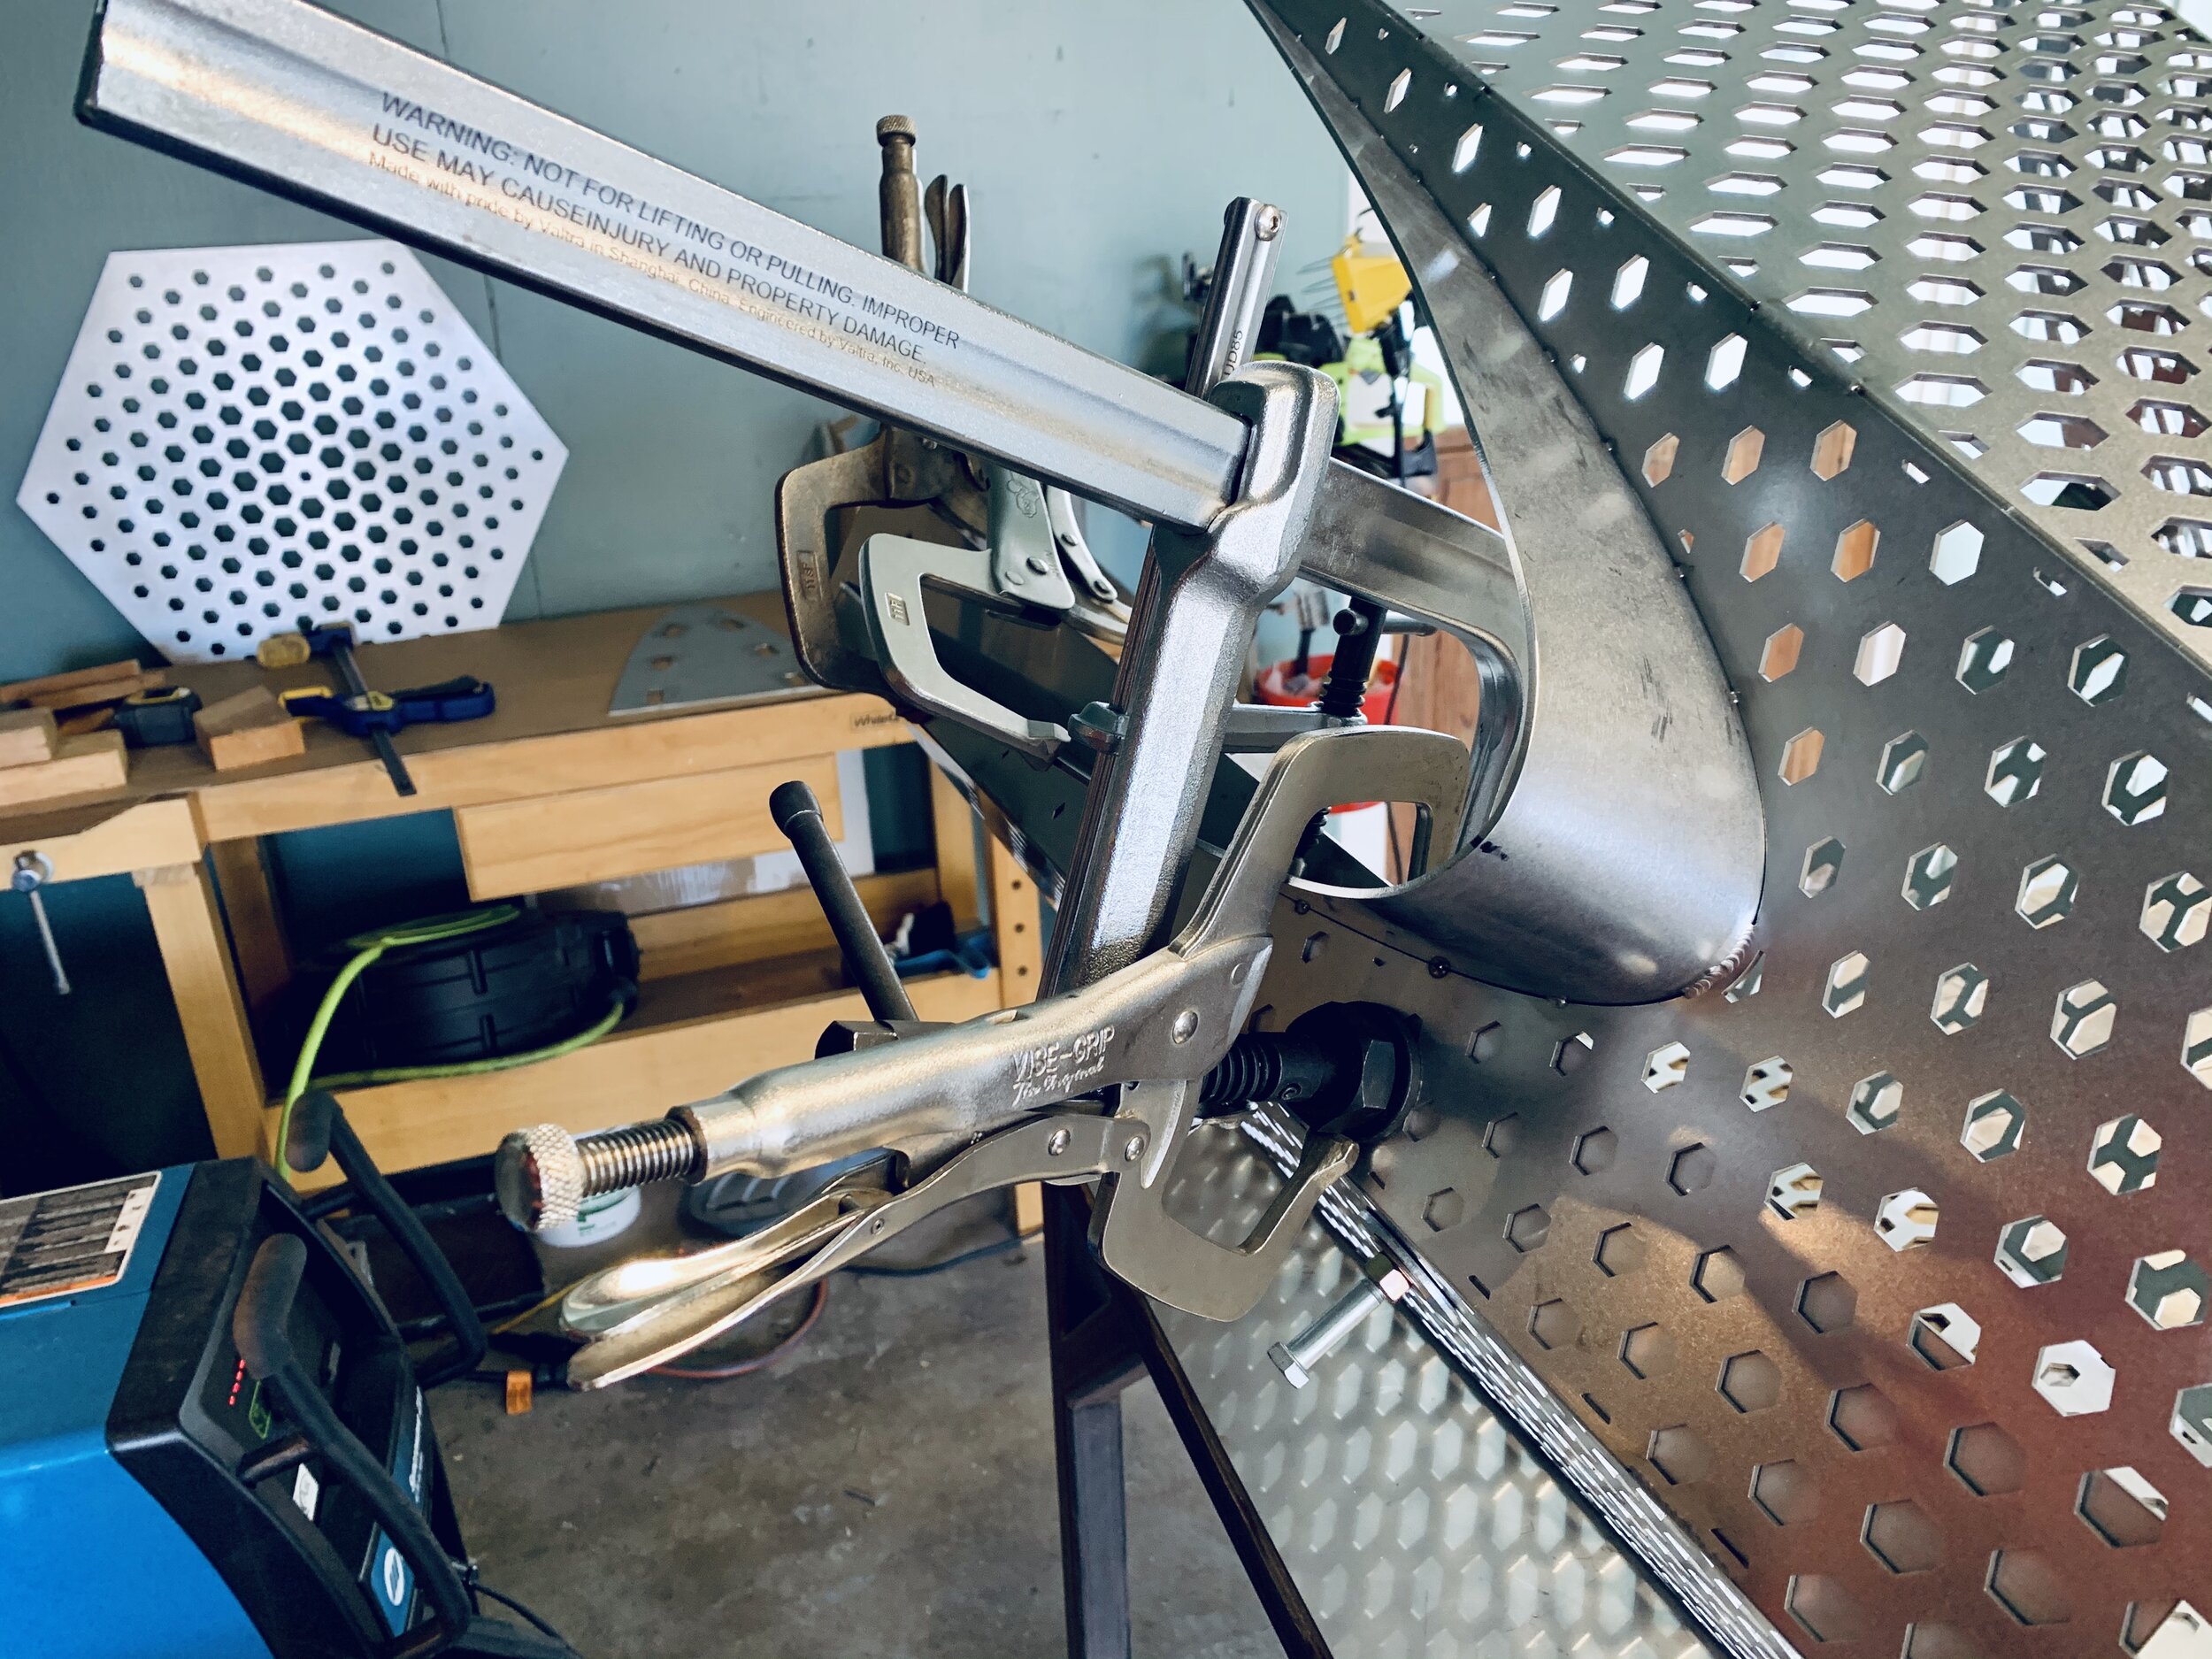
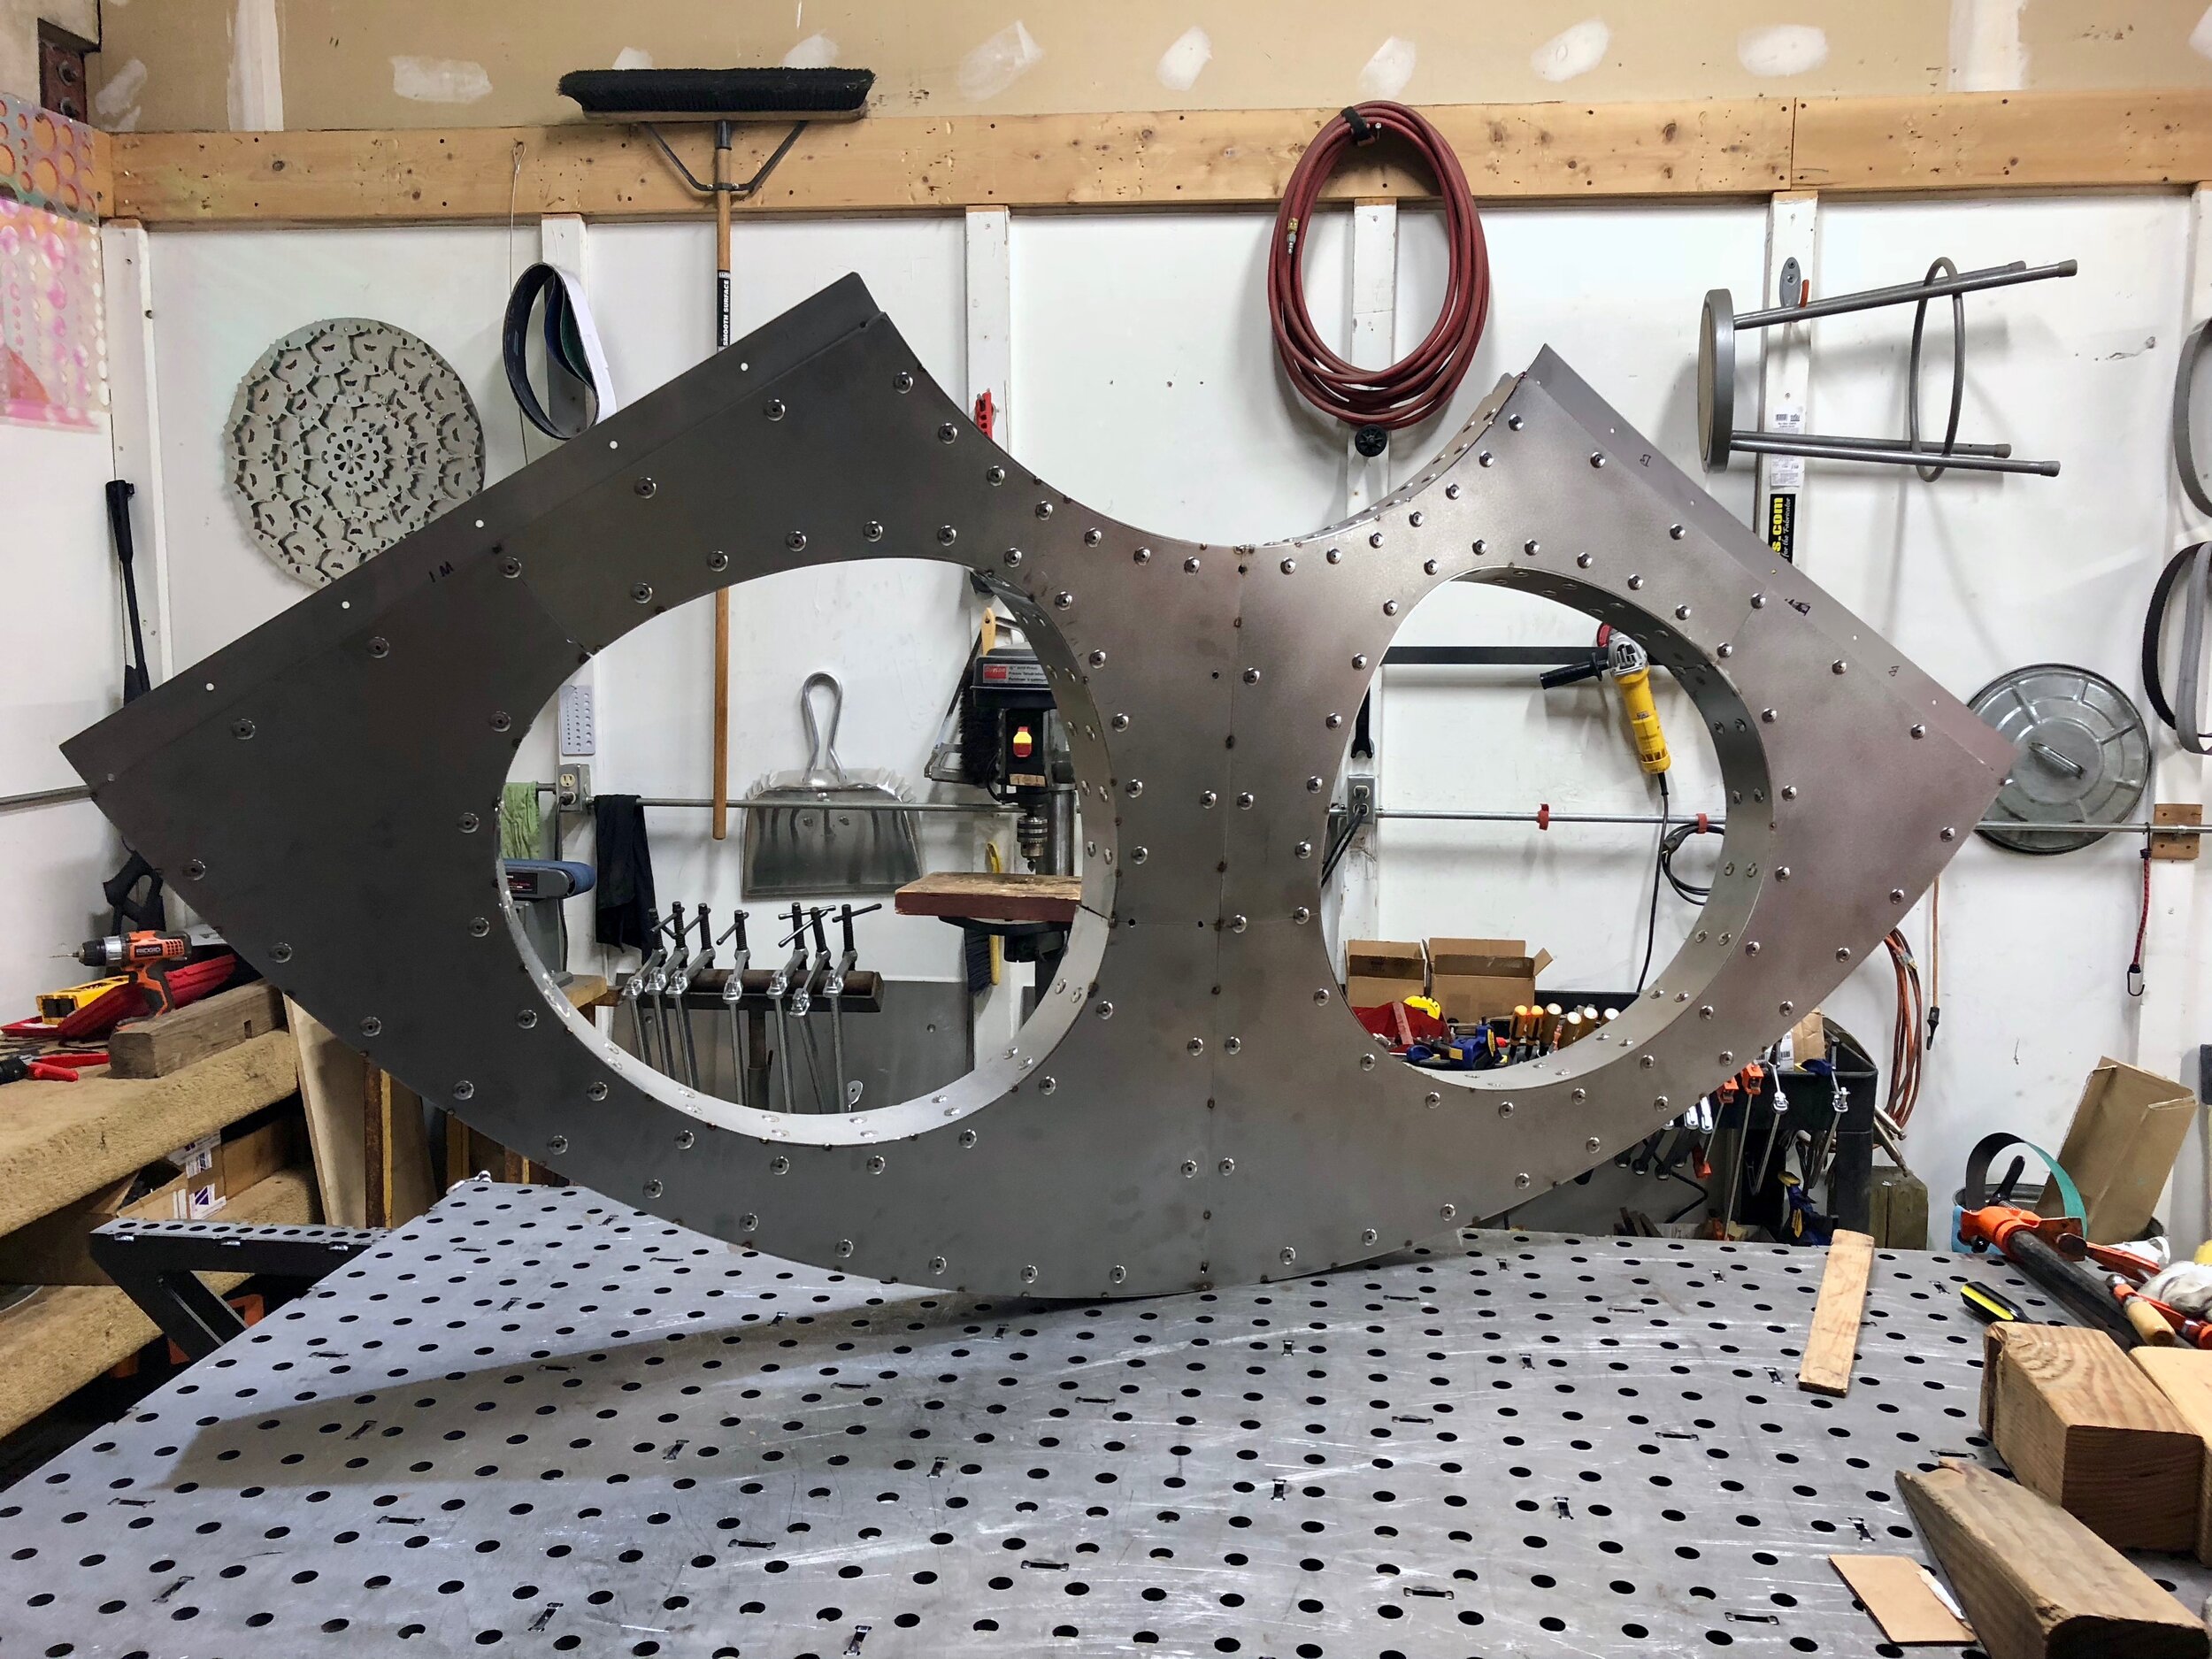
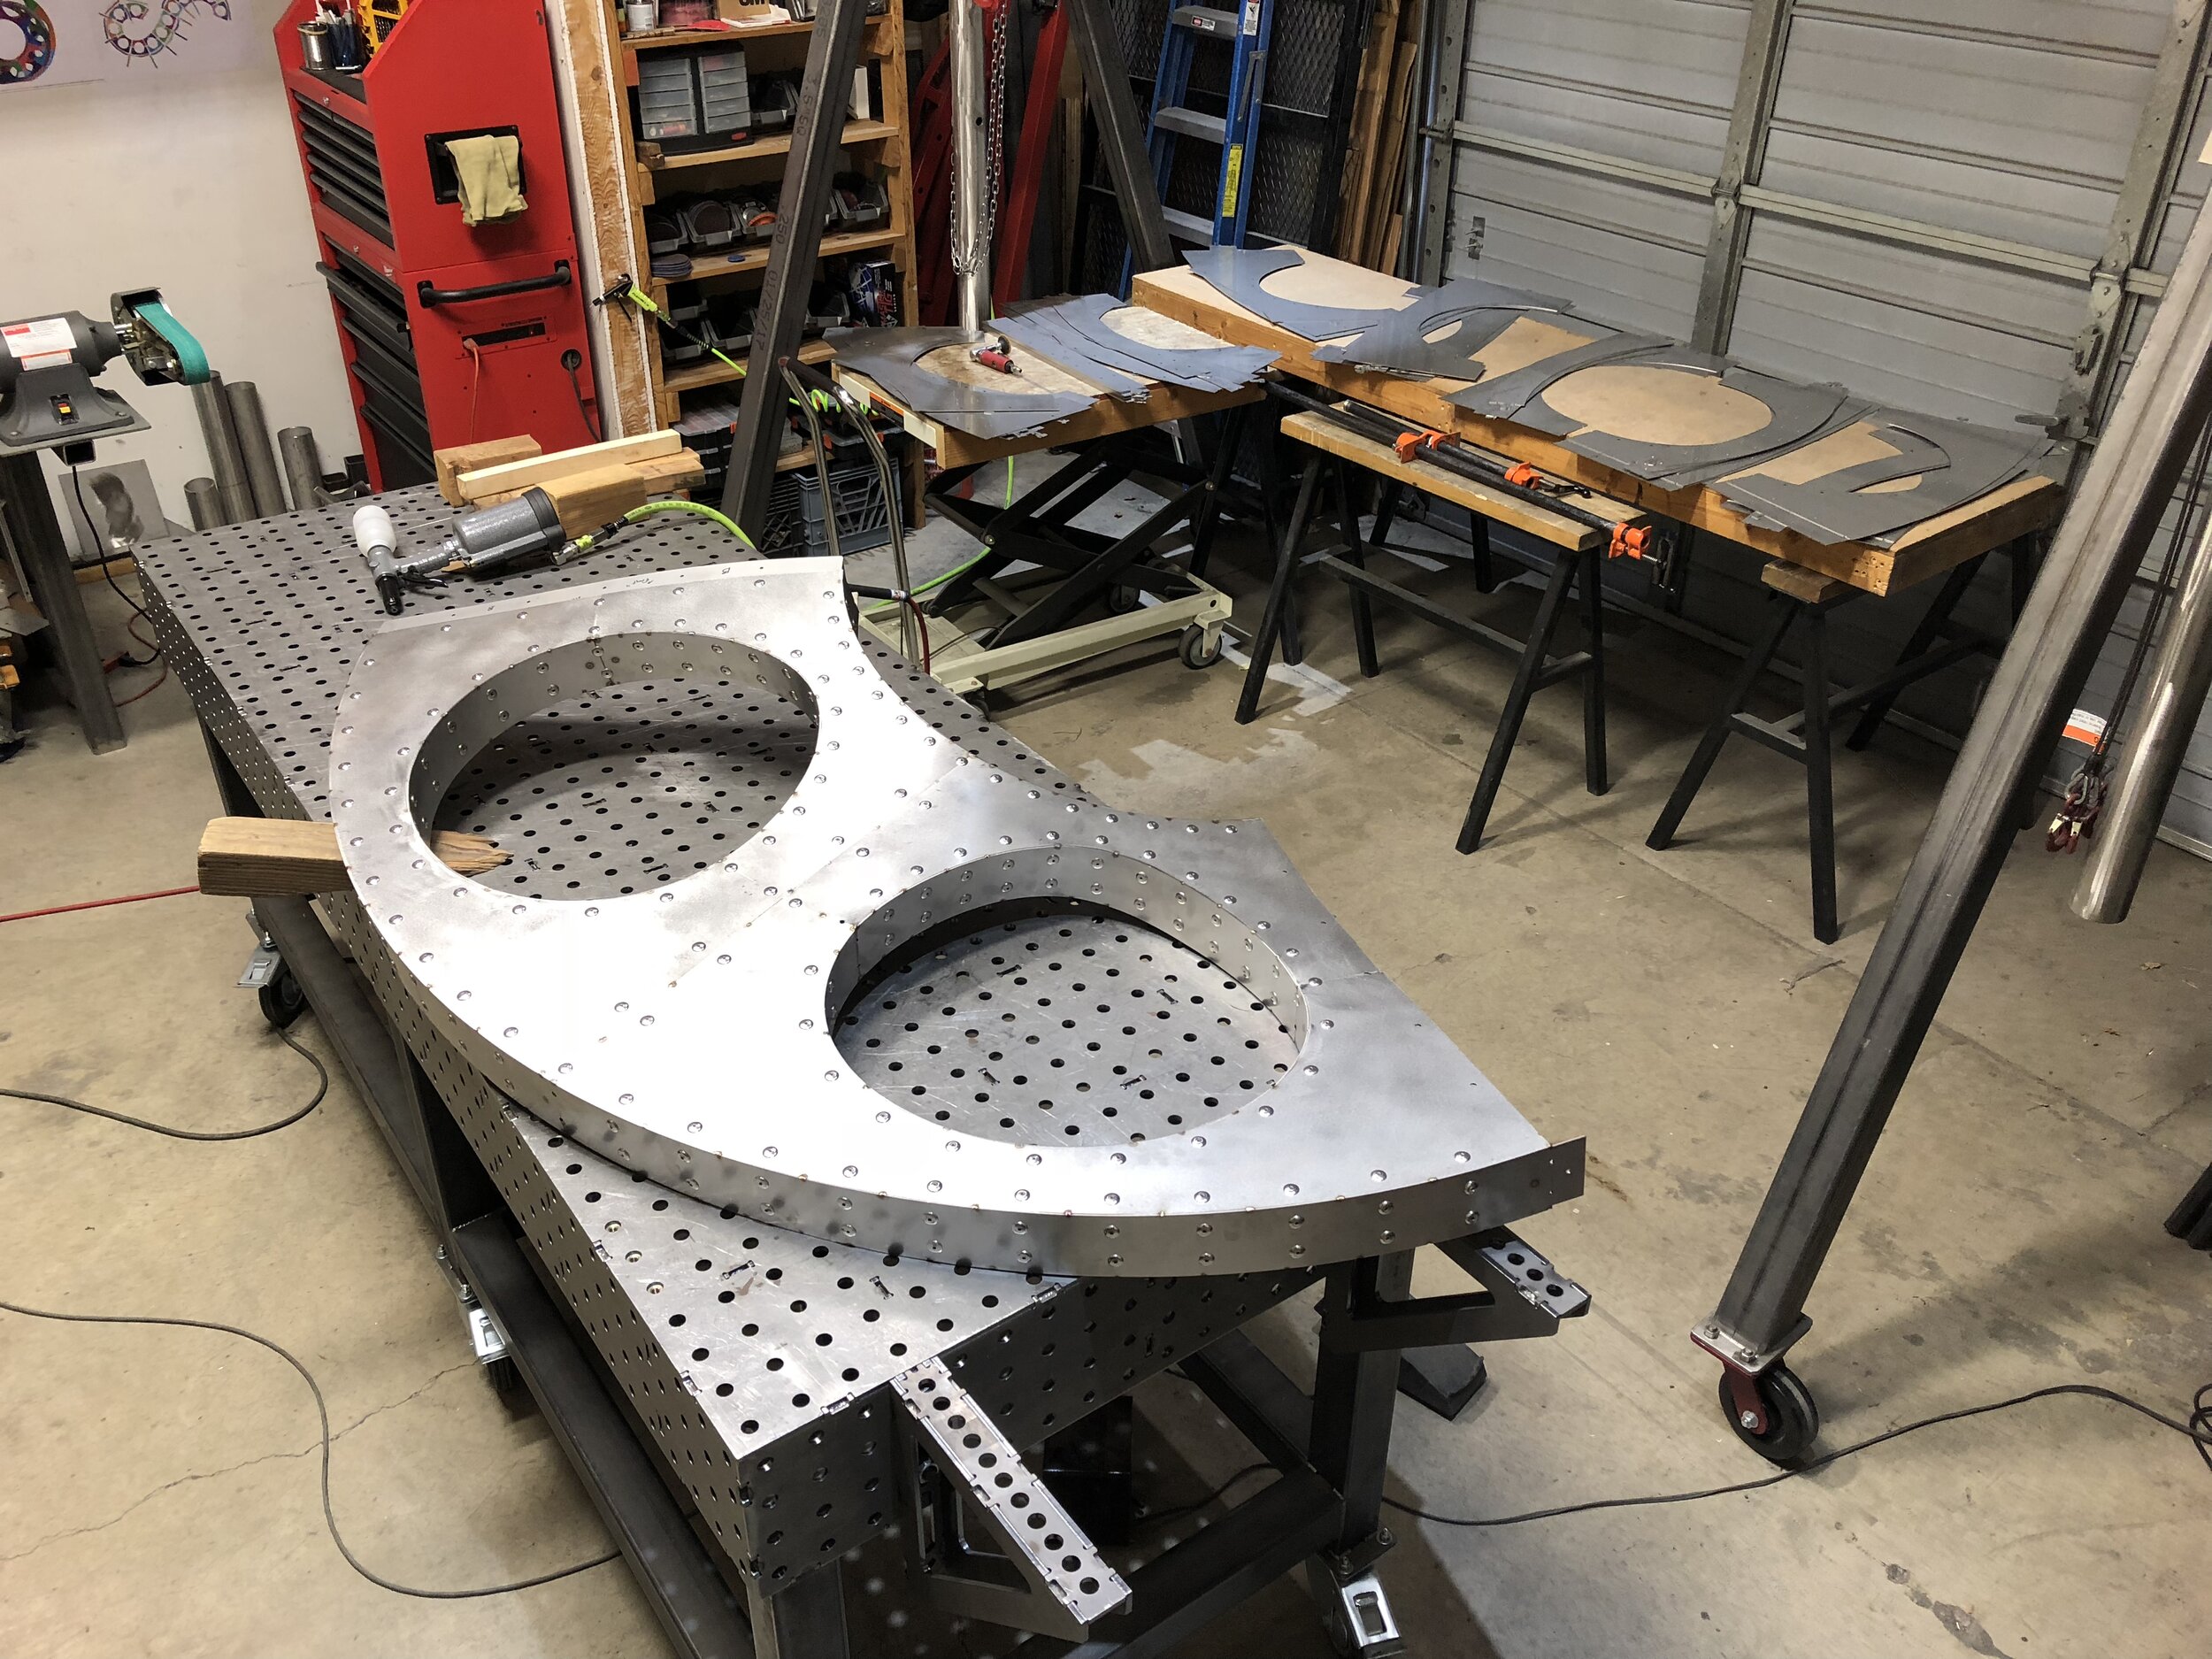
Bolting the bottoms and tacking the seams is a pretty quick, straightforward proposition.

Stitch welding the seams - an inch of weld, skip 3 inches, then another inch of weld. Lowers the amount of heat applied while allowing a bit of flexible relief for the strain of the heating/cooling cycle.

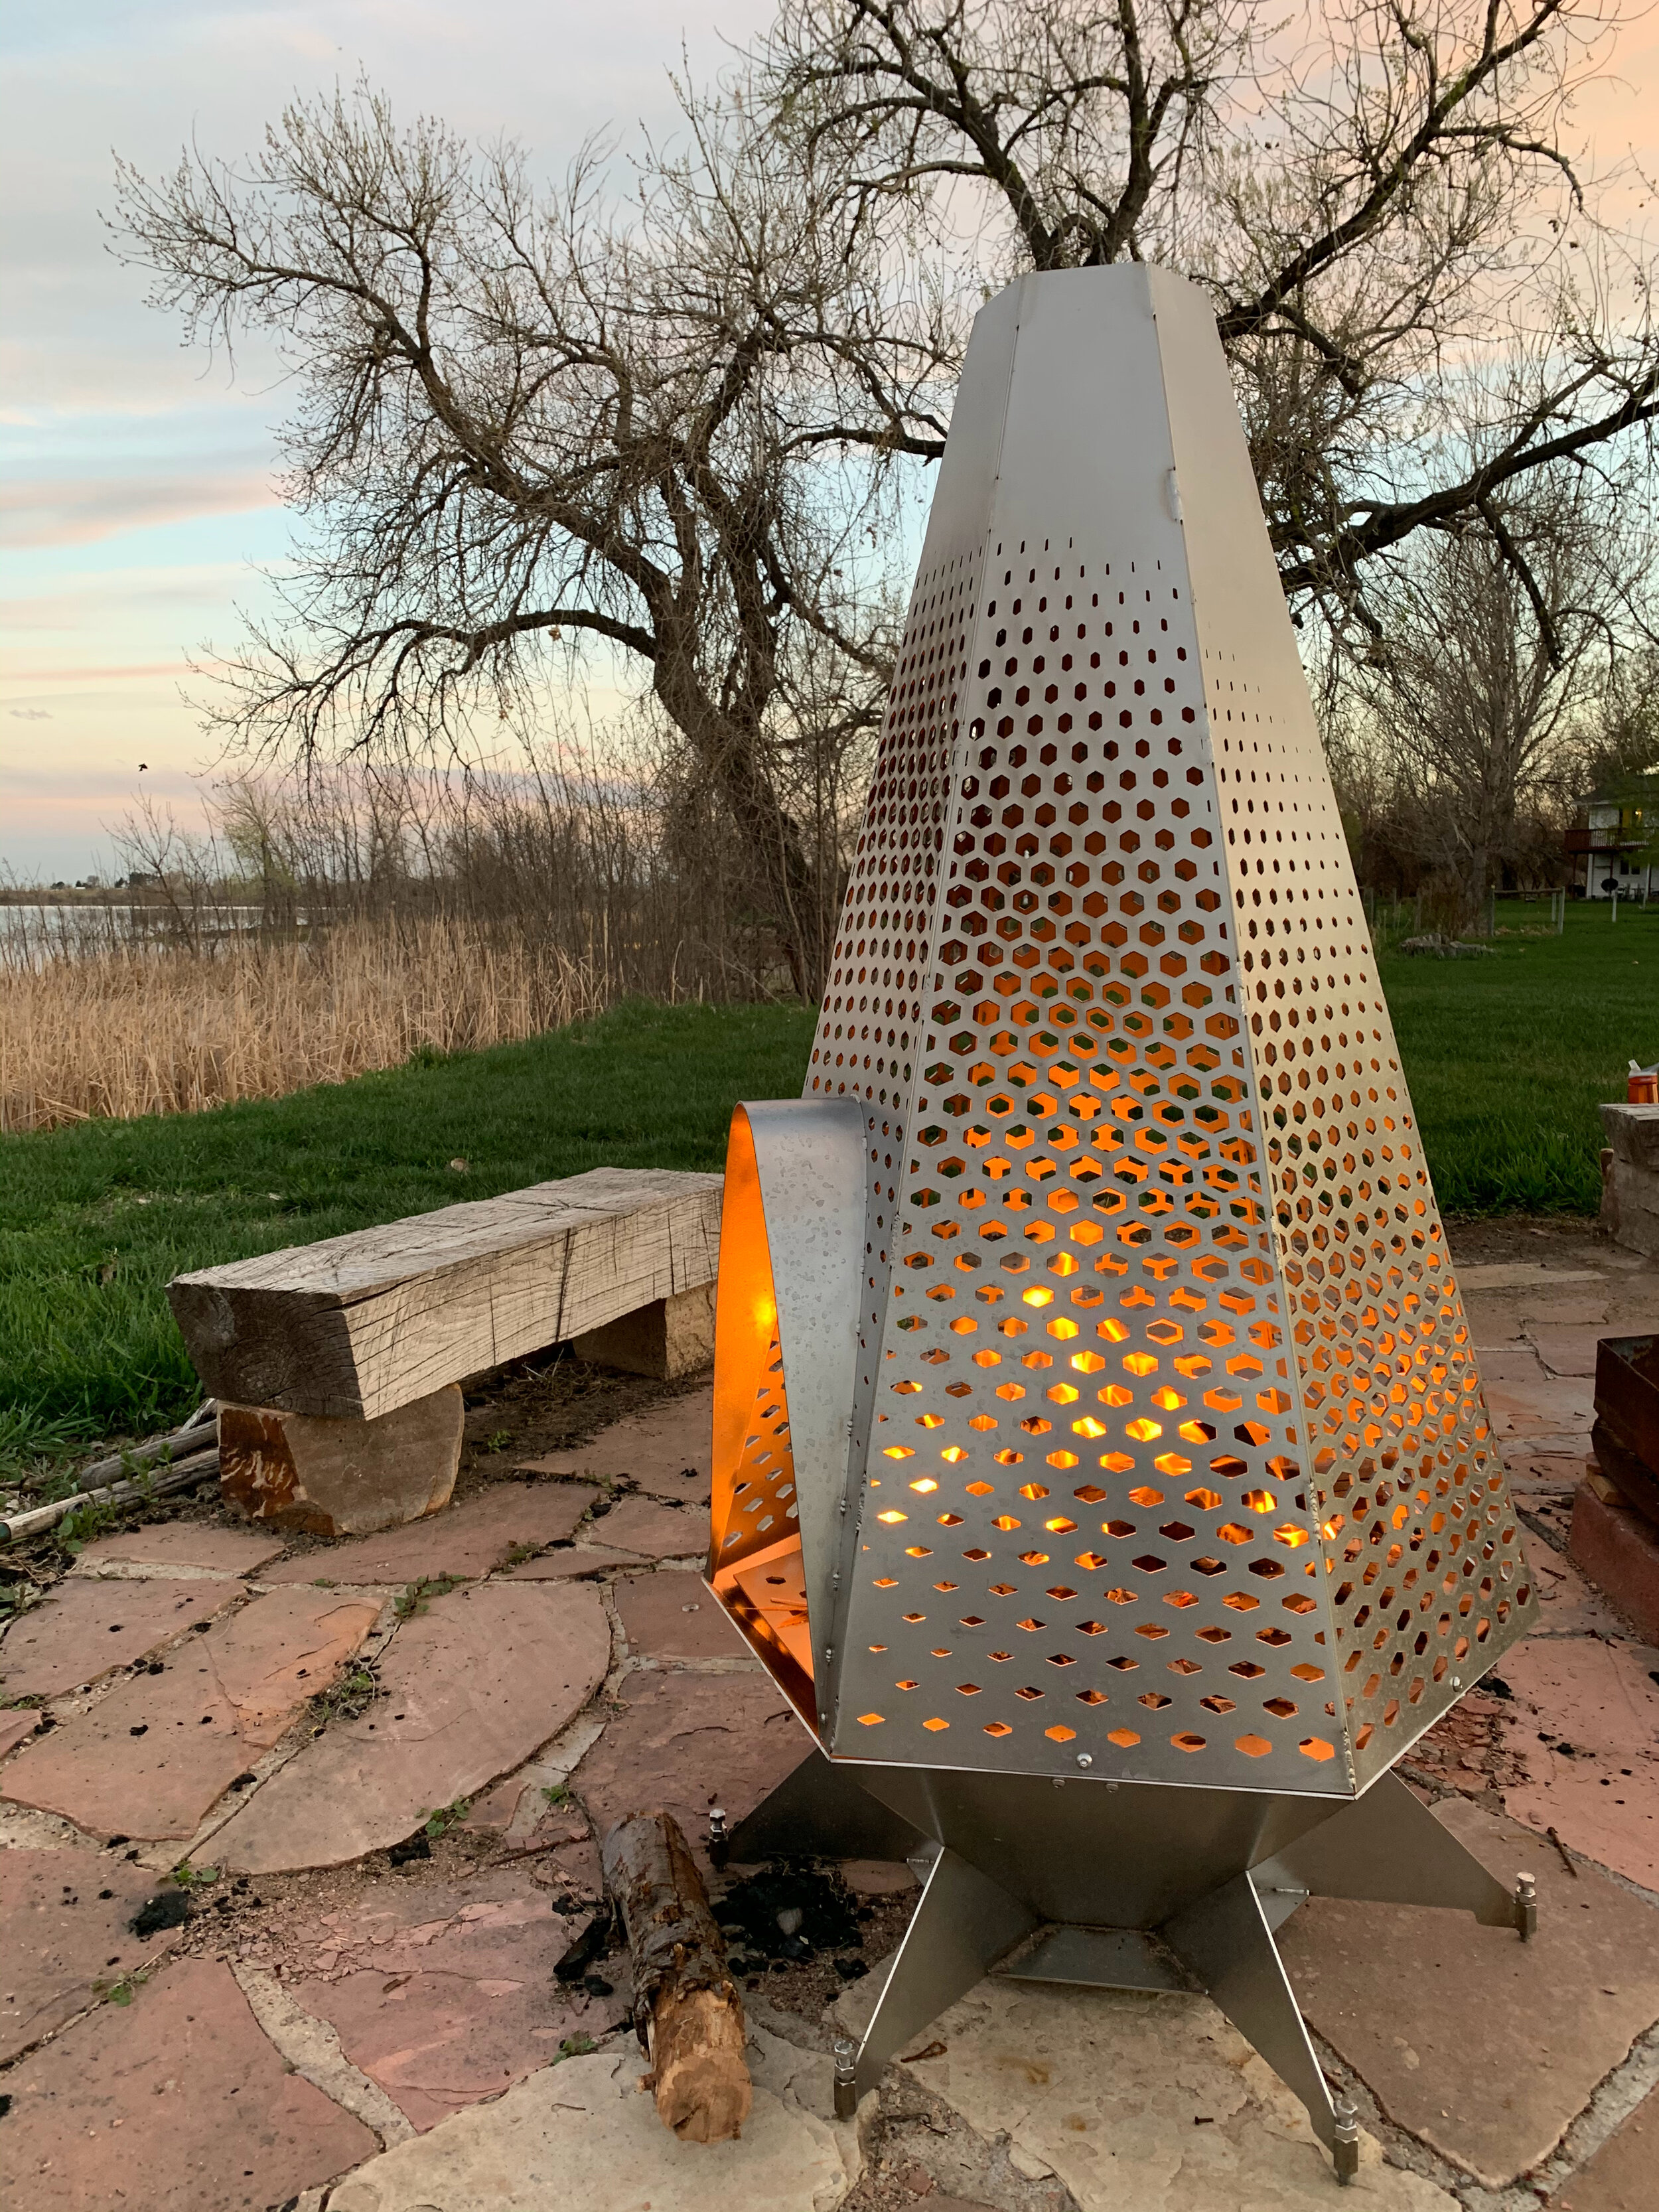
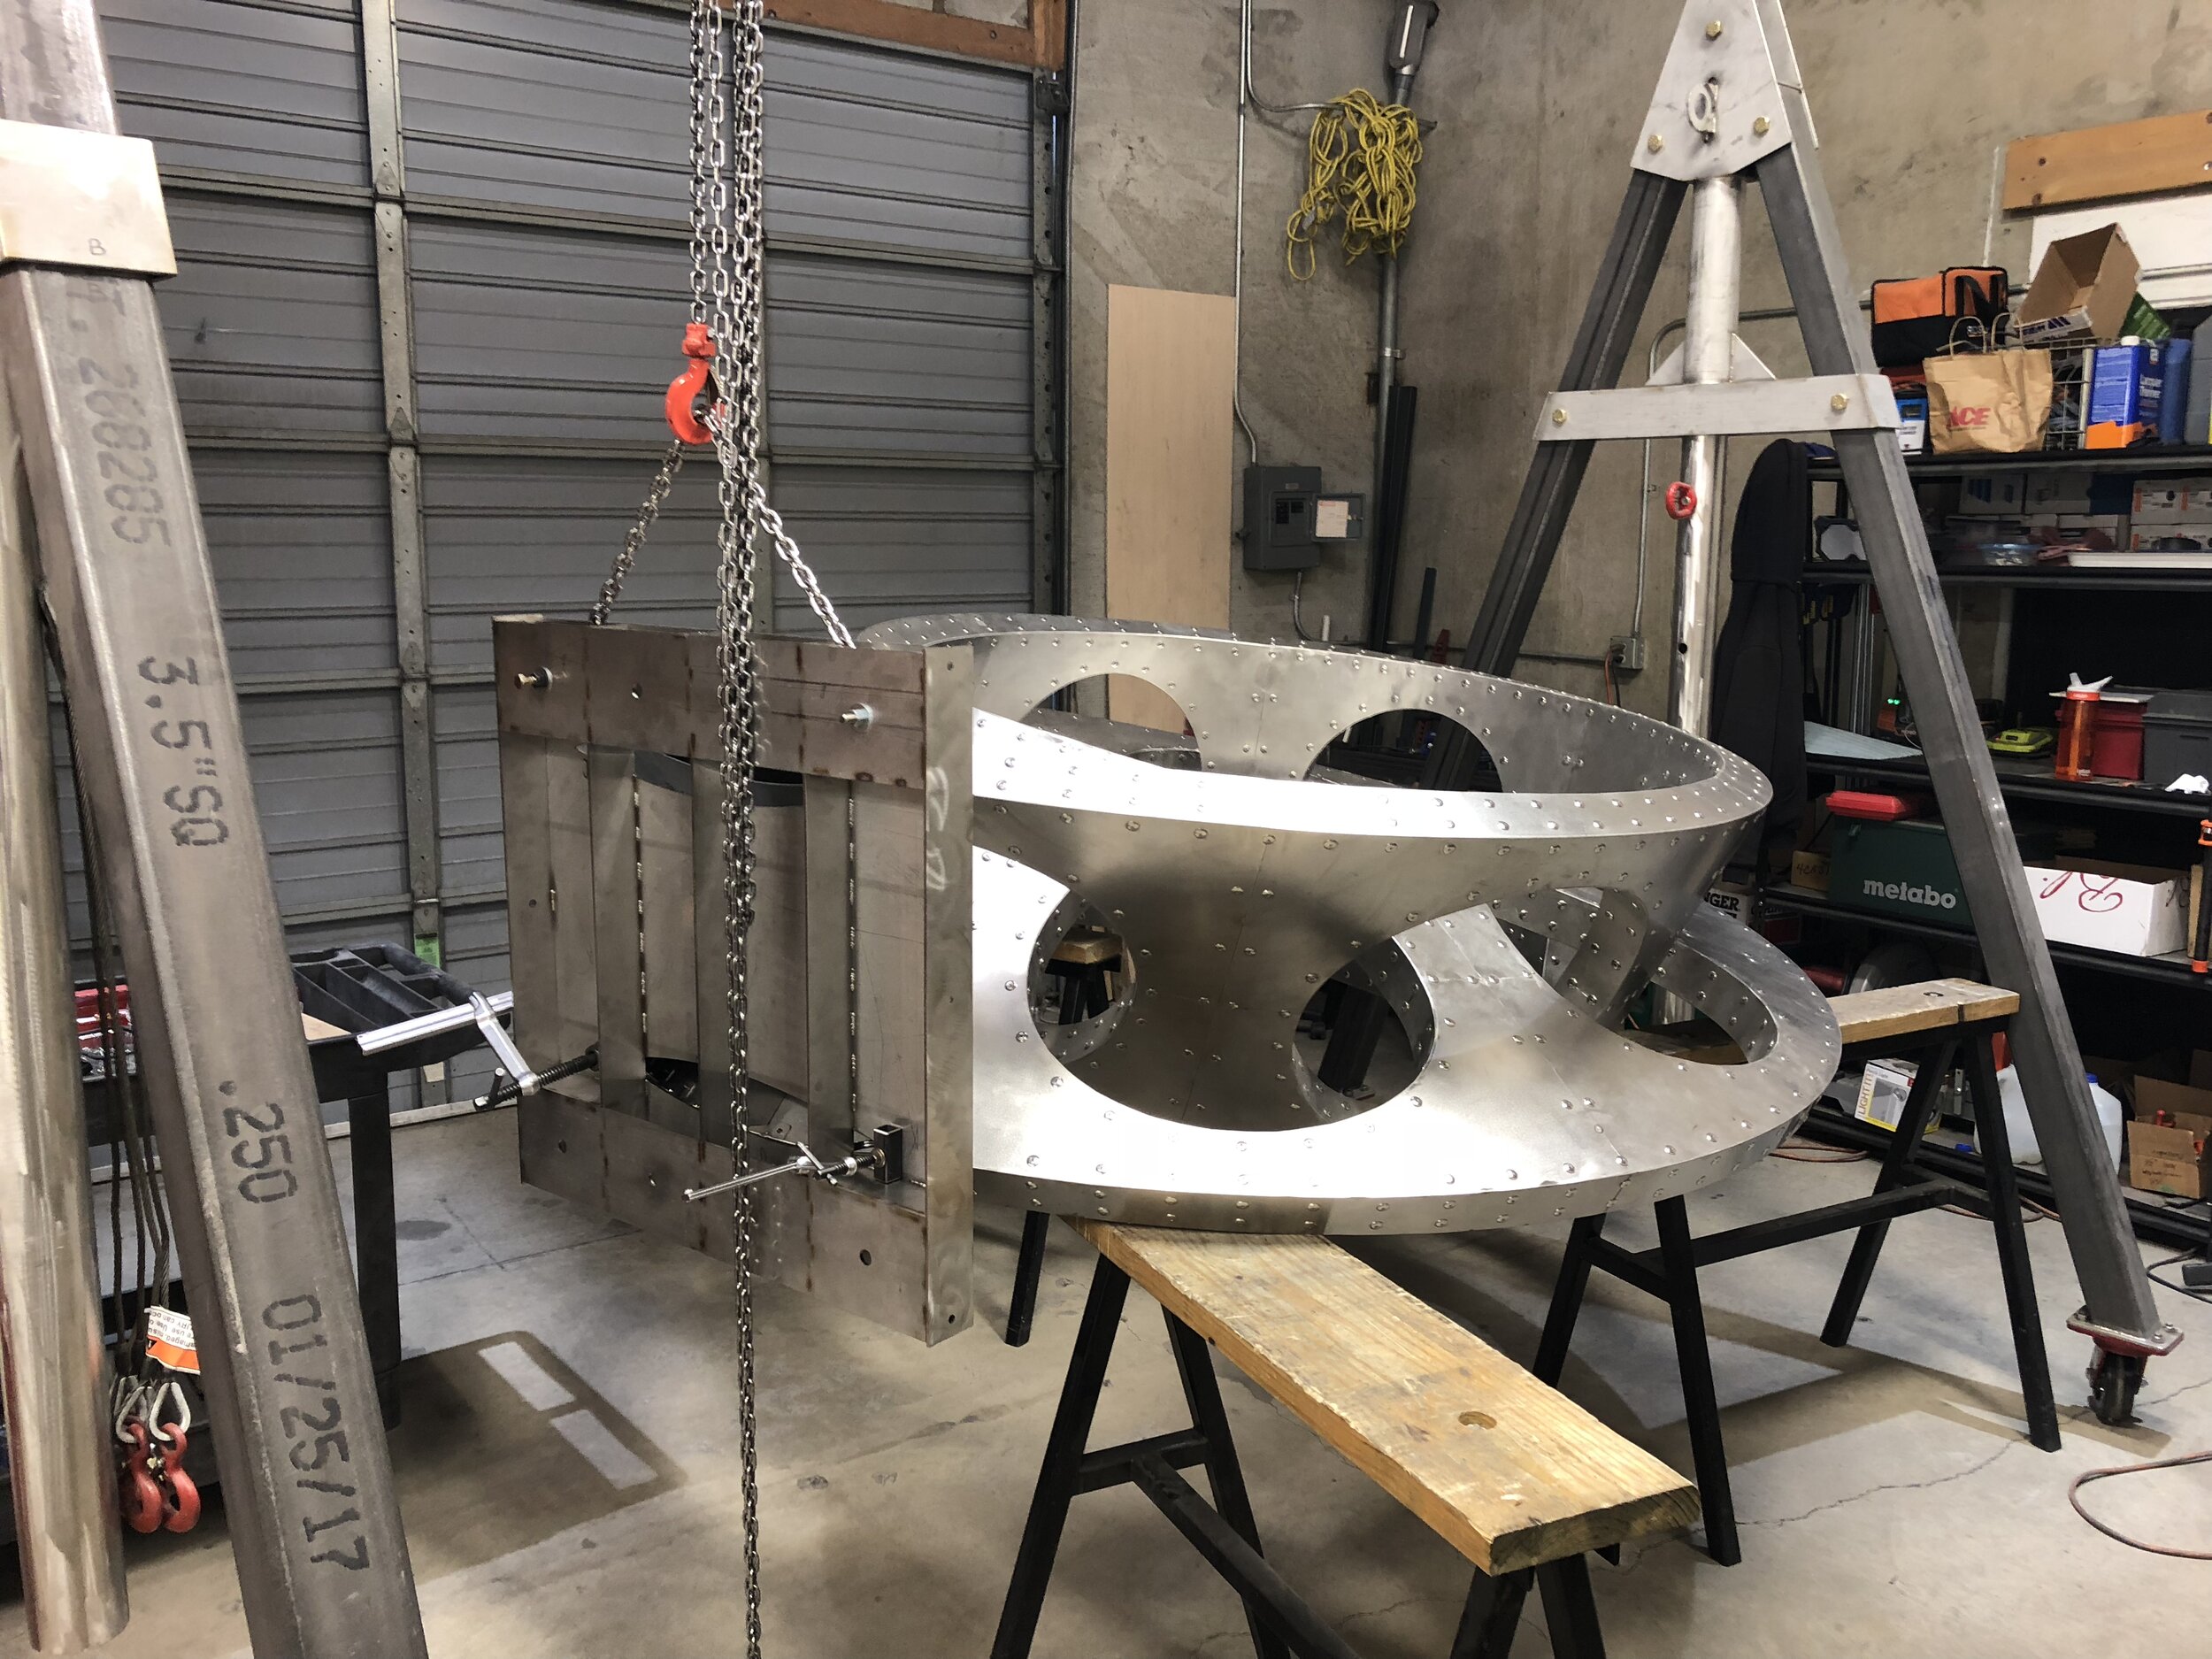
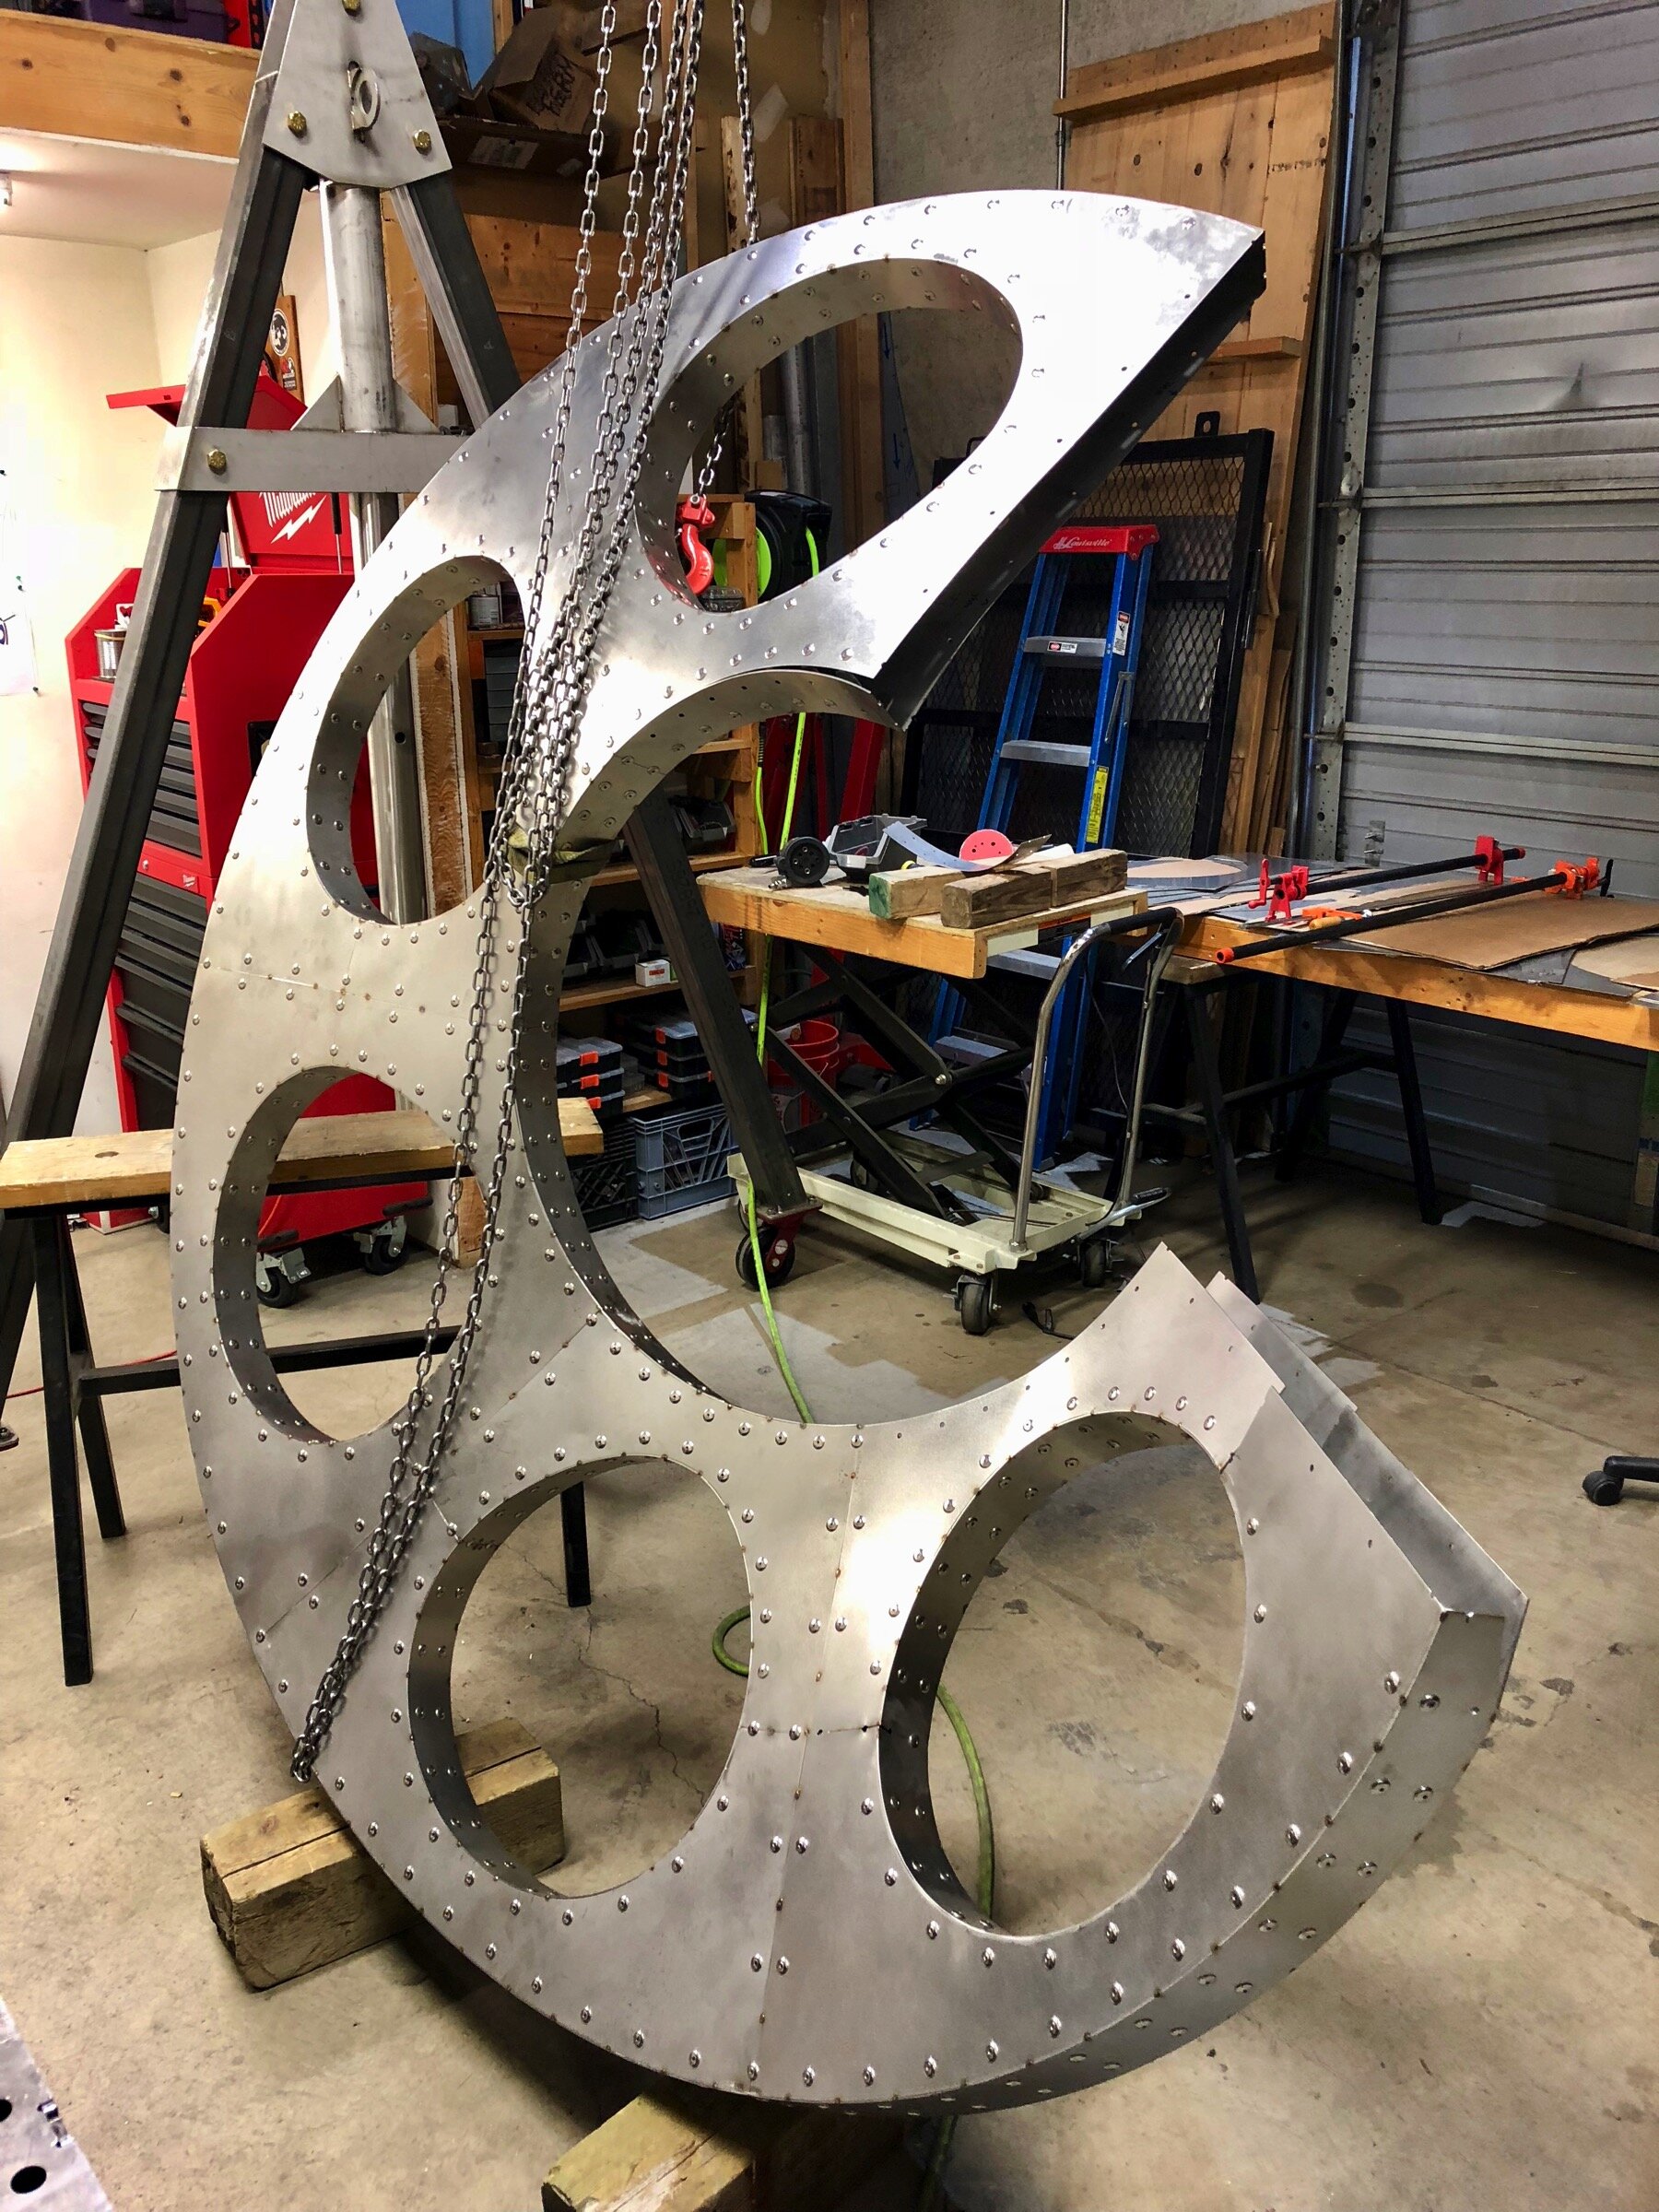
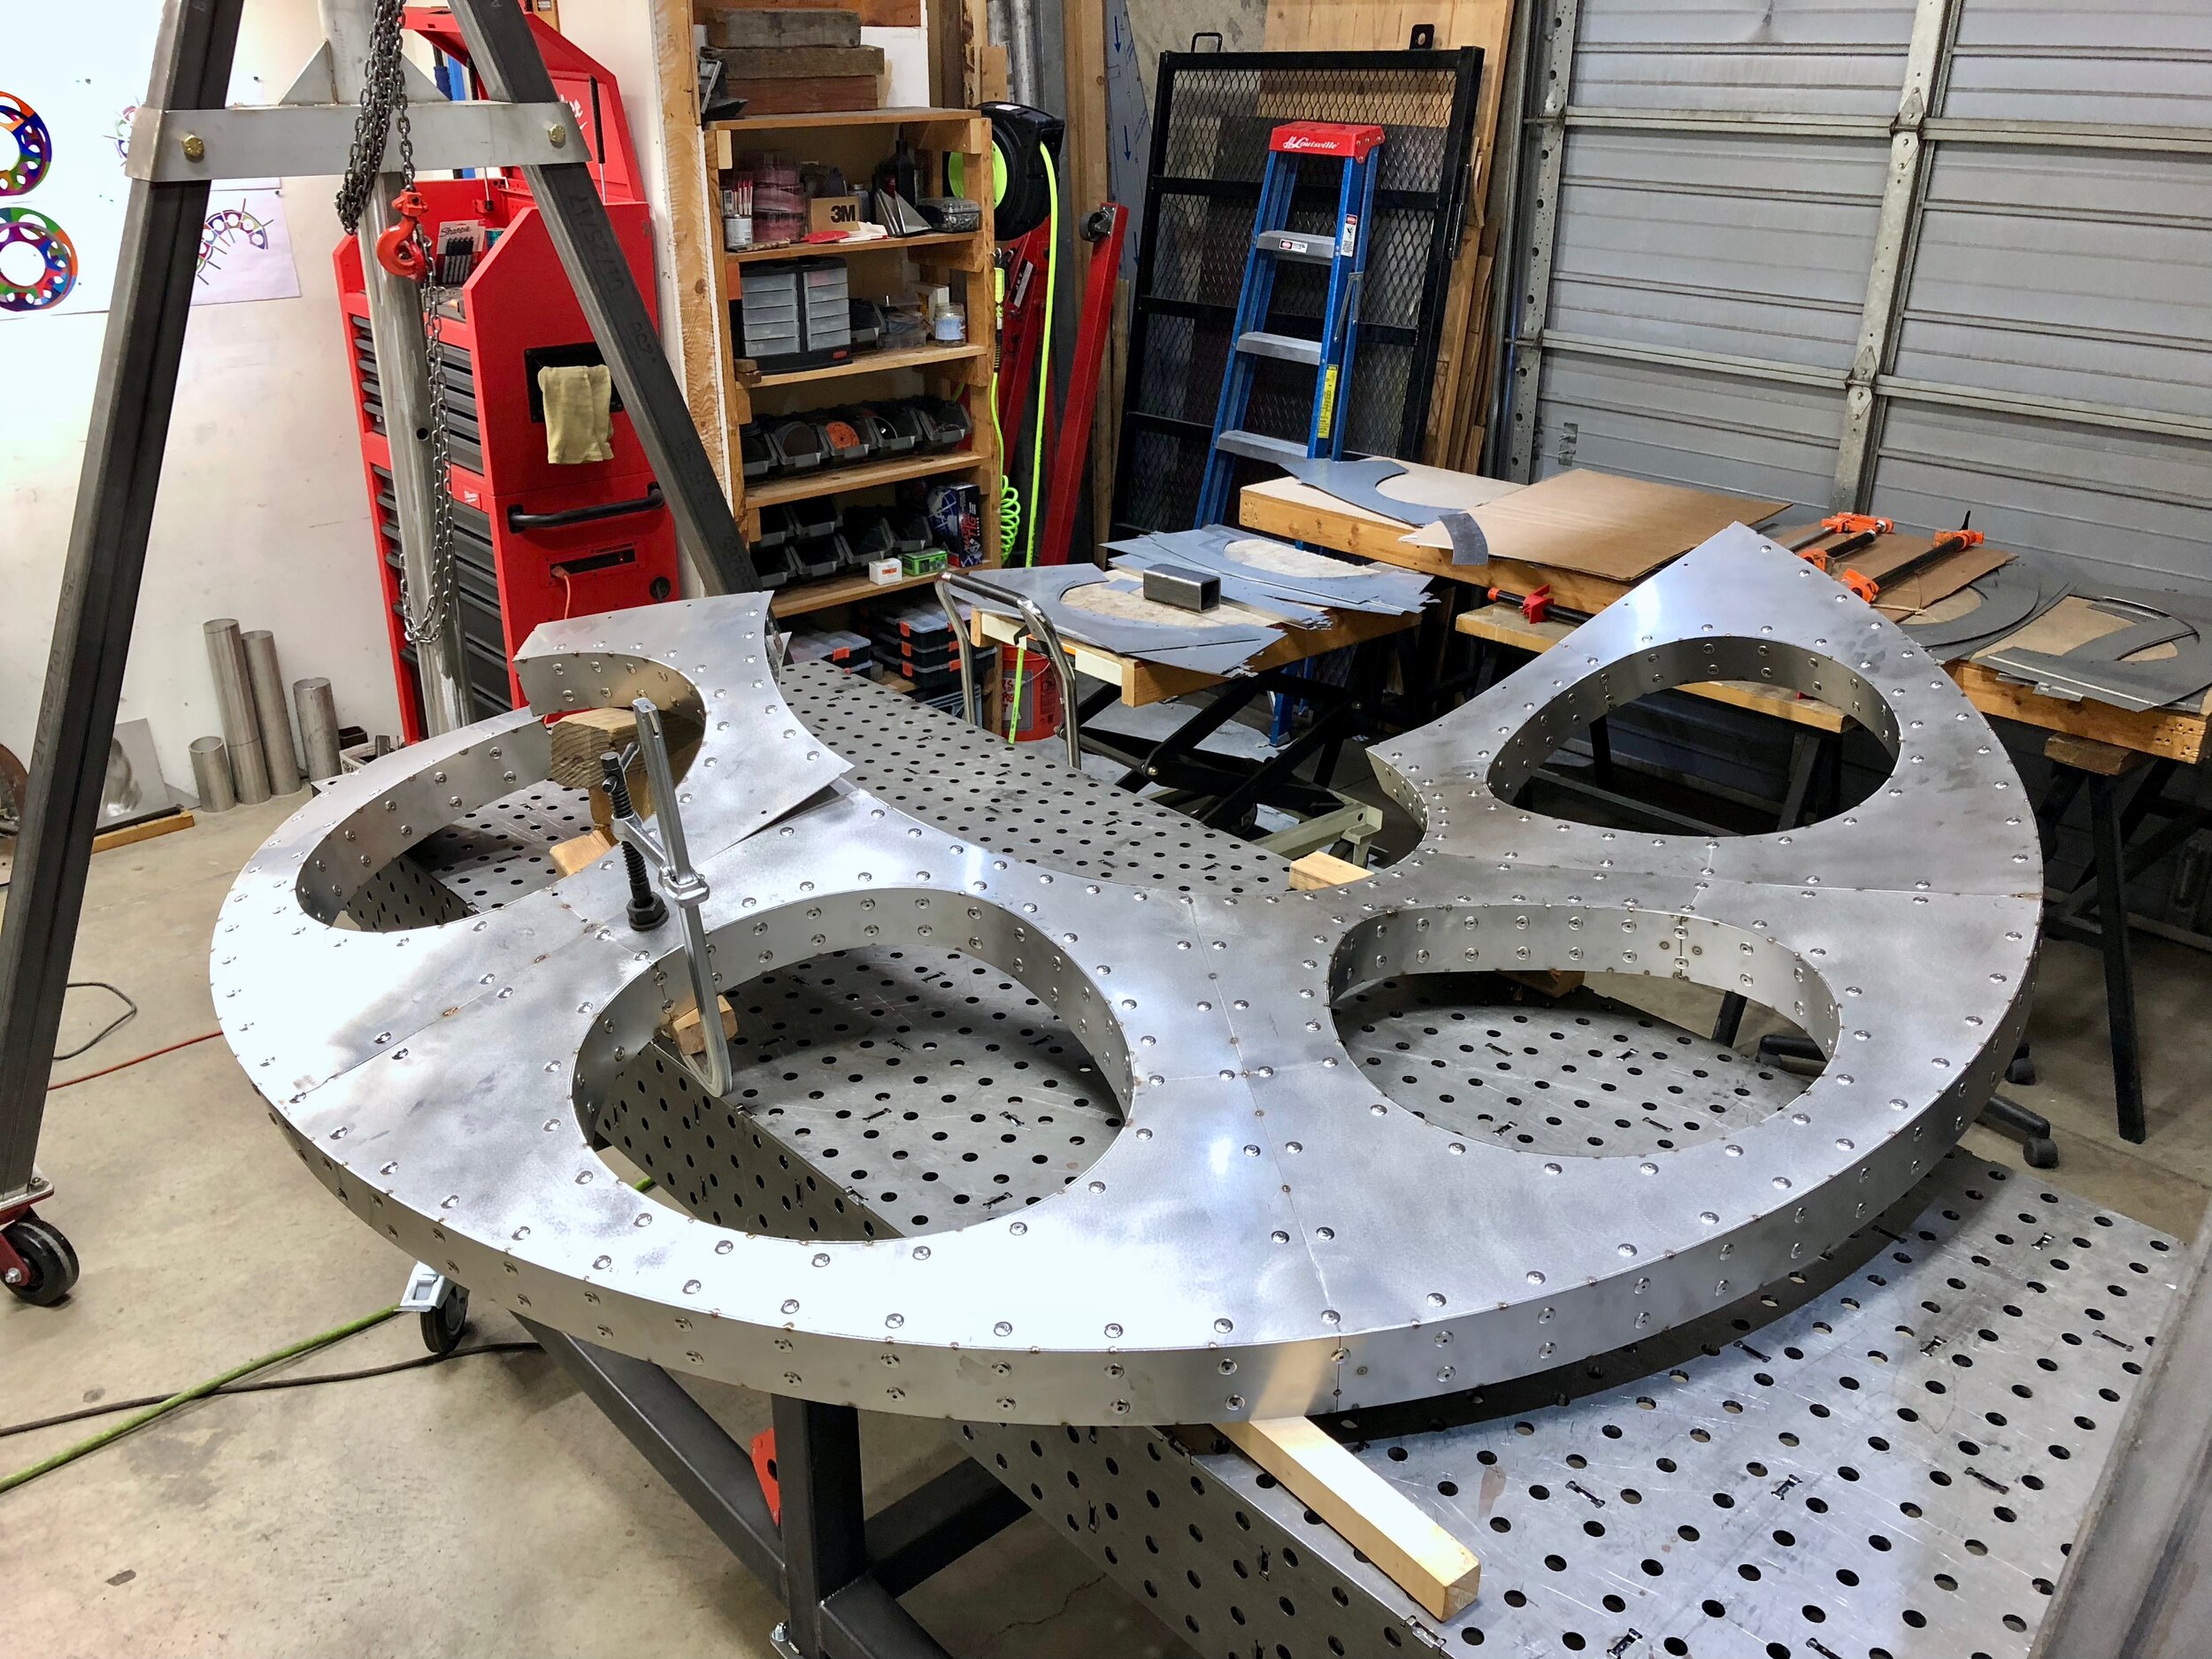
On to the hardest part fo the whole process: the “eyebrow” over the fire door. All the other parts are just welded together in their flat state; the is one needs to formed into a curve. Hydraulics to the rescue!

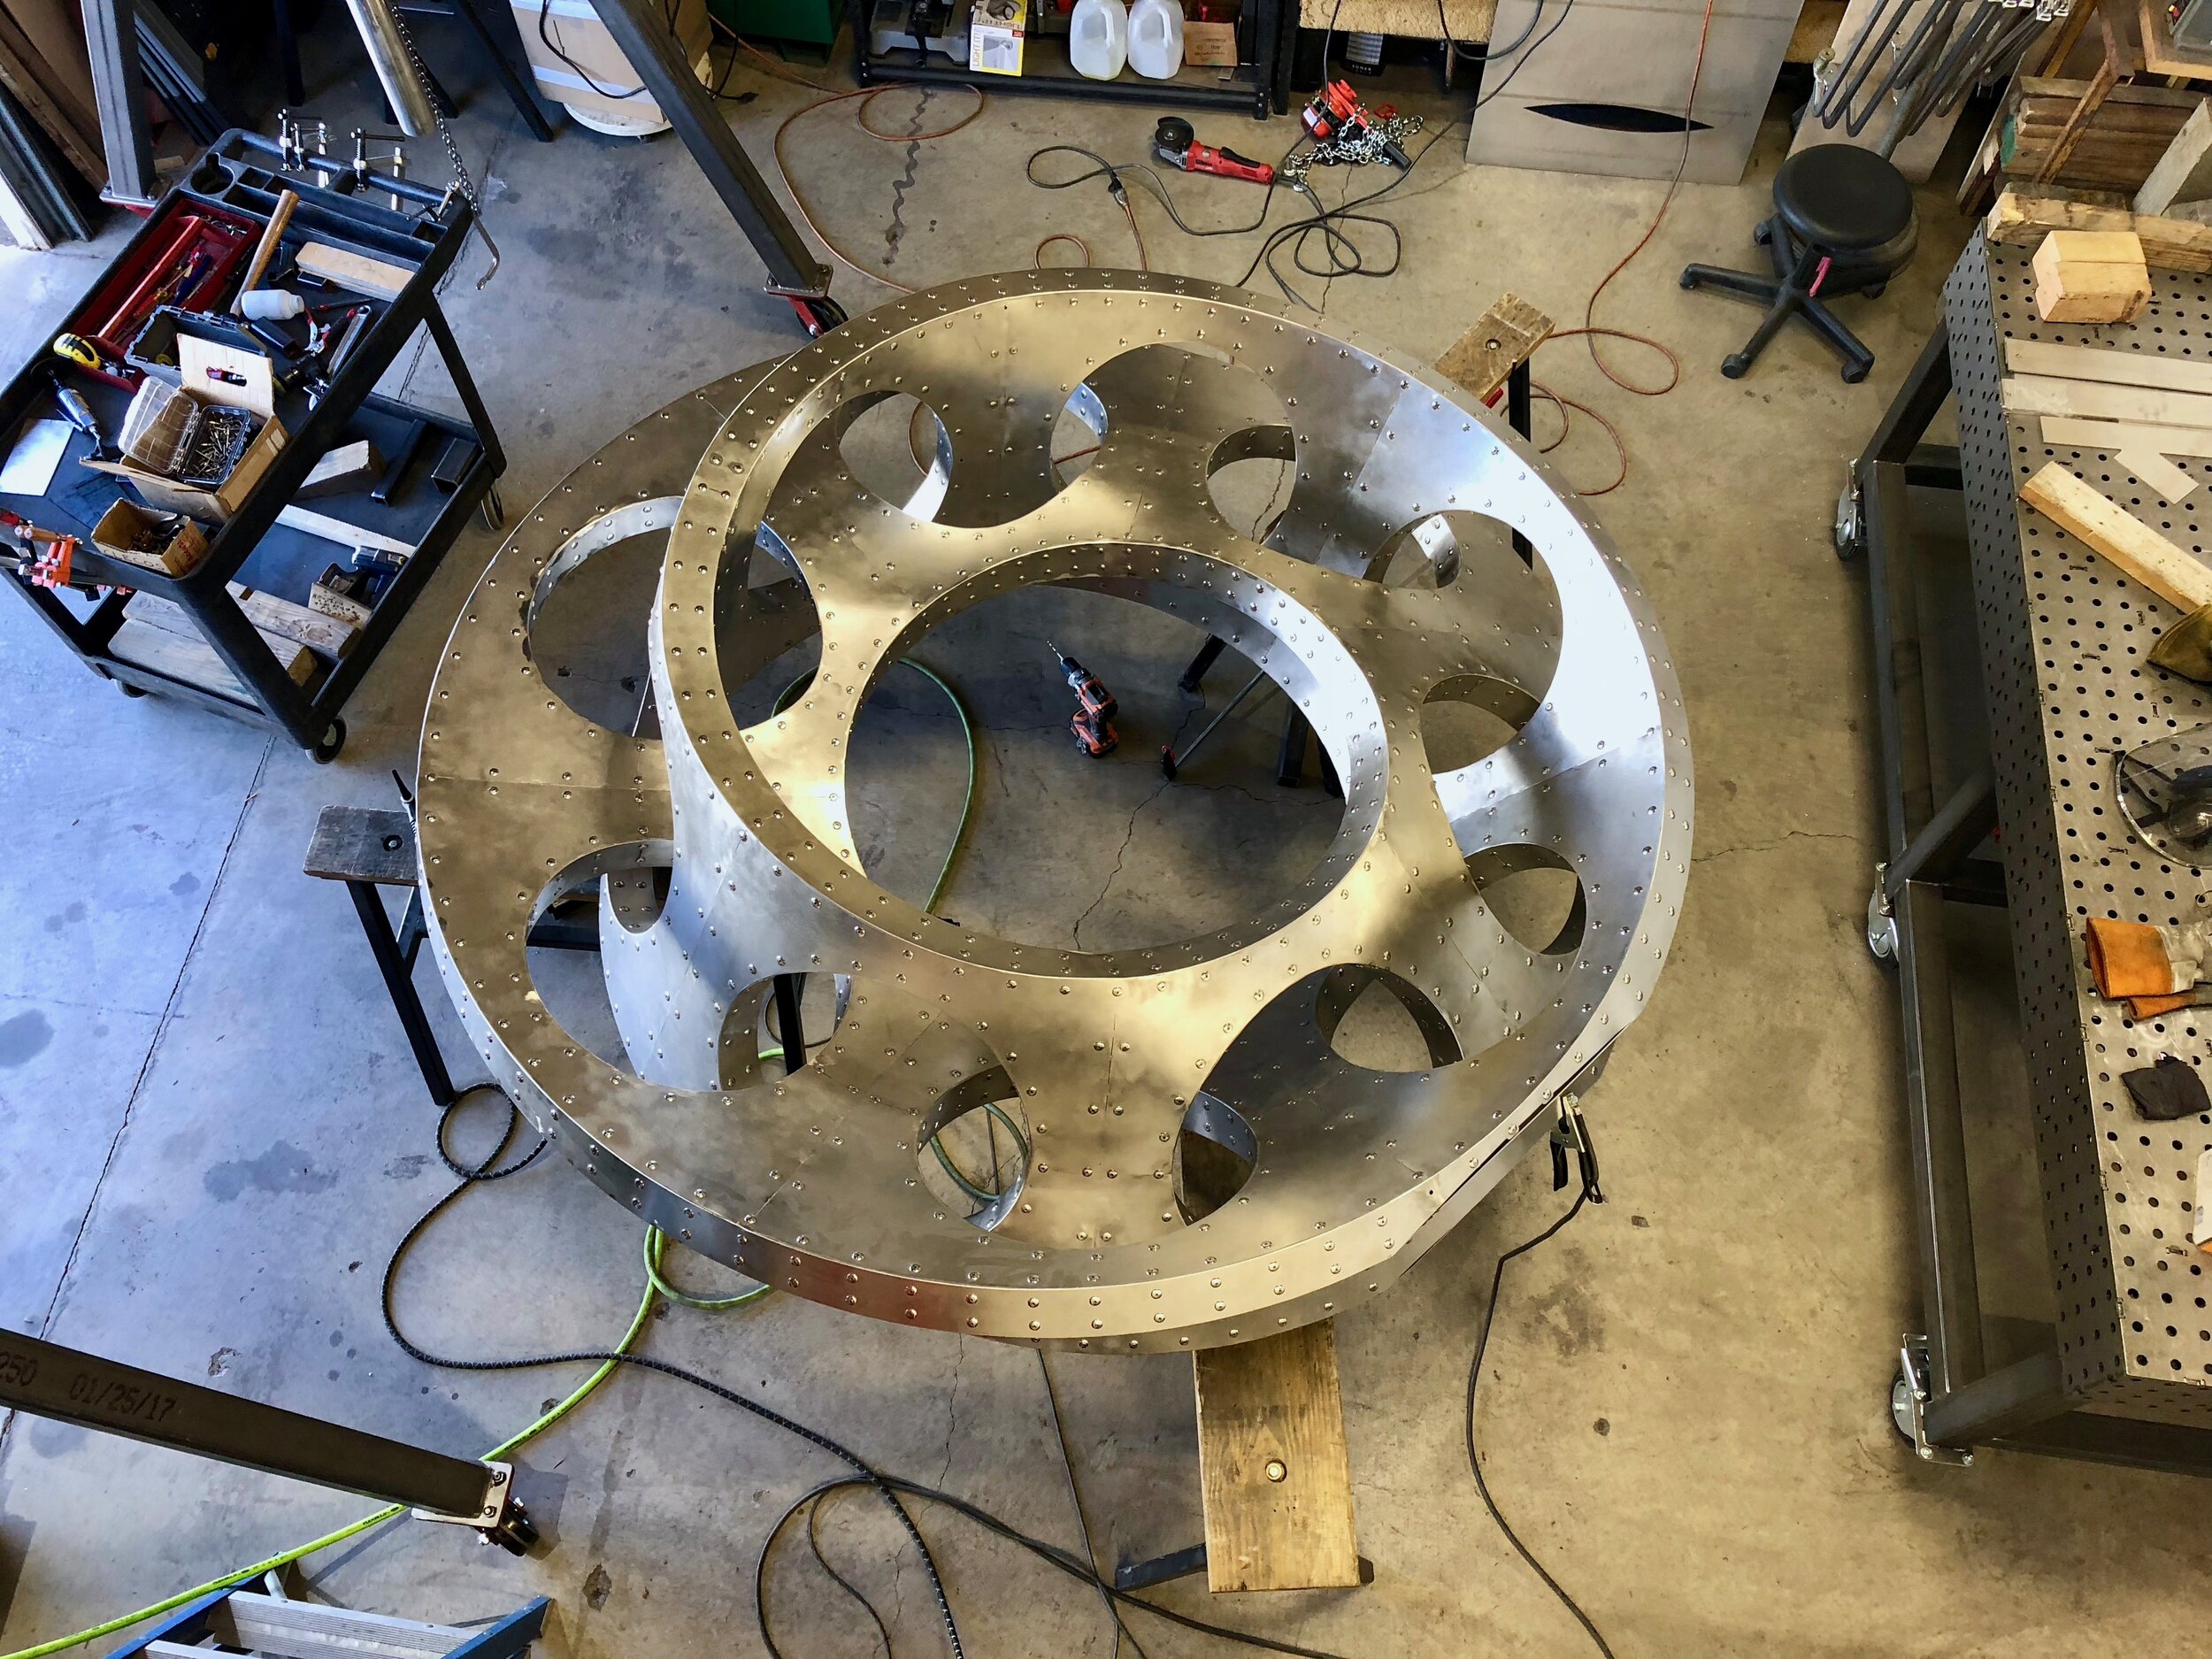
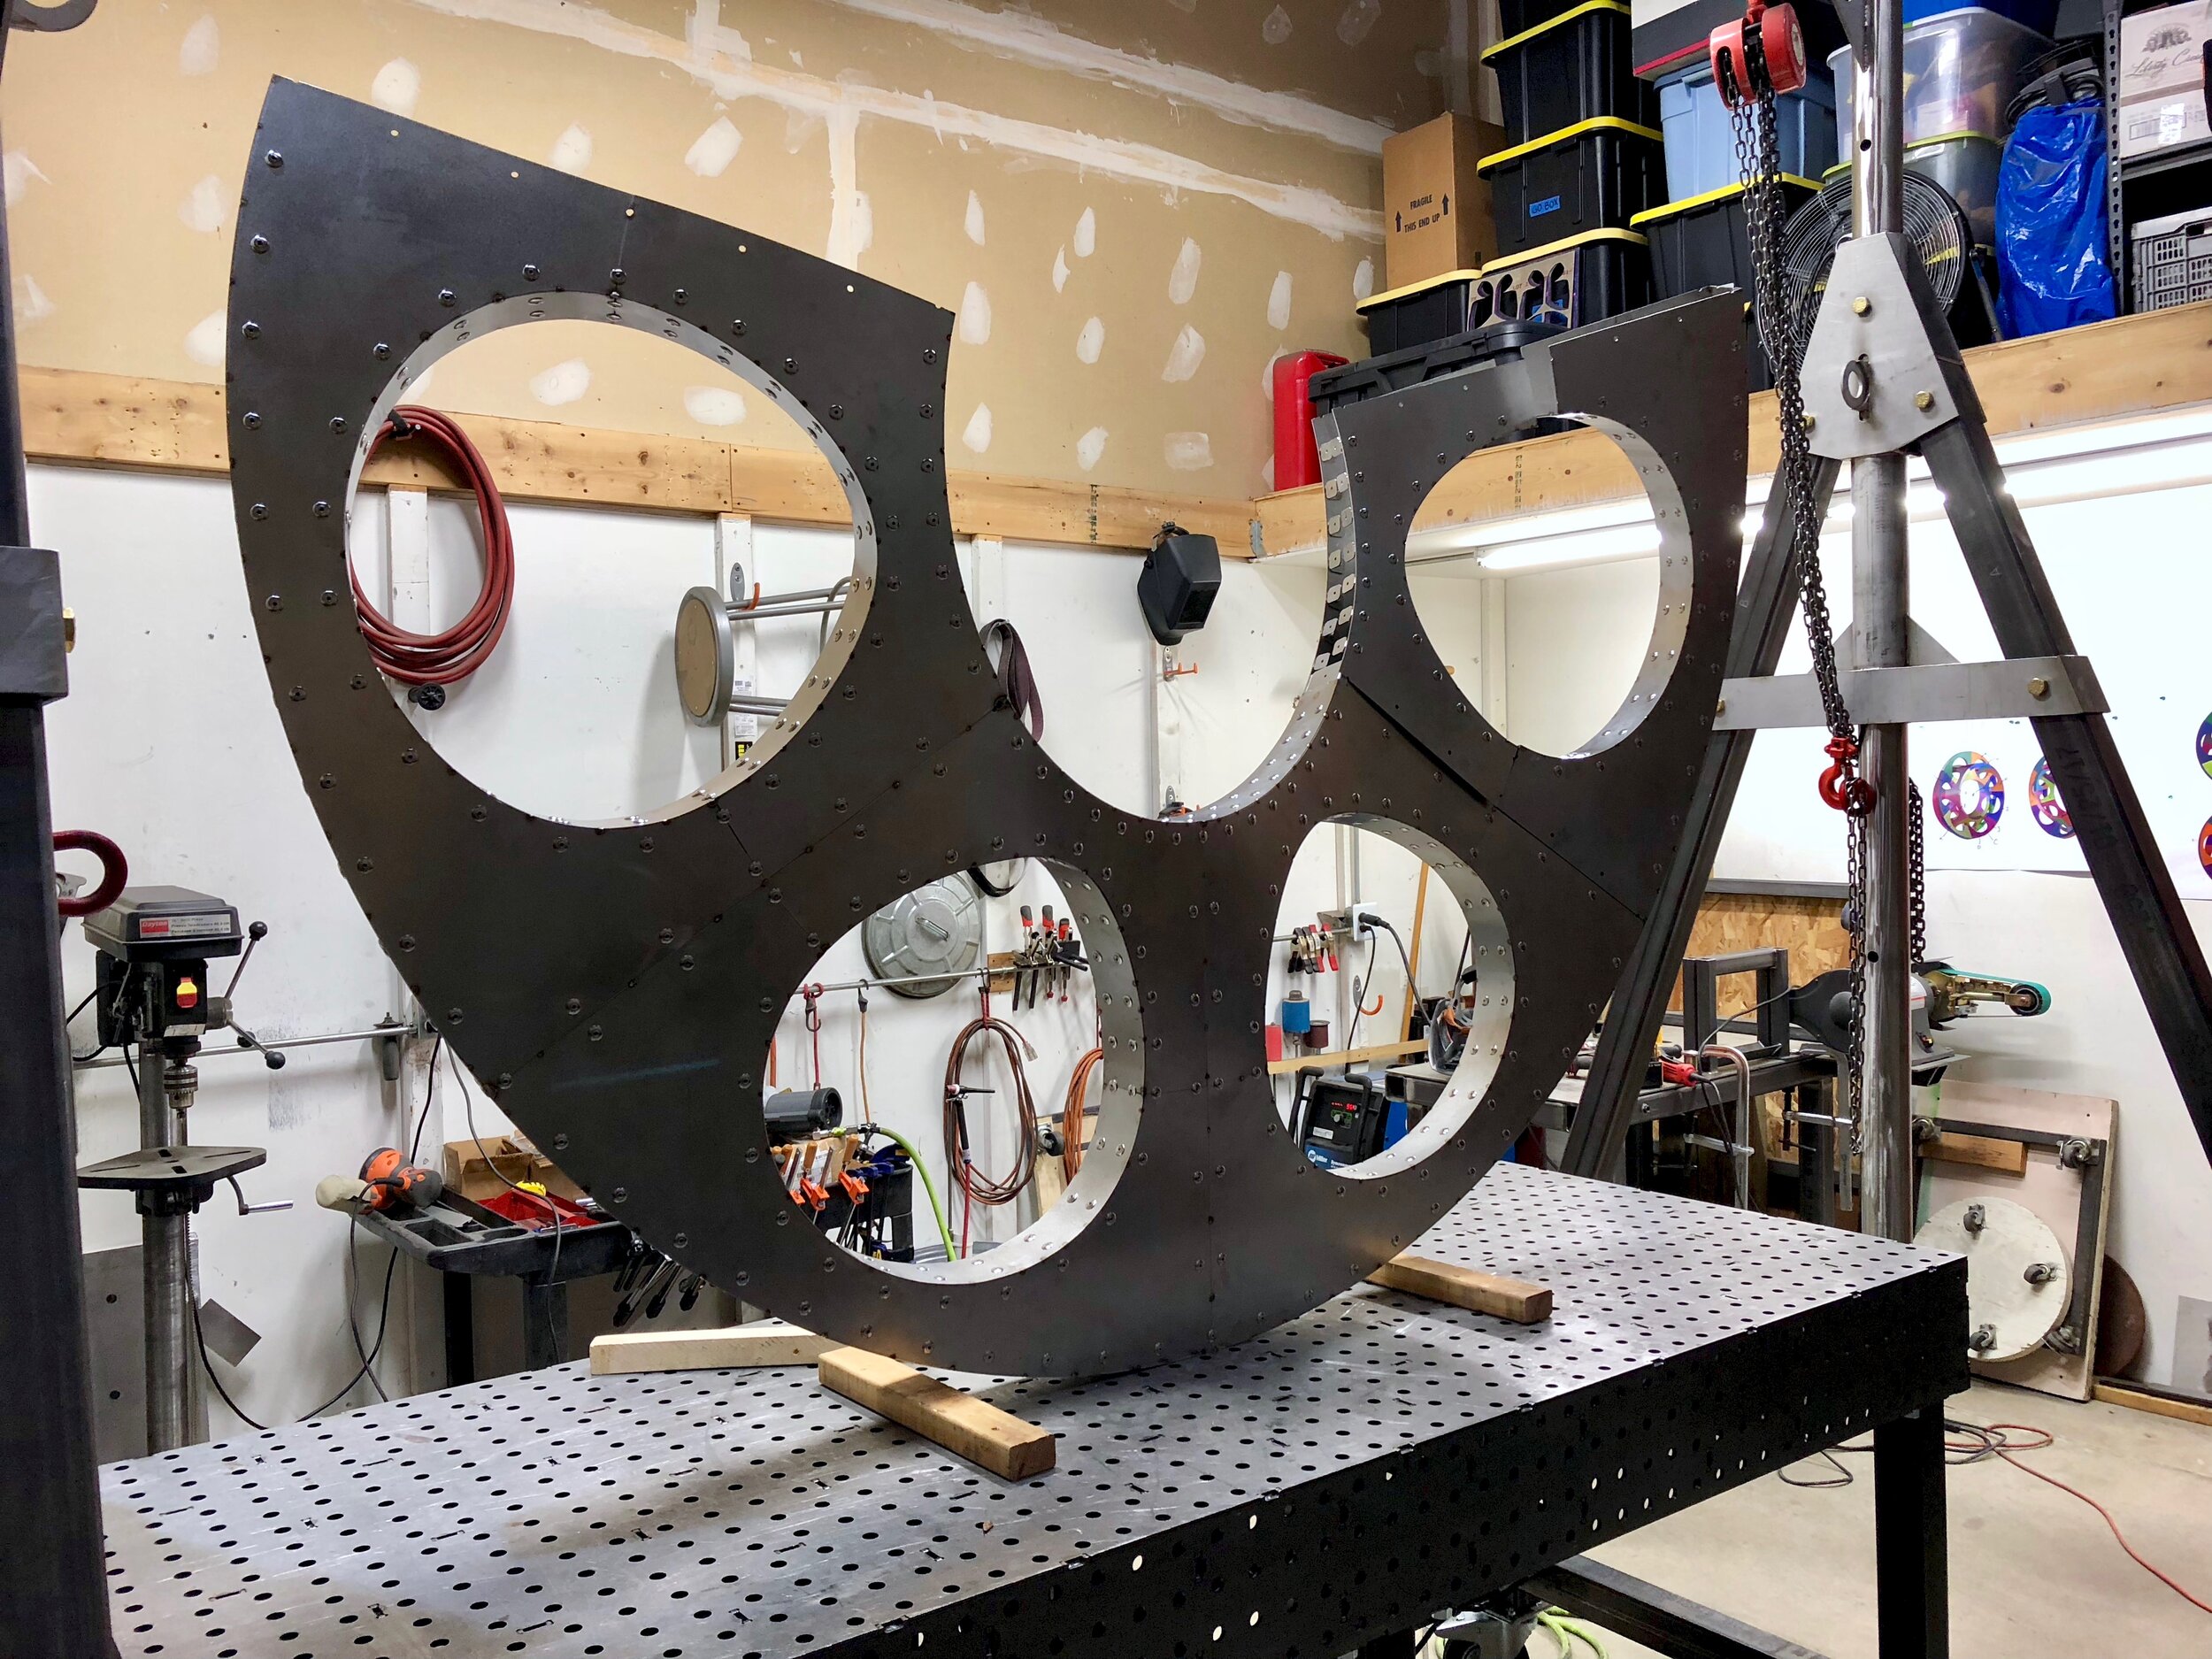
The Eyebrow. Attached.

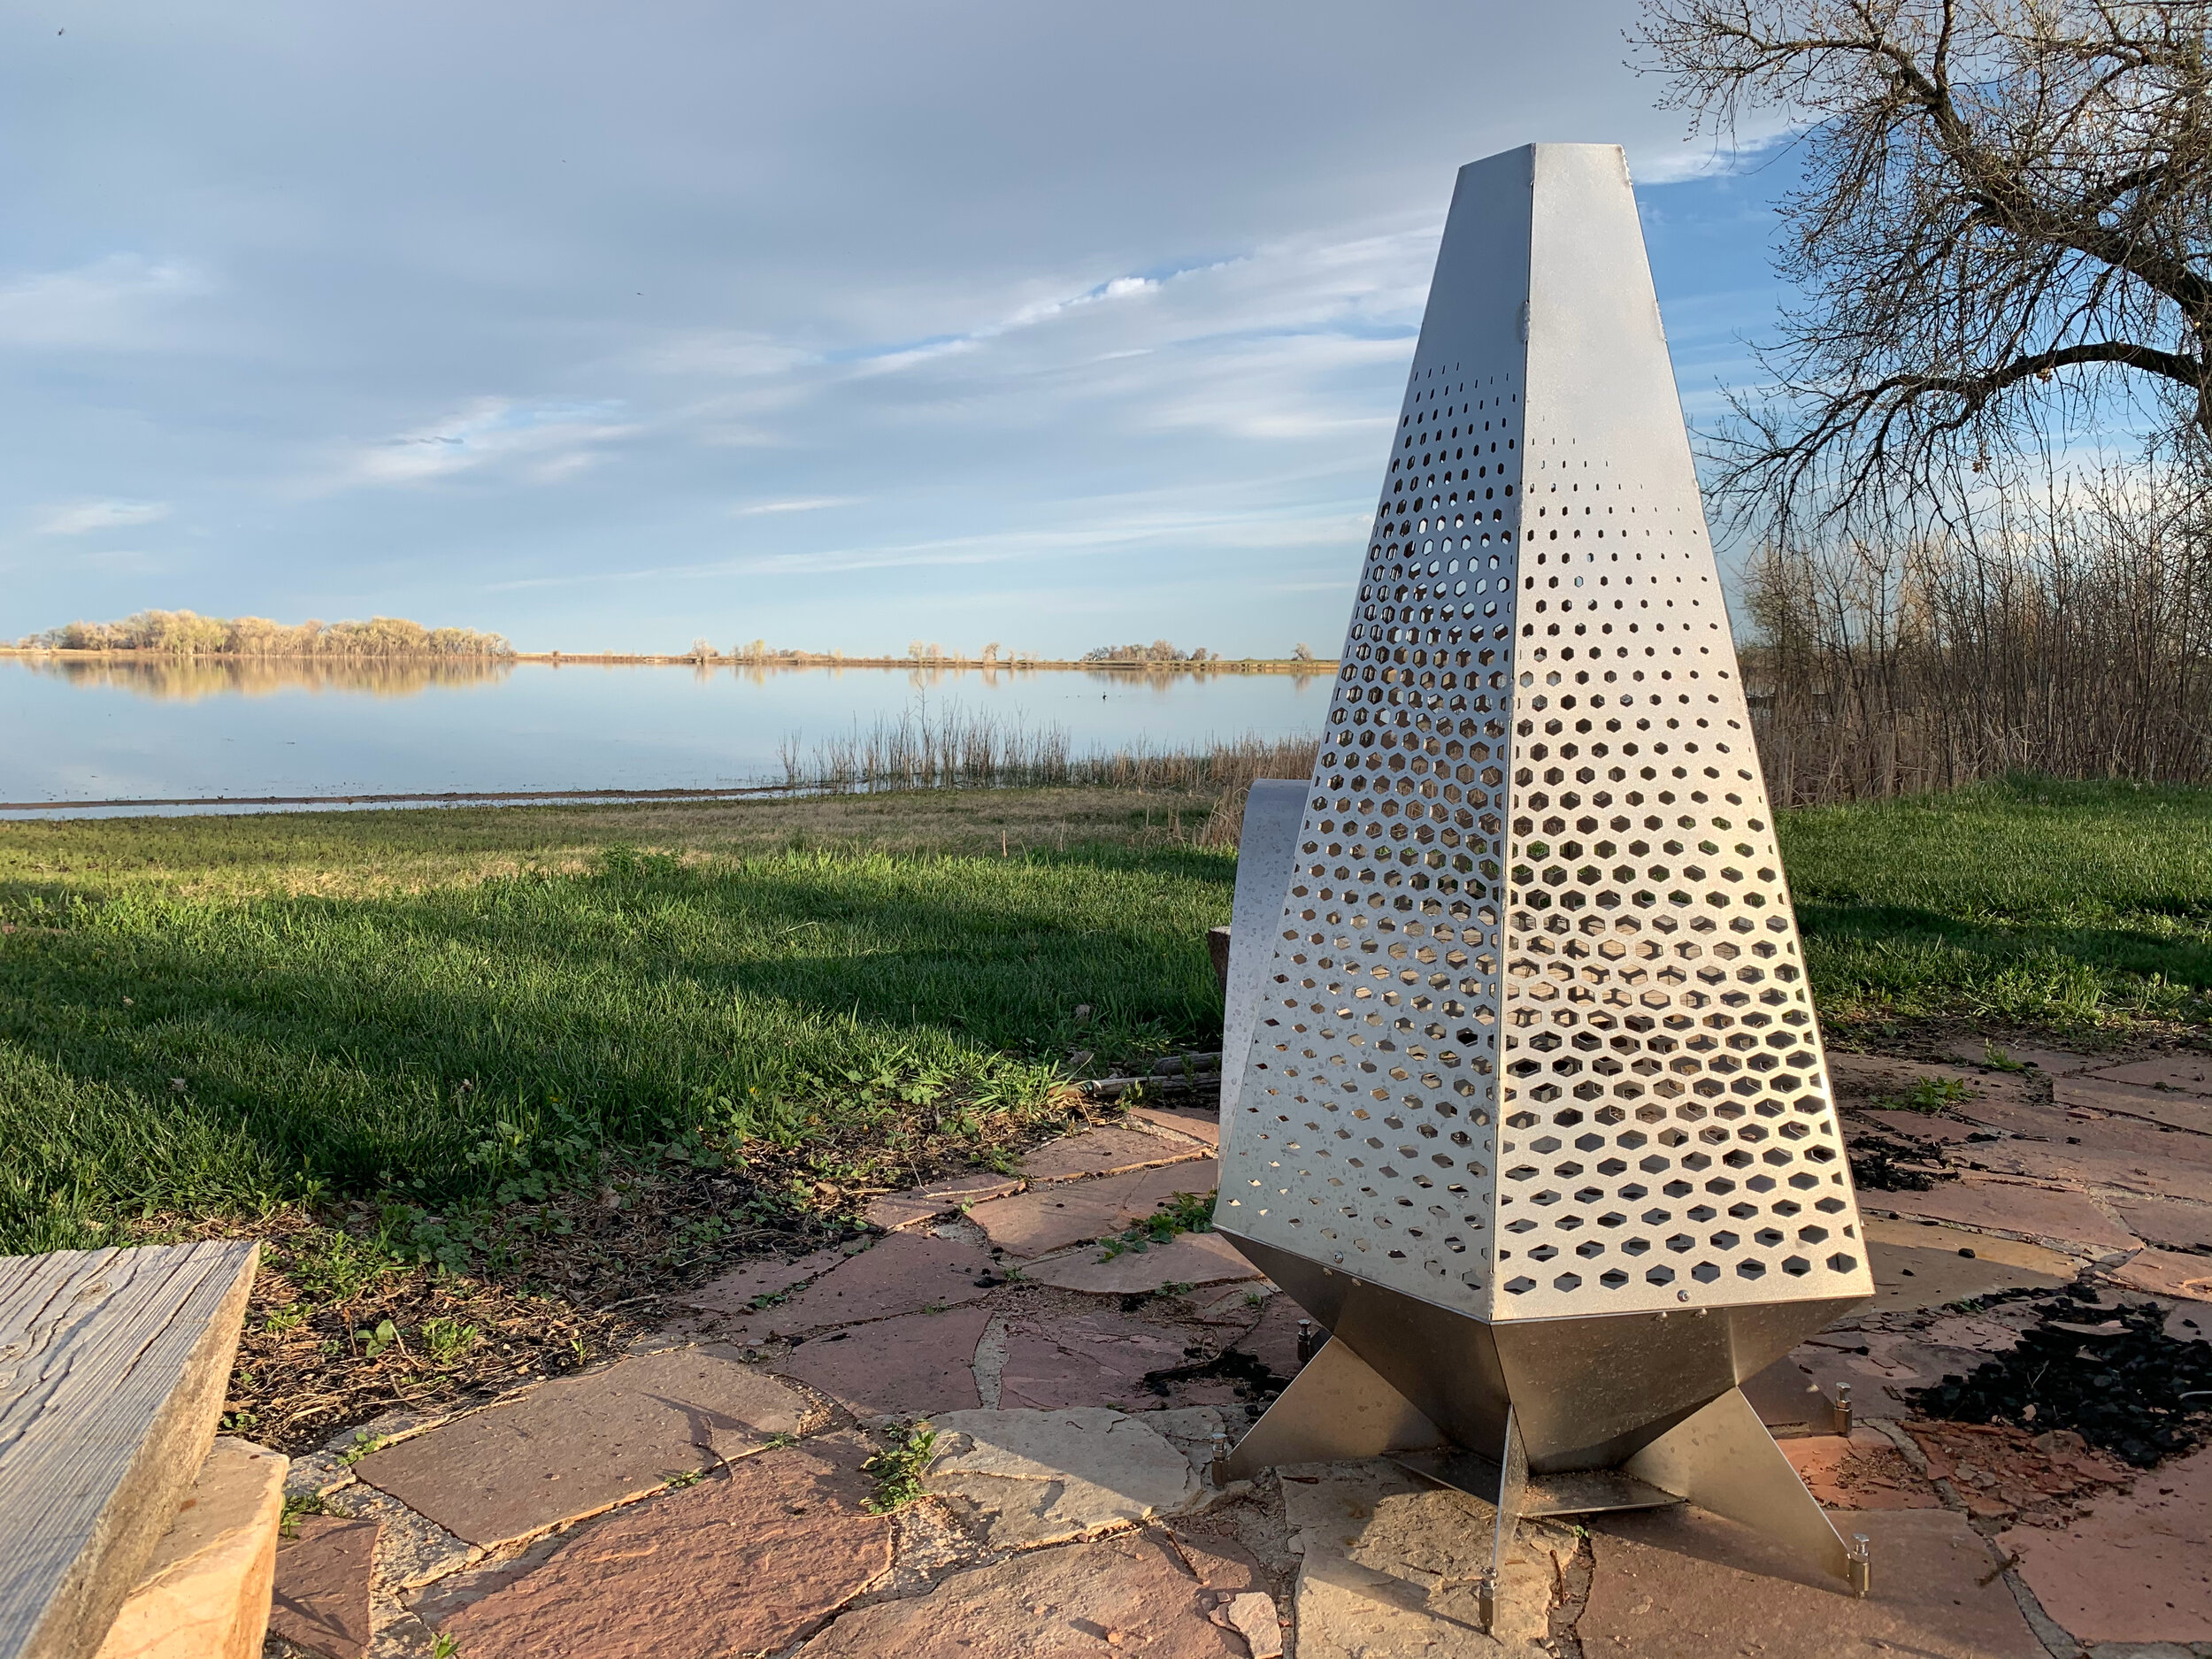
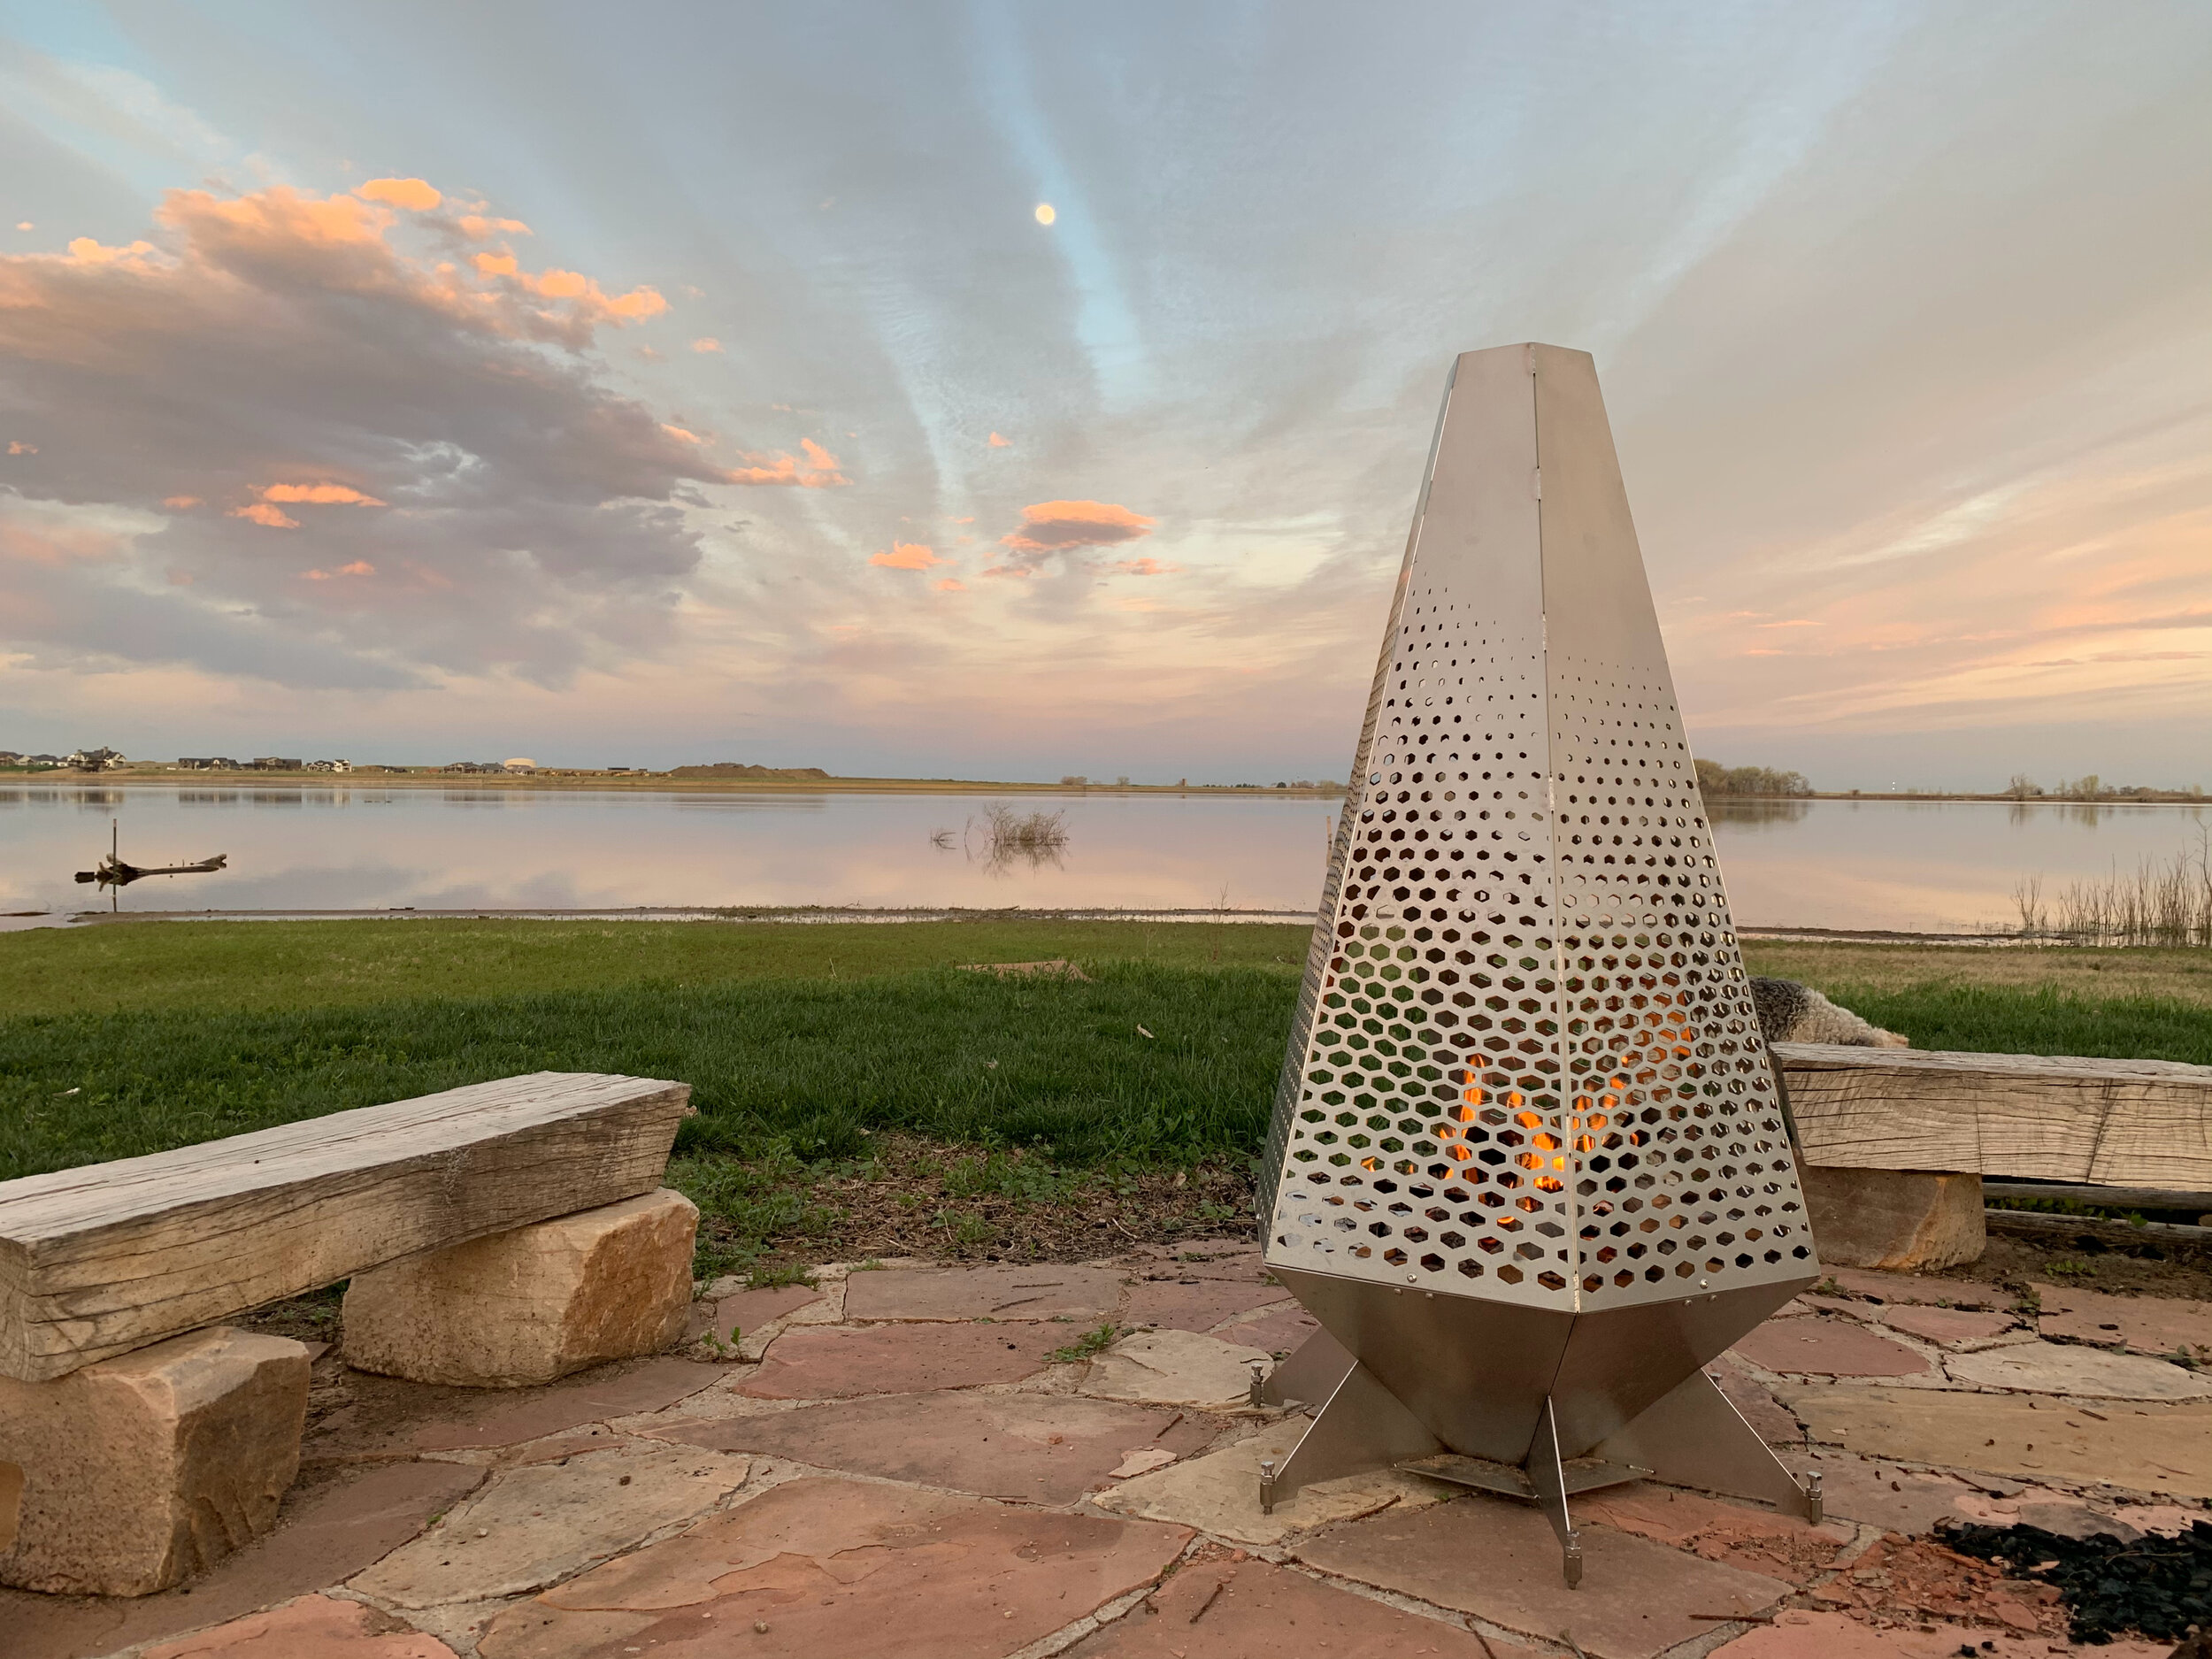
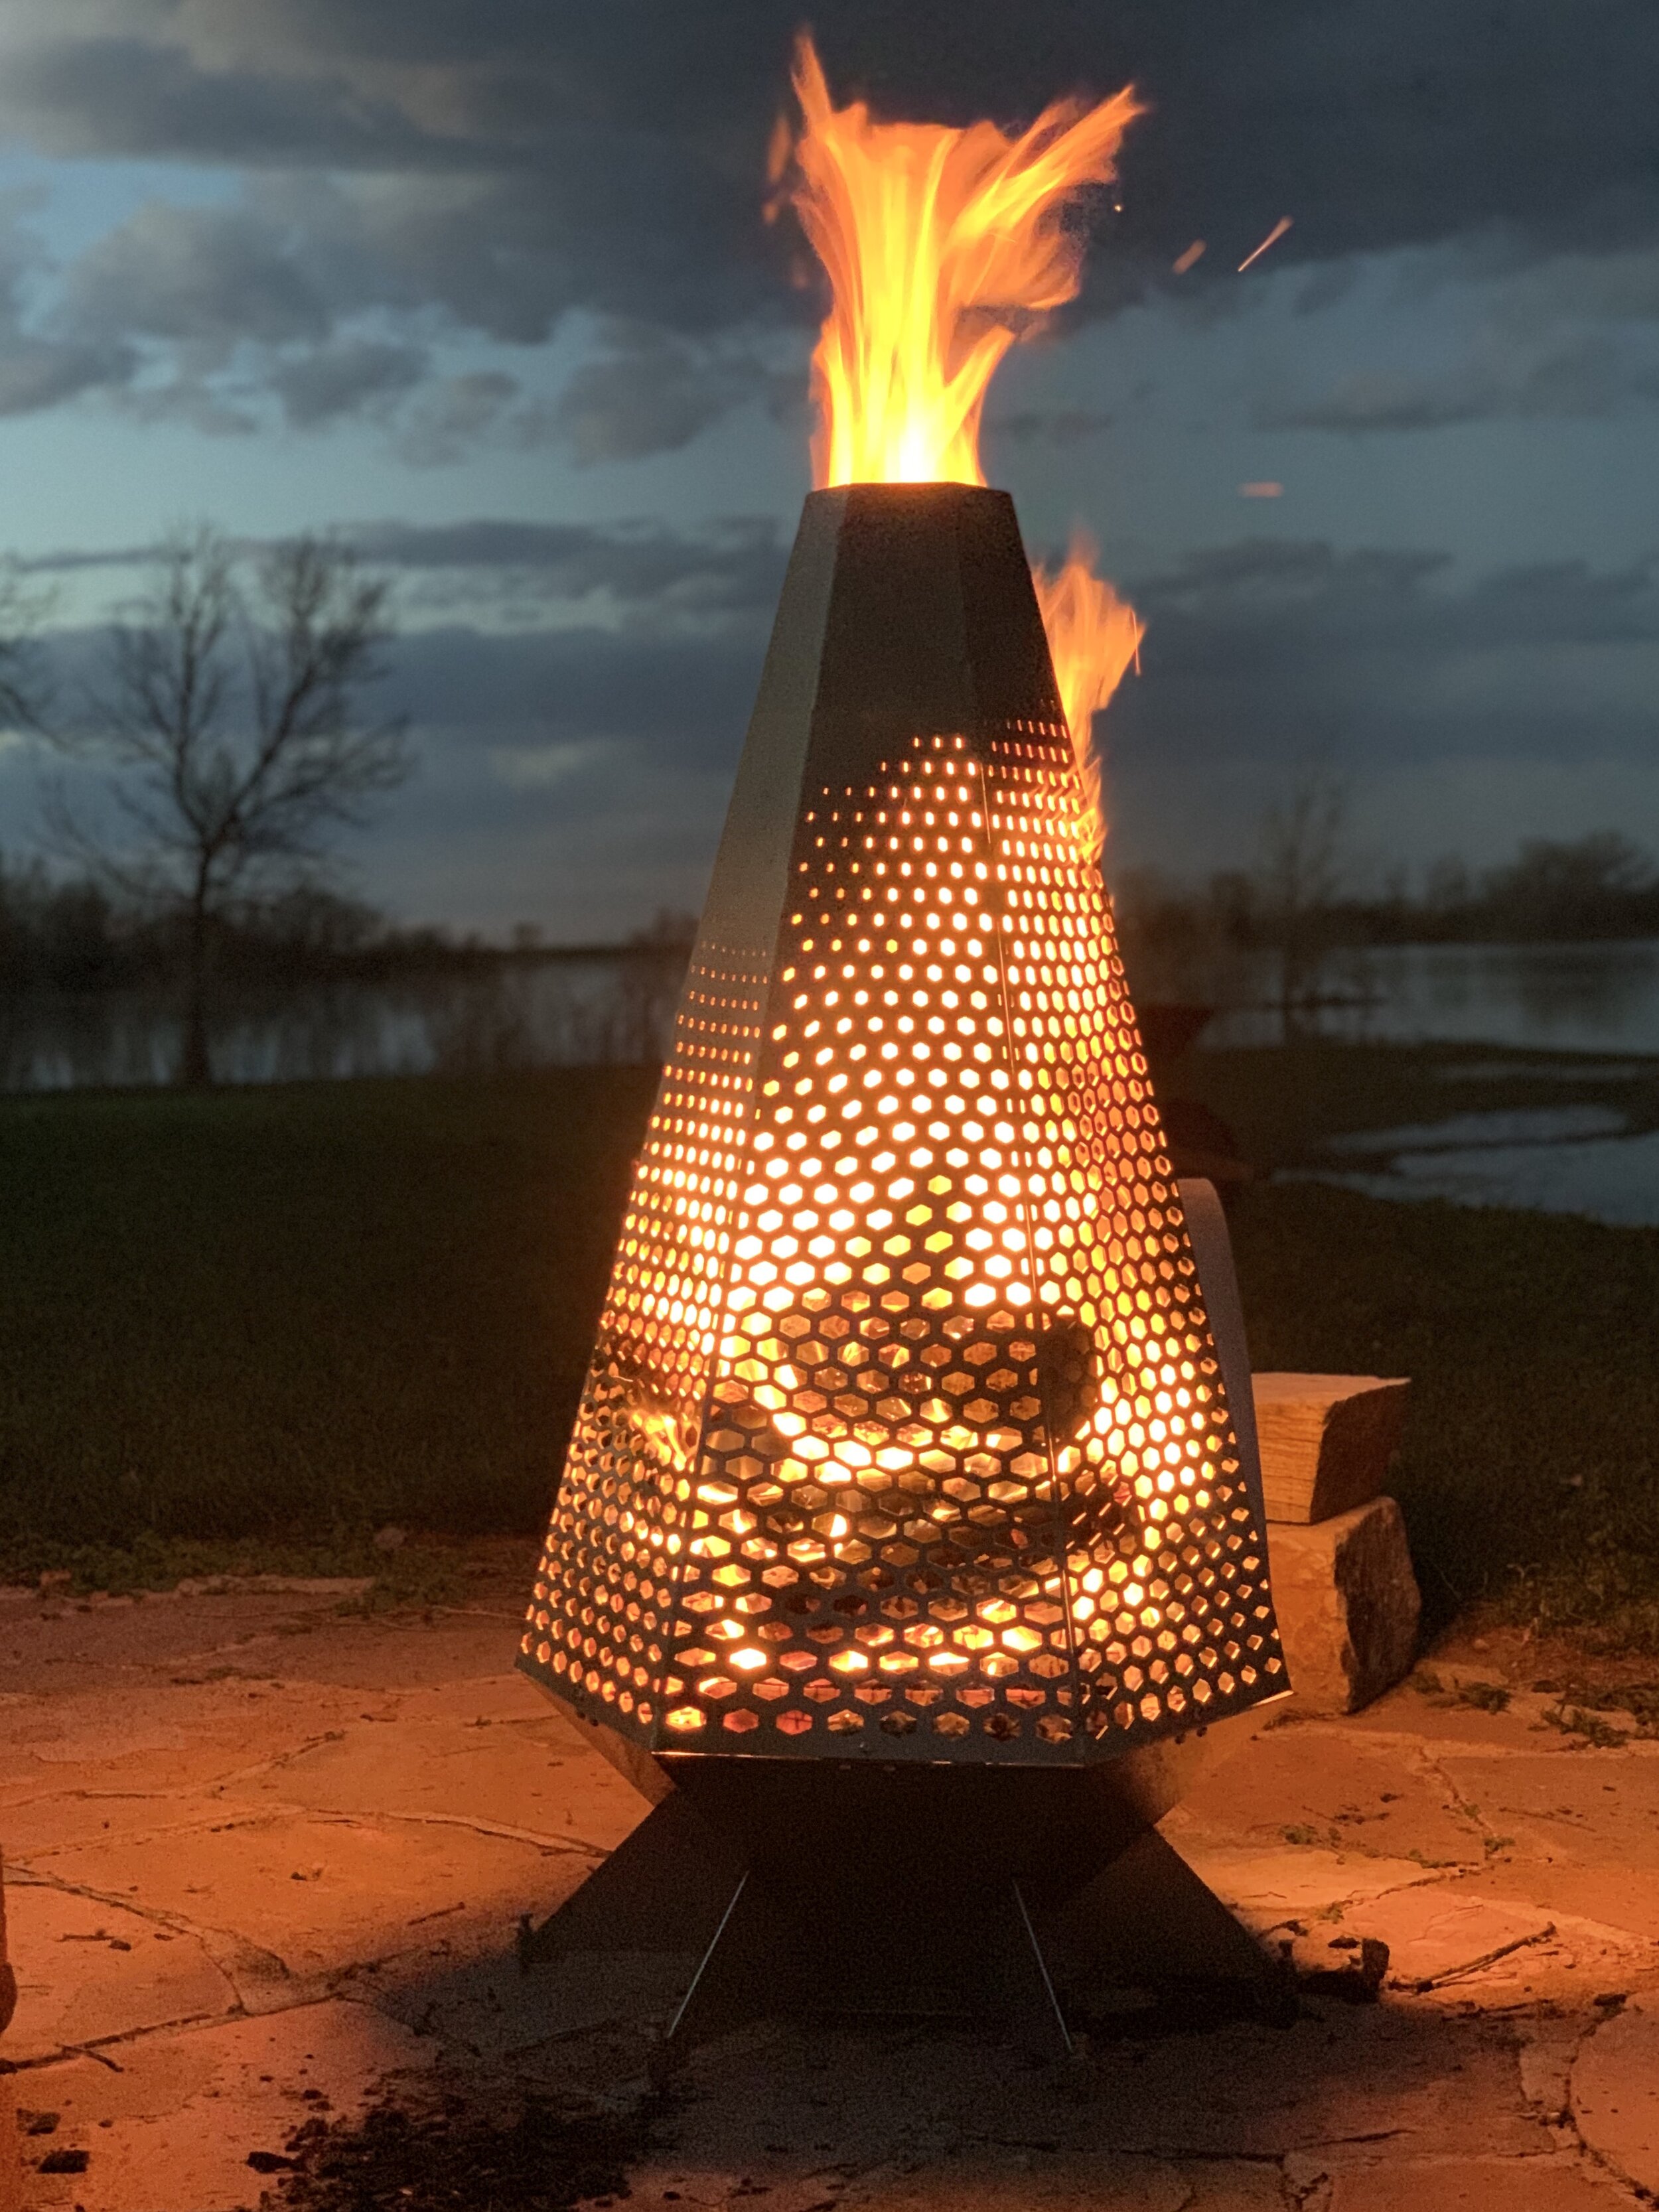
With that, the upper section is finished.